It's unbelievable that we started this kitchen remodel over a year ago! Crazy!
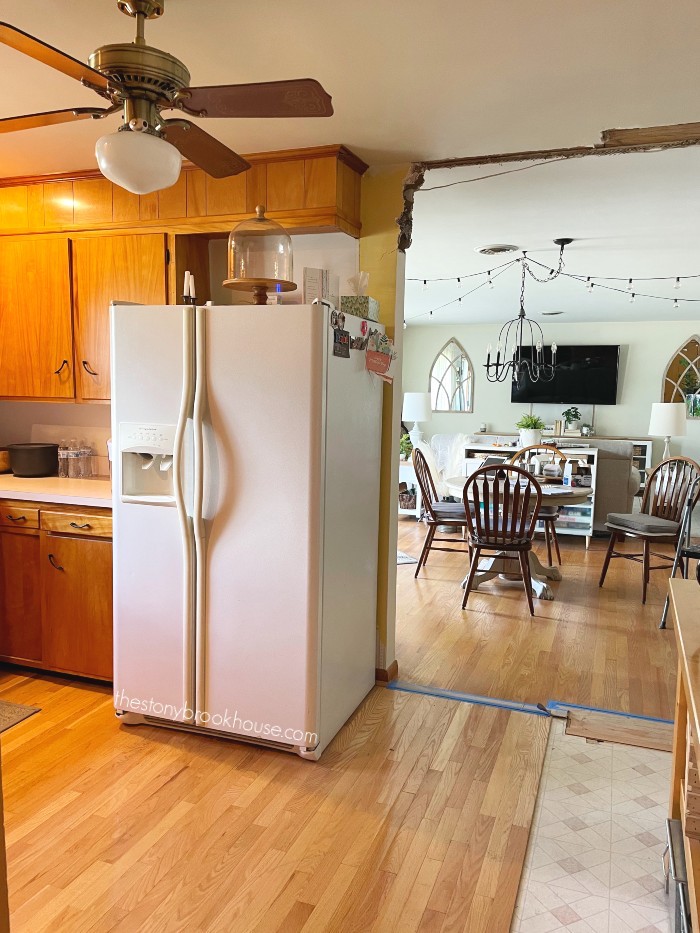
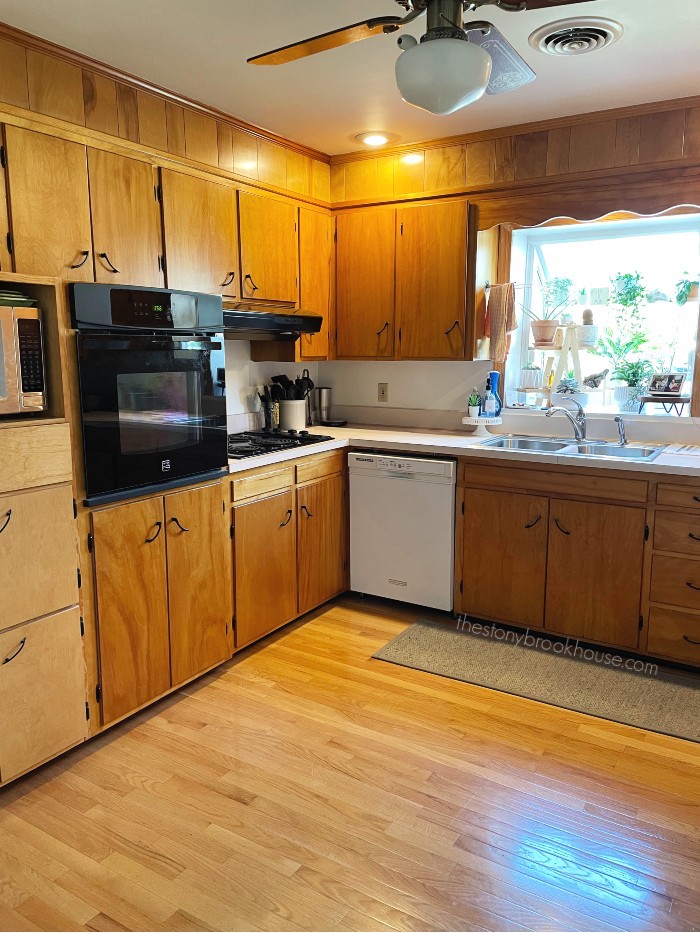
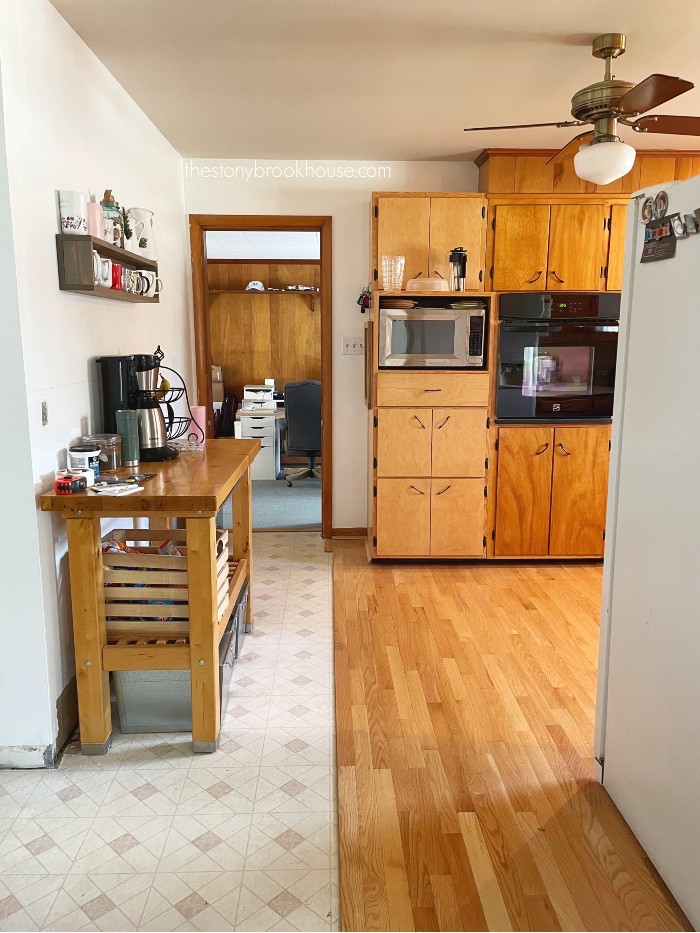
This is what we started with... 😳 I'm going to share an old photo then a new one with the same view or close to it!
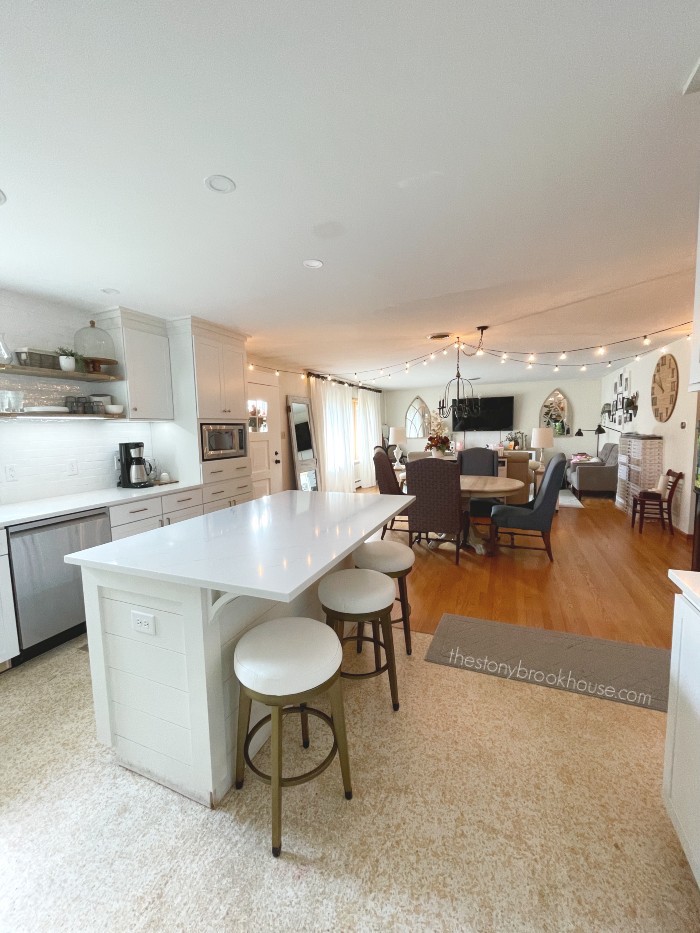
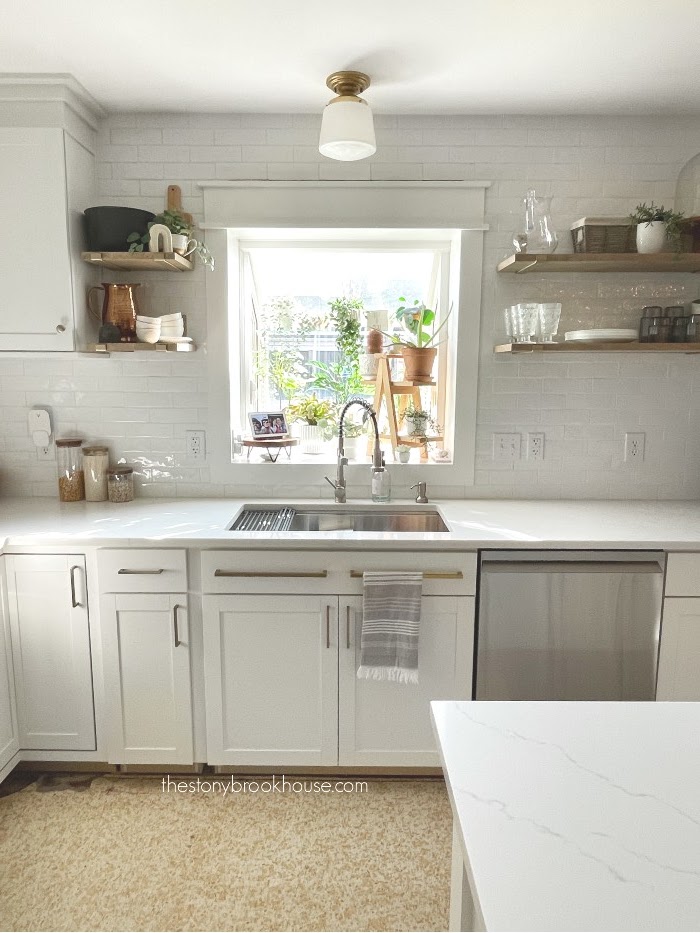
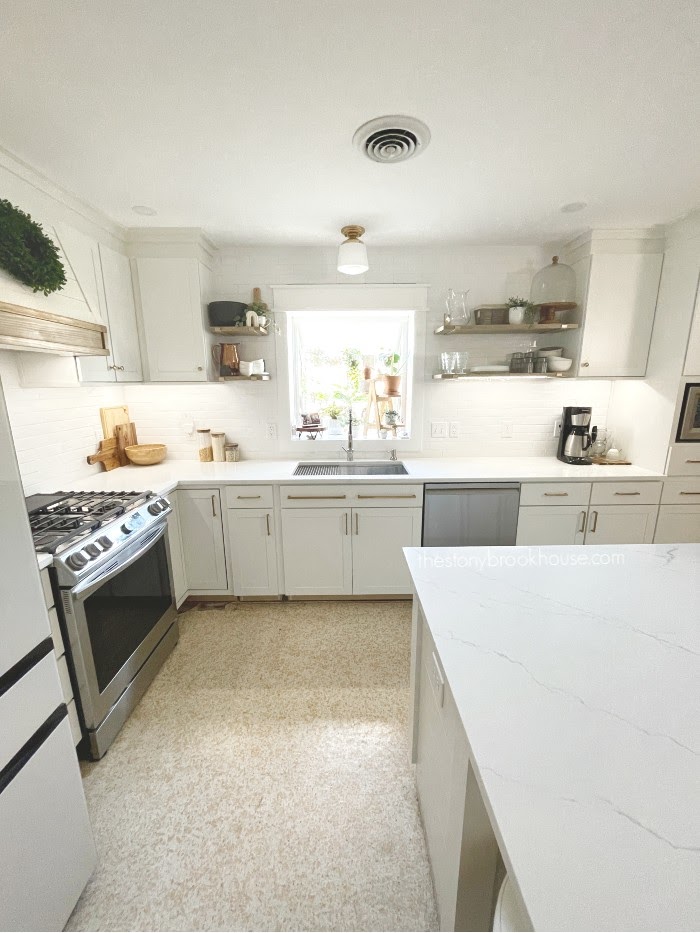
And today, here we are today with this gorgeous kitchen!! It's really done!!
Wow! What a difference! It took us awhile, but we got there! We are so in love with our new kitchen. We sit back some days and can't believe that this is ours and that we did it!
We are so incredibly thankful to The Lord, for giving me the vision, for giving us the wisdom, for giving us the strength and patience to see this through.
So, here I'm going to share a run down of all the processes of how we got from before to after. That way it's all in one post for reference.
The planning: 1960's Kitchen Remodel Plans
First of all... this is something I feel like The Lord showed me the moment I walked into the house. It's like I could see what it could be! I just knew that taking the wall down and opening up the space was going to be perfect! Thankfully it all worked out so well!!
Here's a look from that view today! We took out the whole wall. The shelves, corner cabinet and the closet all came out! What's cool is that you can see the door bell chimes on the right. They are still there in our new kitchen.
This was the rough plan for our new kitchen. It came out pretty darn close!
Once the plans were final, we started demo! You can see all the craziness, if you click on Kitchen Demo.
Once all of that demolition was cleaned up, the ceiling and where we took down the wall needed to be addressed.
Blending the two ceilings, kitchen & dining room, into one ceiling was quite the job! Spackle, sand, spackle, sand.... then paint. That's when I discovered what dead flat paint was!
Check out, All Ceiling Paints Are Not Equal!
You can see in the photo above, that we started installing our buffet cabinets. Of course, there were a lot more cabinets to install!
Installing Cabinets was more involved than I ever thought, but we did it!
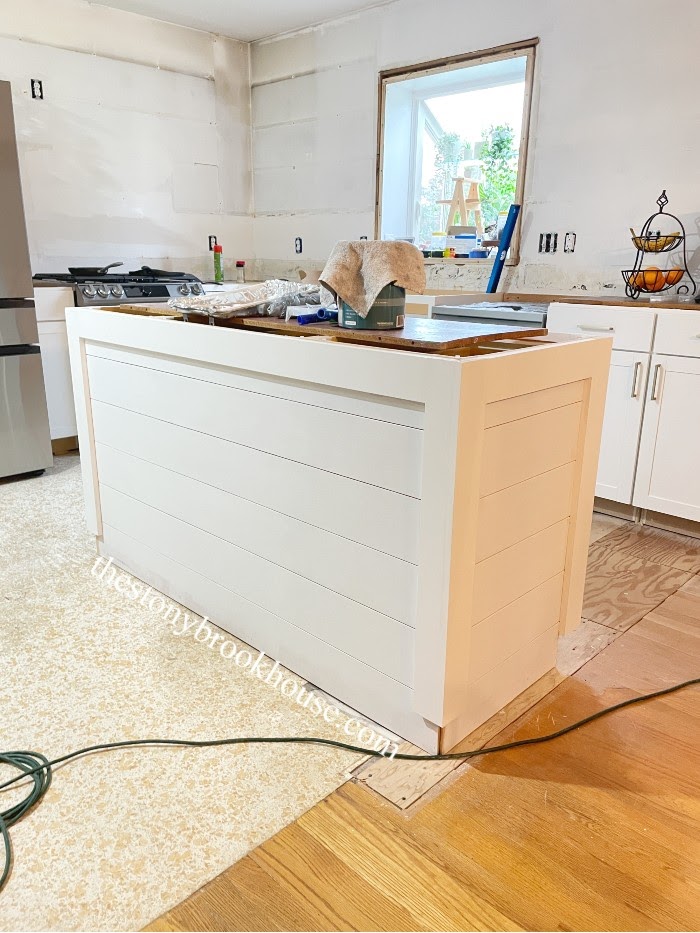
Before we could have the counters installed we needed to finish the back of the island. We couldn't just leave it raw pressboard.
We decided to Shiplap The Island.
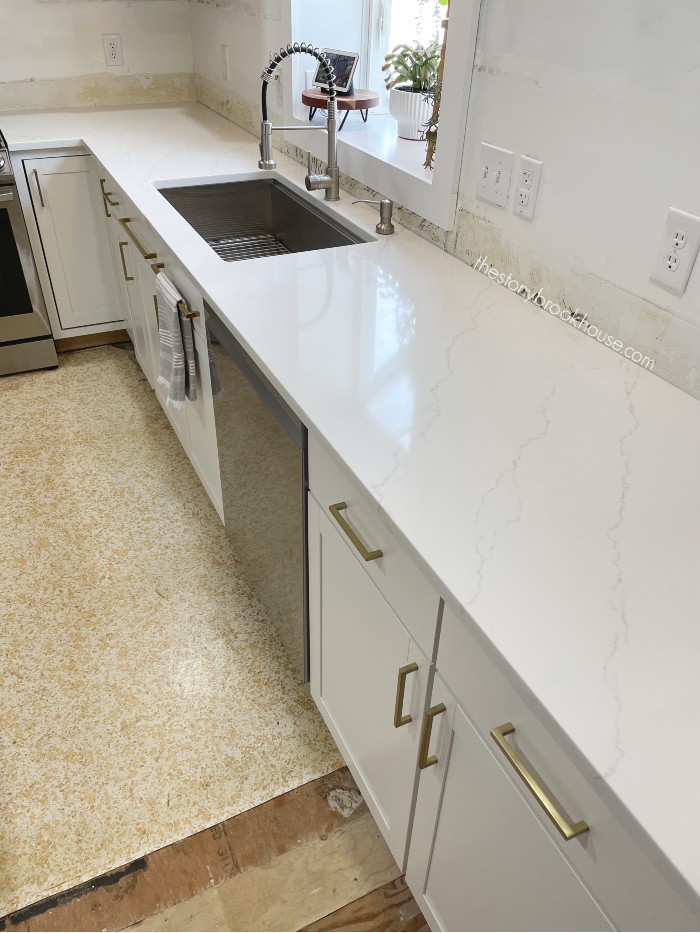
Wow! The kitchen is really starting to take shape! If you look closely you can see that our new appliances have been delivered!! What's next? Counters!!
I did a whole post on Why I Chose Quartz Counters.
After having our counters for over a year, I can tell you that I still LOVE them!!
Next up, figuring Where To Put The Microwave. I have a thing... I truly do not like under cabinet microwaves.
We decided to create a tall cabinet with a spot for the microwave. I absolutely love where we put it!
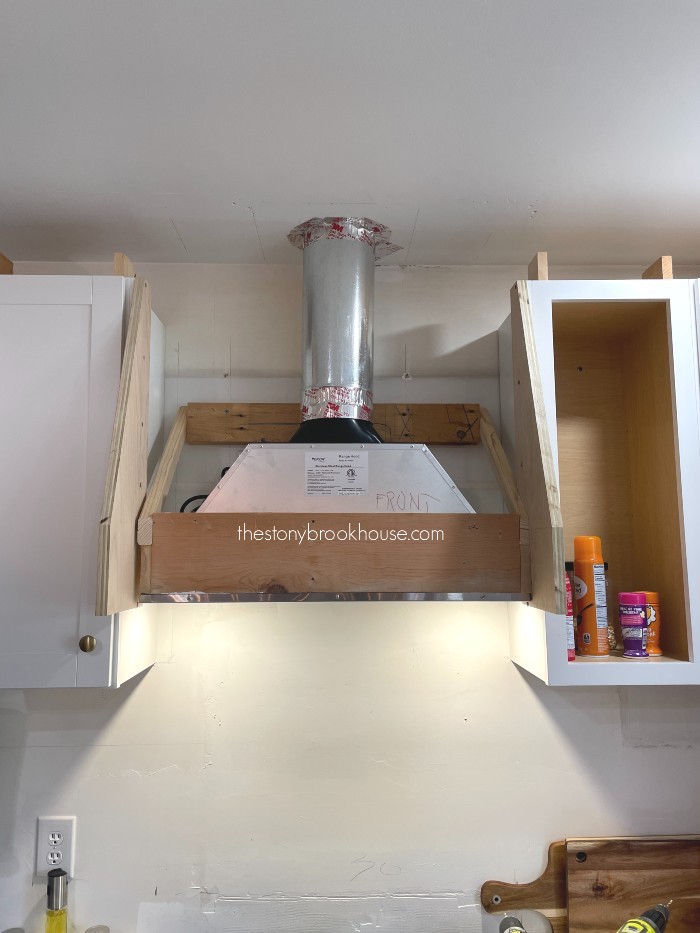
Now it was time to work on the stove venting and hood. We actually Built Our Stove Hood!
There is so much more than you think with a complete kitchen remodel! Plus we were building this custom to our wants and needs! I love our kitchen so much!
Next up, was to Build A Fridge Enclosure.
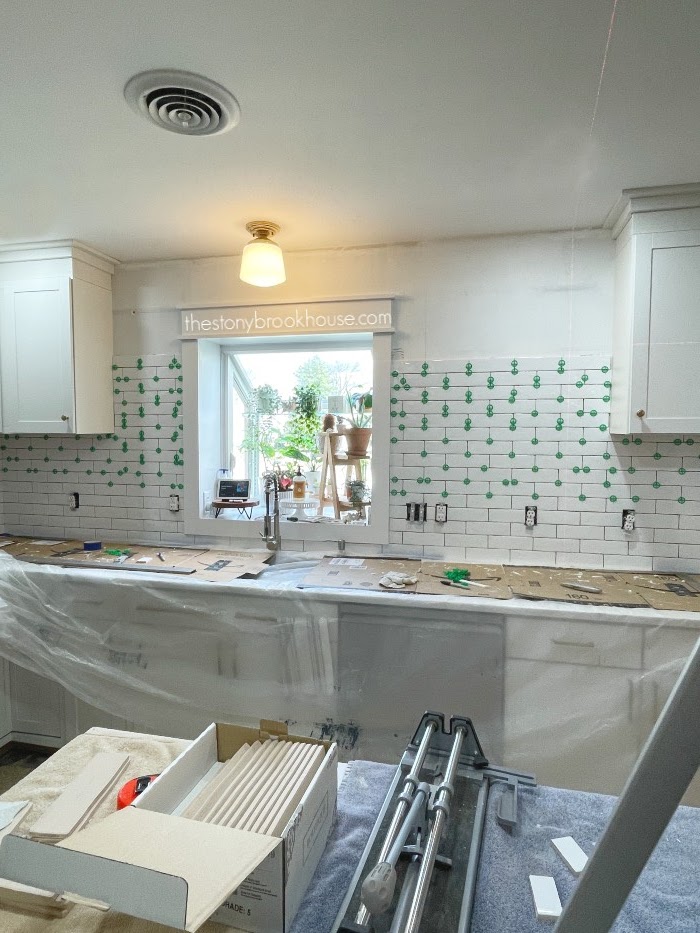
Once all of the 'building' was done, it was time for the backsplash! I knew that I wanted a white subway tile all along, but not a standard tile. I wanted it to look handcrafted. I found the perfect tile! Check out our Kitchen Tile Backsplash.
Our kitchen has been fully operational for awhile. At this point, we are customizing it for us. You know it's all the little things!! Like adding the Bakeware Organizer!
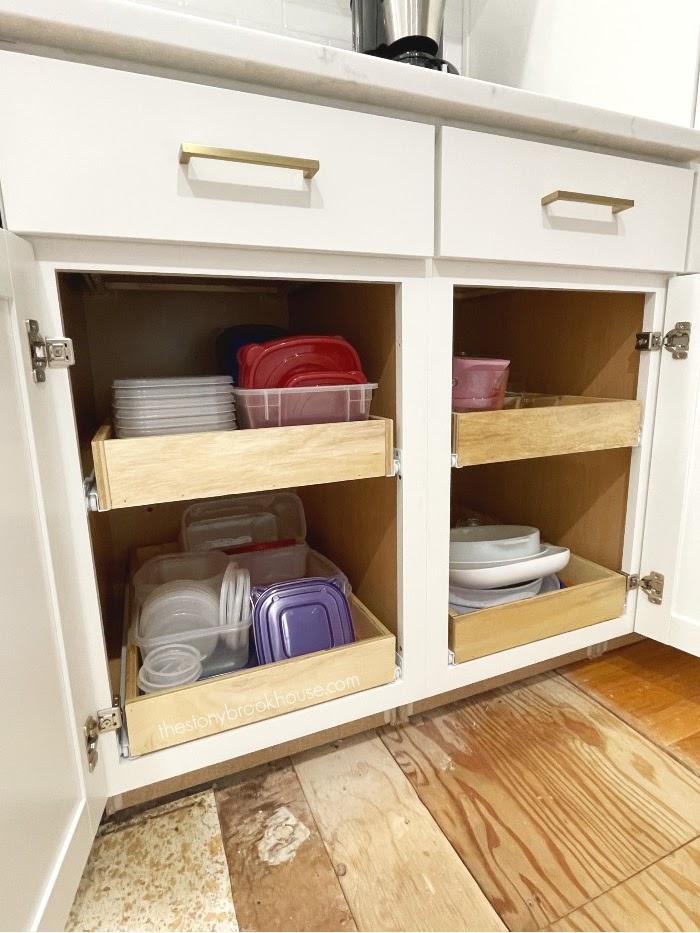
Then we decided we needed more drawers and we wanted drawers in all of the lower cabinets. They are a game changer! We Built All These Drawers!
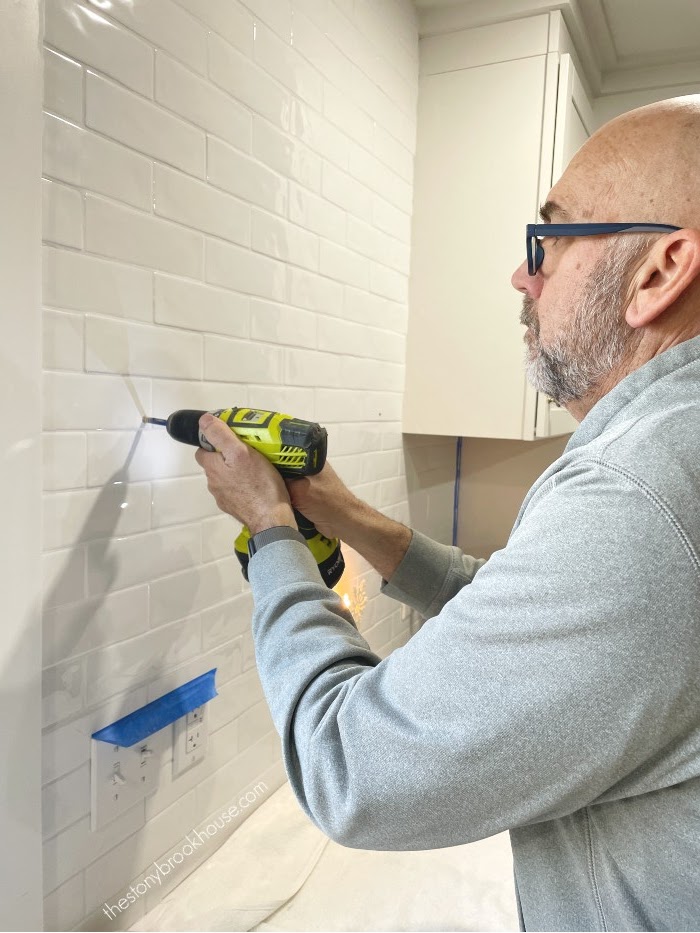
One of the last projects was installing open shelves on the tile wall. I was nervous/excited. Hoping it was the perfect placement, because you can't change it once you drill the hole in the tile. But I knew they would look so good!! Installing Open Shelves On Tile Walls
Then the very last project for the kitchen was adding under cabinet lighting! OMG! It is the best!!! Love, love, love!!! It's Under Cabinet Wifi LED Strip Lights with NO Soldering!
Whew! I know this was a long post... But soooo worth it! We are so incredibly in love with our kitchen. We still pinch ourselves! Thank The Lord, for giving us the strength, endurance, wisdom and knowledge for all the things we've done here at the Brick House!
Also, I just have to thank my husband, Mike. He has put up with some of my hair-brained ideas and has had such incredible patience. I might have the vision of what to do, but he is the one that crunches all the numbers and figures out all the things. I am so thankful that we work so well together! We really are a great team!
Here is a quick list of the Kitchen Remodel links. I've sprinkled them throughout this post as well. I just want to make it easy for you to find something if you need some help or ideas for your kitchen.
1960 Kitchen Remodel Plans
Kitchen Cabinets Going In
More Kitchen Demo
Kitchen Update - Ceiling Paint
Building A Shiplap Island
Why I Chose Quartz Counters
Where To Put the Microwave?
Building A Stove Hood
Fridge Enclosure
Kitchen Tile Backsplash
Bakeware Organizer
How We Built All These Drawers
Installing Open Shelves On Tile Walls
Installing LED Undercabinet Lights - No Soldering
Blessings,
Lori










What a transformation!! Stunning!
ReplyDeleteThank you, Donna! We love it so much!!
DeleteLori, what a gorgeous kitchen you've built! Wow, I love how you opened it up and transformed it. It seems like a different place. I love the layout and all the storage you guys added.
ReplyDeleteHaving gone through a similar kitchen renovation, I know all the labor involved in this type of renovation. However, enjoying your beautiful kitchen for years to come completely outweighs all that hard work. Enjoy it!!