*This post contains some Amazon affiliate links. As an Amazon Influencer, I earn from qualifying purchases. Please see my full Disclosure Statement.
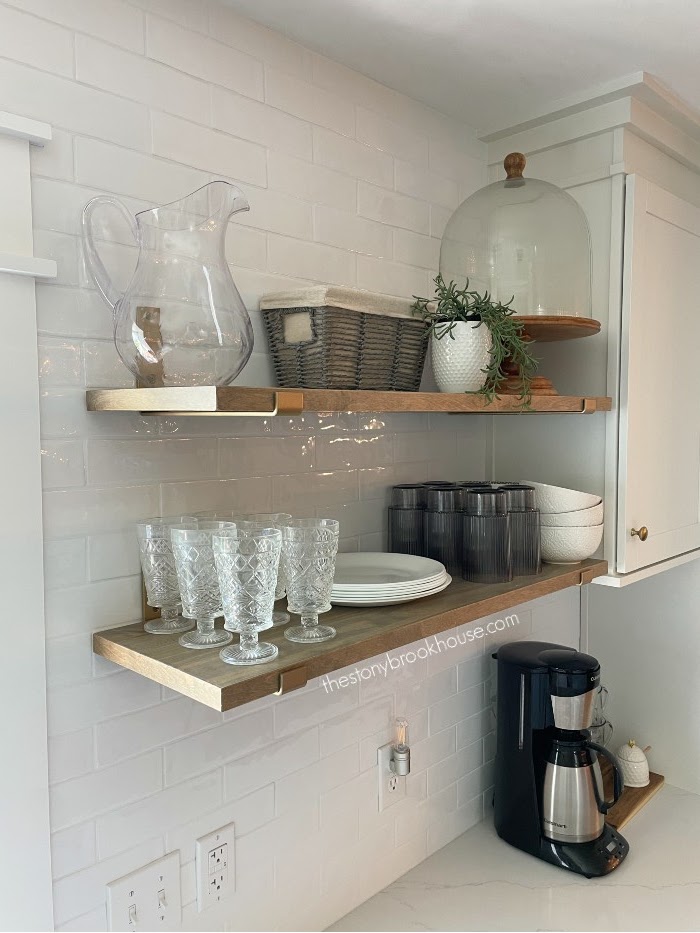
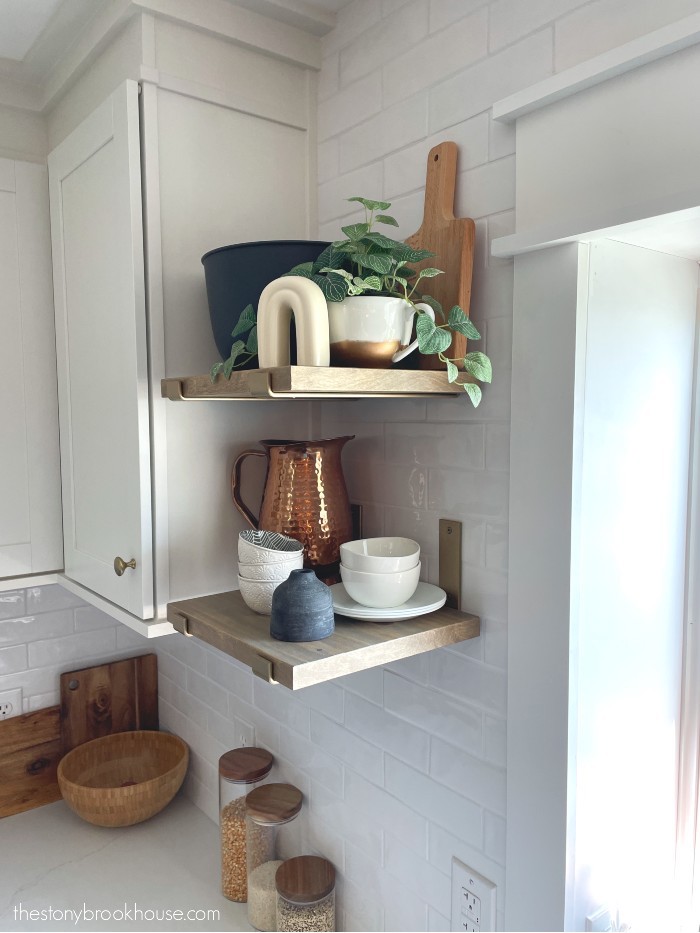
From the very beginning, I knew I wanted some open shelving. However, it had to be functional. I didn't want it just for decor. I know people say, "Your dishes are just going to get dusty." Well, we go through all of our dishes on these shelves. They don't stay on their long enough to get dusty. It works for us!
Of course, there is some decor. They have to be cute and functional.
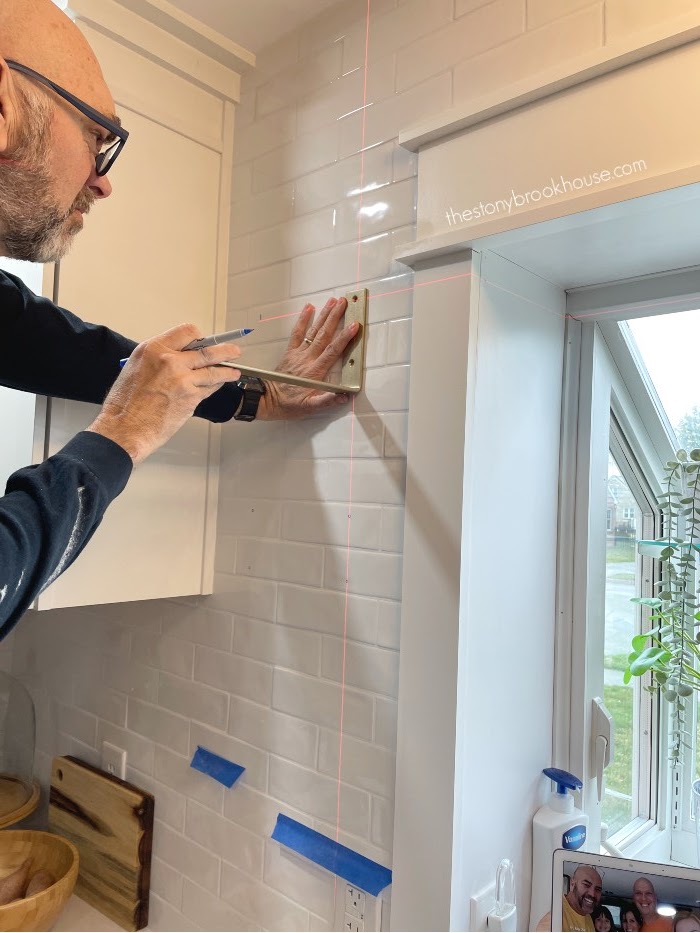
We were a bit nervous drilling into our lovely tile, that we worked so hard on. (Installing Tile Backsplash) However, with a laser level and Hubby's steady hand it all worked out perfect! We LOVE our Laser Level!
When drilling into tile you need to use a special drill bit. We used diamond head bits, these are similar to the ones we used. The trick with tile bits, is to tilt the bit at an angle while drilling just until it bites the tile. Then you can straighten it out to drill out a clean hole. Be patient, it takes longer to drill holes in tile.
While hubby was drilling, I ended up spray painting the shelf brackets. I purchased these 12" gold ones, but the gold was a bit weird. I painted them with Rust-Oleum Gold Metallic paint. It matched the closest to my kitchen hardware.
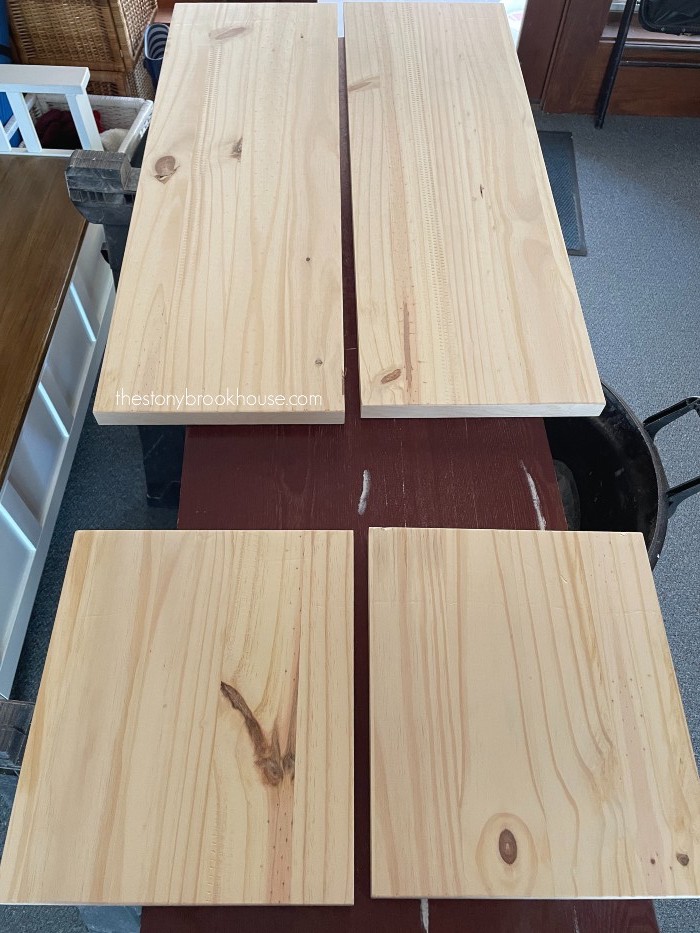
Now for the actual shelf. We didn't want to purchase a huge sheet of plywood. We wanted it thicker than a regular 1x12. We were kind of stumped, until we stumbled upon this piece of wood. It was a 4'x 24" Unfinished Spruce Pine Fir Board at Lowes. It was 3/4" thick, which was perfect! We ended cutting it in half, which have us 2 - 4' x 12" boards. Then we cut the long shelves to just under 36" and used the rest for the smaller shelves. It worked perfect with no waste!
This board is a bunch of boards glued together, that's how it was manufactured. They did a pretty good job, because it almost looks like one solid board. But the edges give it away. I wanted to remedy that, because I want it to like like a solid piece of wood.
Also, if you've ever stained wood before, the end edges always take the stain darker and more uneven.
To fix both problems, I purchased some wood edge banding. I used this in a sheet form when we built our mantel at our Stonybrook house.
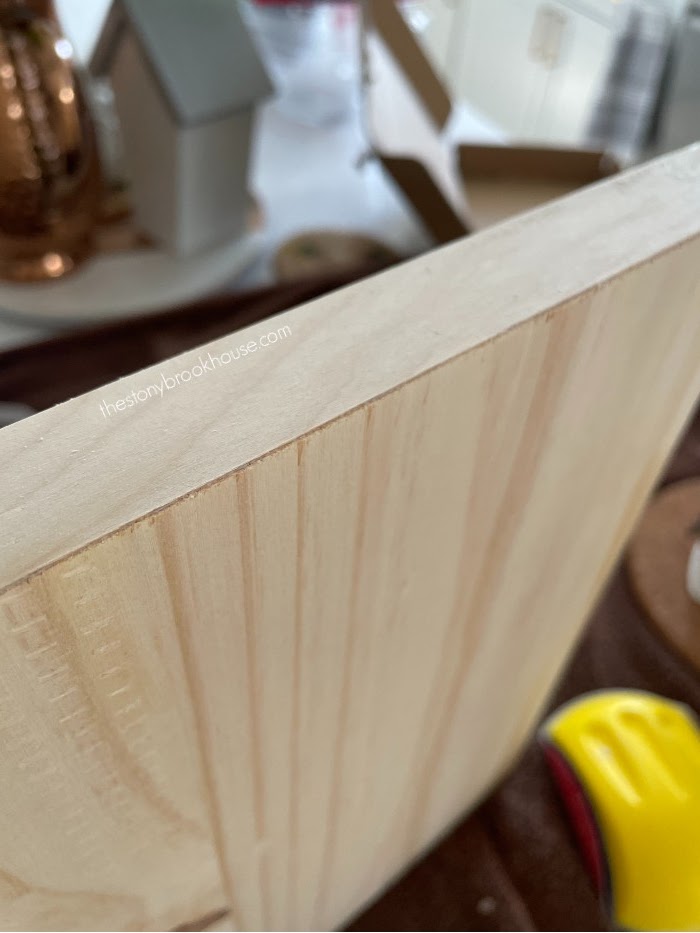
Wood edge banding comes in a roll and you basically iron it on. You can also purchase it in different widths. I found it super easy to use. I purchased the 1" width and you can use a utility knife to cut away the excess. Here you can see the edge looks a bit rough.
All you have to do is sand it just a bit and it smoothes right out and looks like it was meant to be there.
Now for some stain and we are in business!
I chose the best side to be the bottom of the shelf, since that's the part you will see the most. I always stain the best side last. I mixed 2 stains to get this color.
First step, wood conditioner. Next, one quick and light coat of Minwax Classic Gray , wipe off excess immediately. Then a coat of Minwax Provincial, and also wipe off excess. You can play around with it about adding a little more gray or a little more provincial. Lastly, a protective coat of Minwax Polycrylic in Satin.
Next time I stain, I might try a waterbased stain. My daughter just tried one and really liked it. It's a totally different consistency. Sounds interesting.
These shelves were pretty easy to install once the brackets were up. Basically, make sure they are even and put the little screws in underneath. That's it!
I was going to also include our under cabinet lighting in this post, but this one is long enough! Next time!
We are loving these shelves! They really add character to our kitchen!
Here's links to all of our Kitchen Remodel!
1960 Kitchen Remodel Plans
Kitchen Cabinets Going In
More Kitchen Demo
Kitchen Update - Ceiling Paint
Building A Shiplap Island
Why I Chose Quartz Counters
Where To Put the Microwave?
Building A Stove Hood
Fridge Enclosure
Kitchen Tile Backsplash
Bakeware Organizer
How We Built All These Drawers
Installing Open Shelves On Tile Walls
Installing LED Undercabinet Lights - No Soldering
Blessings,
Lori






No comments
Post a Comment
Comments are awesome! Let me know what you think!