*This post contains some Amazon affiliate links. As an Amazon Influencer, I earn from qualifying purchases. Please see my full Disclosure Statement.
Building drawers aren't nearly as difficult as you might think. You just need to know the basics and then every single drawer is the same! We saved some of the cabinetry and drawers from our 1960's Kitchen Demo and reused them in some of the drawers. Yes, it made it a bit more challenging, but we love repurposing. It's good wood, so we used it!
(Btw... if you want to see all that we've done in this kitchen remodel, all the links are at the end of the post.)
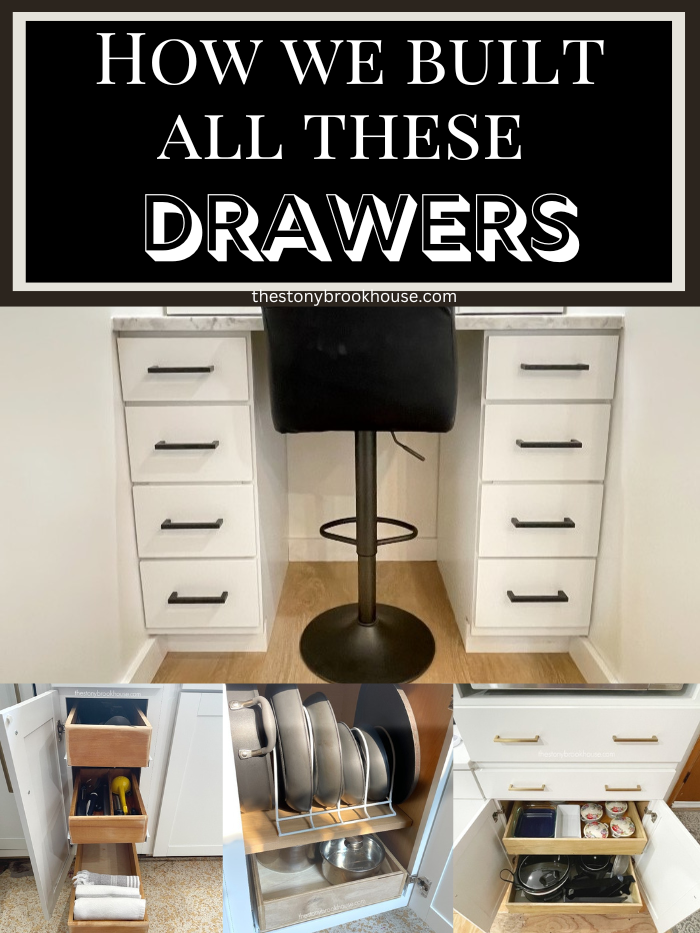
It was super important to me to have drawers in this kitchen remodel, whether they were actual drawers or drawers inside a cabinet. I wanted ALL the drawers!! I didn't have them in any kitchen before, and it is such a pain to have to reach waaaayyyy in to the back of a cabinet to that dumb little half shelf. If you know, you know!
This is soooo much better! Yes, it took time, but it was so worth it. We also tried to make them as budget friendly as possible. We didn't splurge on soft close drawer slides. We have used a few, and to be honest they aren't all that great. So, we have them in a few strategic drawers that we felt needed the added weight support.
This is what we felt was the basic drawer build and it didn't really matter which drawer slides we used or what size cabinet. Building the drawer was the same.
First you measure the inside of your cabinet. This tells you the width of the space your drawer has to slide through.
This is a standard 18" cabinet. The width of the opening is 15". Each drawer slide needs 1/2" on either side of the drawer. That means you need to make your drawer 14" wide. So, basically for every cabinet you subtract 1" from the width of the opening.
The depth of standard base cabinets is 24". We made our drawers come to the front edge of the cabinet and made all the drawers 23" deep. You can make the shorter, it's up to you. I personally wanted to use the maximum amount of space.
These are the drawer slides we used. Richelieu 22" drawer slides at Lowes. They were $10 each.
Okay, back to the basic drawer build. You can make the sides as tall as you want, depending on how many drawers you are putting in. I just went with about a 3" side, some I made taller. You can customize to whatever you want.
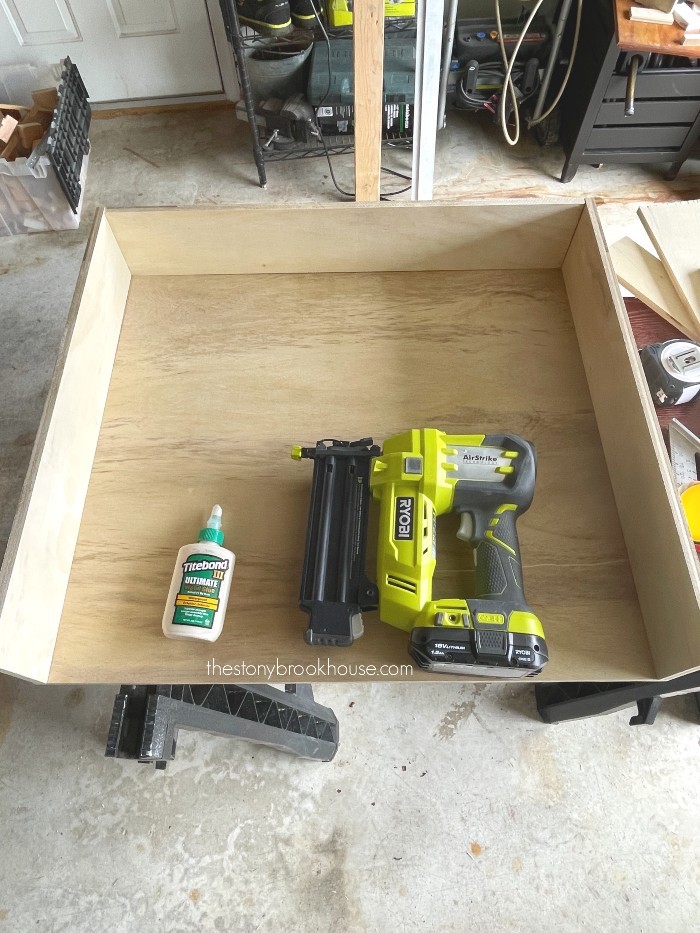
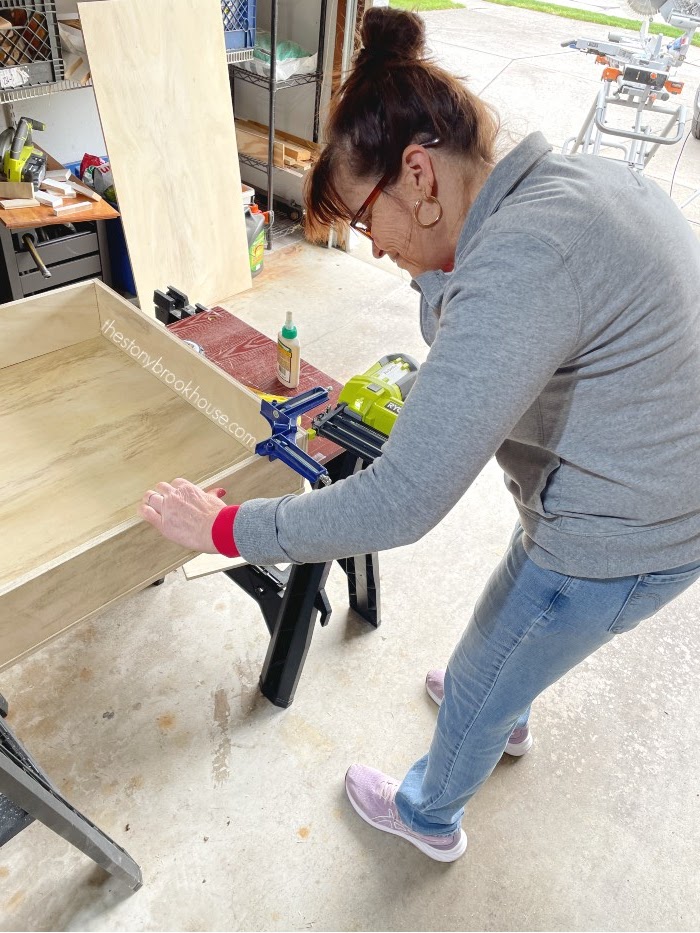
It's 4 sides and a bottom. I love those corner clamps. They help to make the corners square. Then I just glued and nailed them together. Glue - Titebond Ryobi Nailer (favorite tool ever!!)
The one thing I suggest, is to decide how you want to build the drawer. You can put all the sides together and then nail the bottom to it like I did above. Or you can build your sides around the edge of the bottom and nail the sides to the bottom of the drawer. You just have to understand your measurements will be different for each way you build it.
We built drawers that go inside a cabinet and we also built drawers that have a front and handles. There really isn't much of a difference except you will add a drawer front piece. That front piece has to cover the opening of the drawer space.
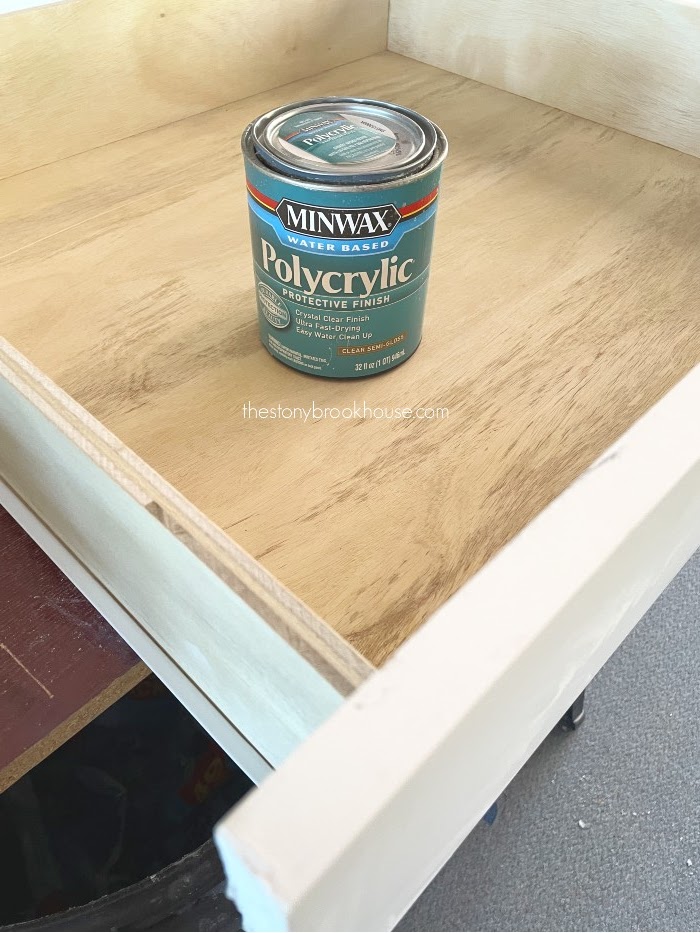
I also sealed all of the drawers with Minwax Polycrylic.
What was really fun was creating drawers from the old kitchen cabinets/drawers. For some reason, I wanted to keep a bit of the old and mix it in with the new.
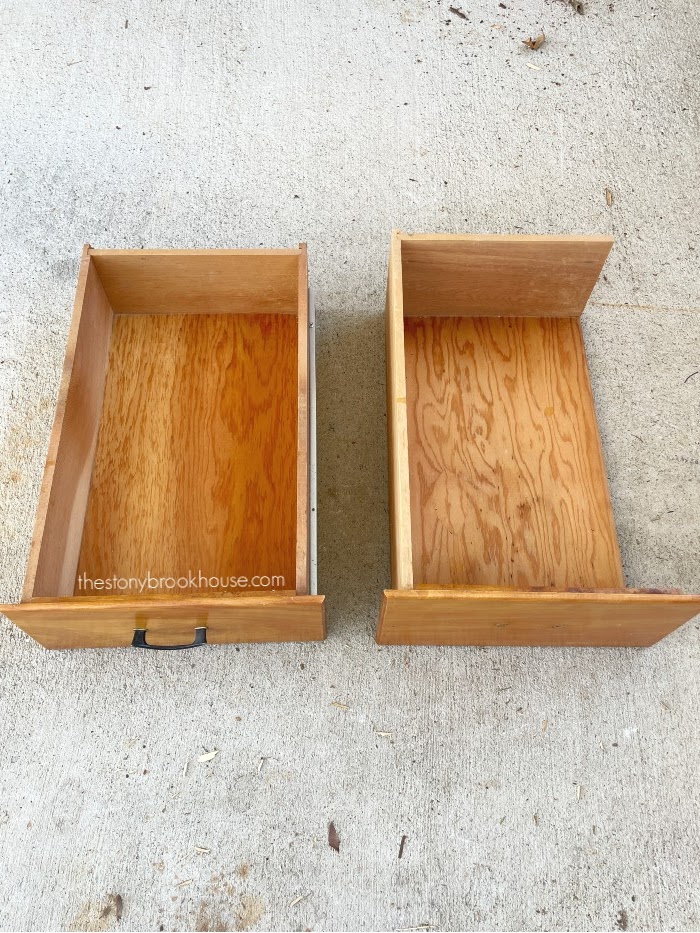
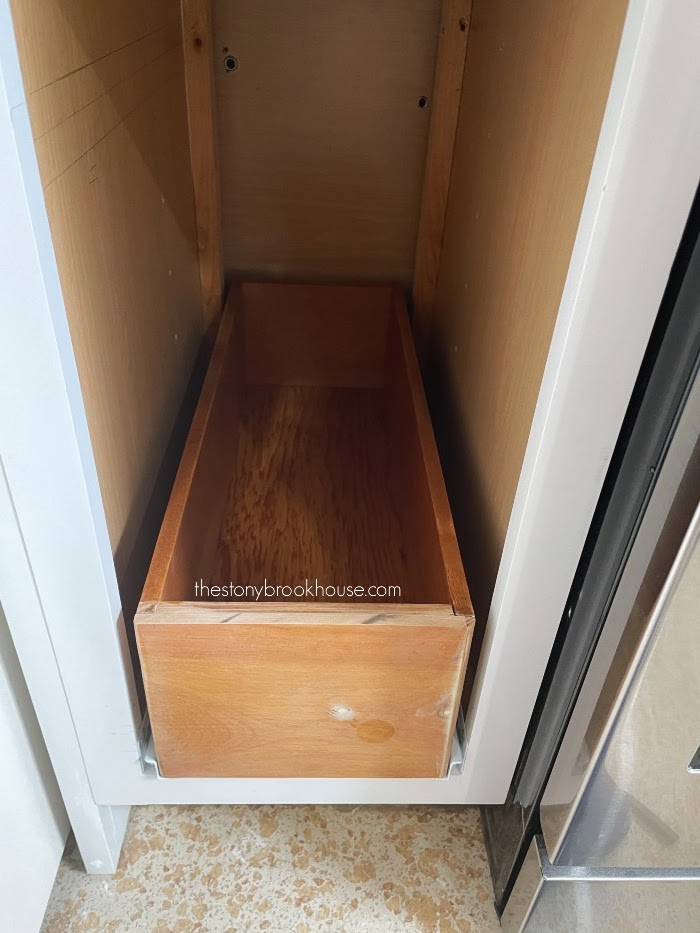
These are some of the old kitchen drawers. In order for them to fit into our new kitchen, we had to resize them. Hubby cut them down on the table saw.
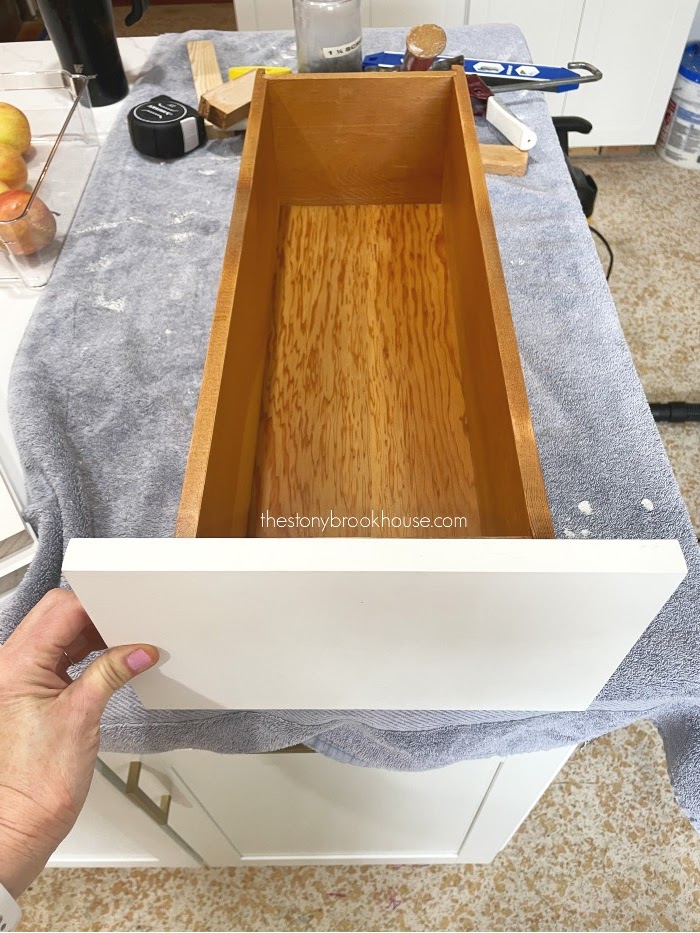
We'd gently pry off one of the drawer sides, and cut it to size. Then reattach the it with nails and glue.
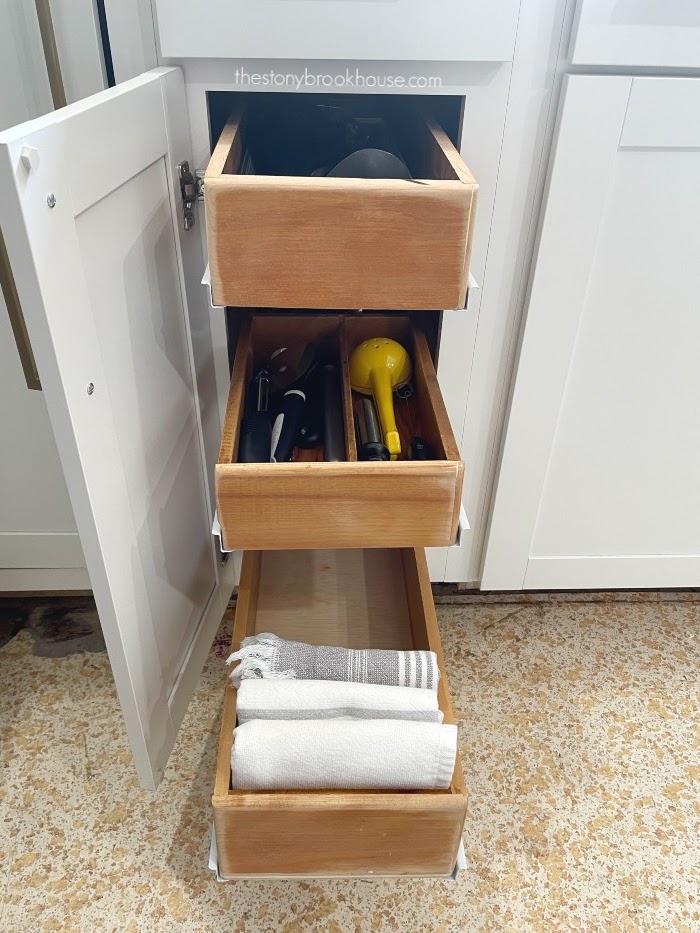
Some of the resized drawers we installed inside a cabinet and some we turned into an actual drawer with handle.
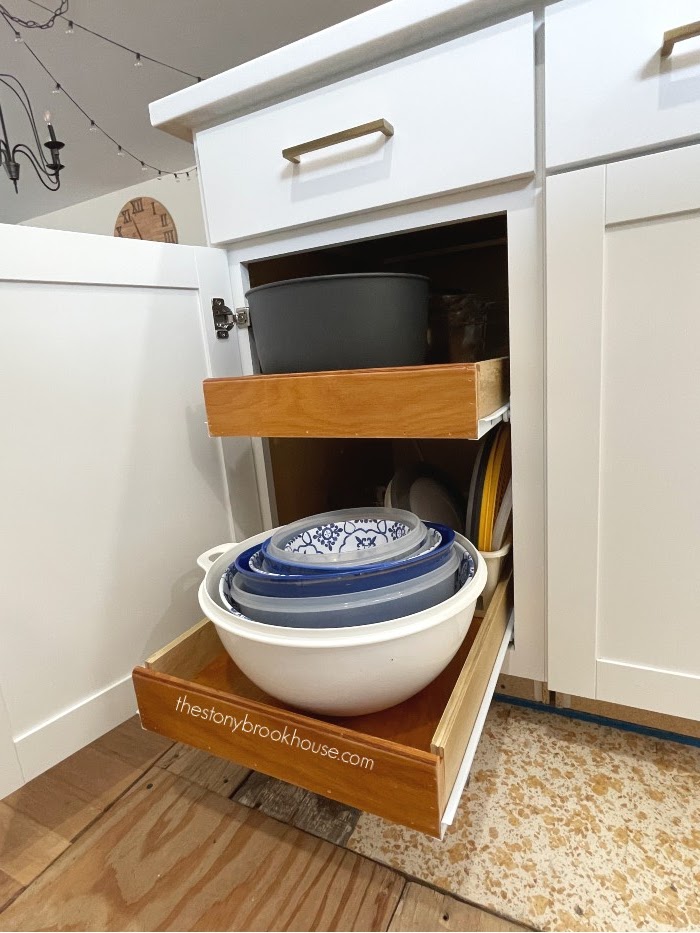
The next picture shows them installed inside a cabinet.
I thought it was super cool, that we turned our regular cabinet into a set of drawers. Did you know that base cabinets with drawers are more than double the cost of a regular cabinet? Well, we did it for the fraction of the cost! We made our own! It was a lot of figuring, that, I don't have the patience for. Thankfully, Hubby does!
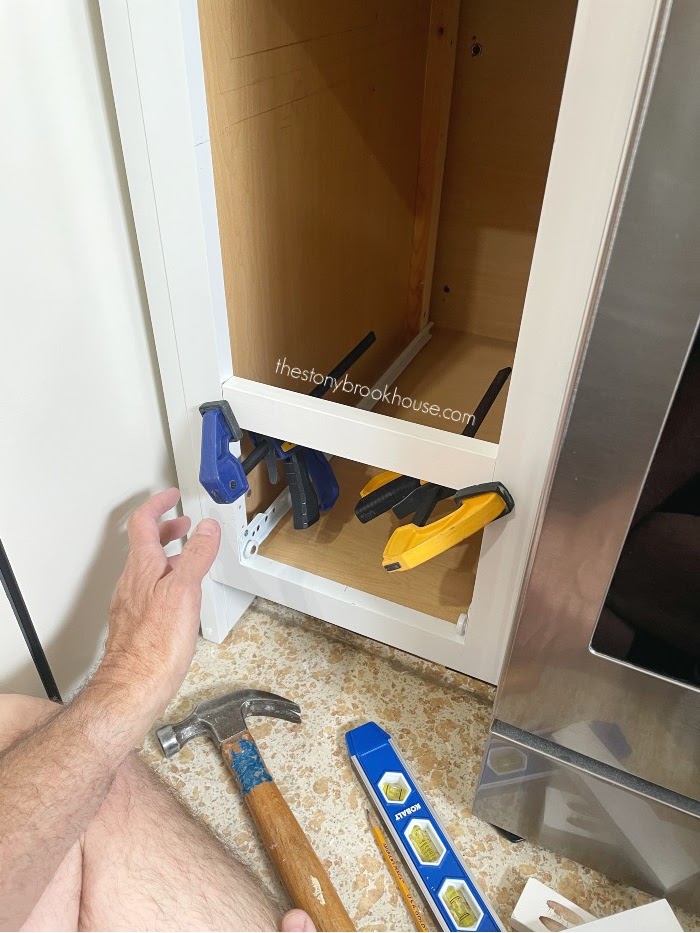
Depending on your cabinet, you may need to install spacers for your drawer slides, inside the cabinets. Our cabinets have a face frame, so we installed a vertical spacer on each side at the back of the cabinet. Each drawer slide can attach to it. The thickness depends on your cabinet. It needs to be even with the opening measurement of the cabinet.
With each drawer, you want to check it out to see how it fits. These drawer slides allow for a bit of imperfection, although, you want to make sure your drawer slides inside the cabinet are as level as possible. (No photos... but we stacked paint cans, or wood, or whatever to the correct height and put a level on it. Then laid the drawer slides in and attached them.)
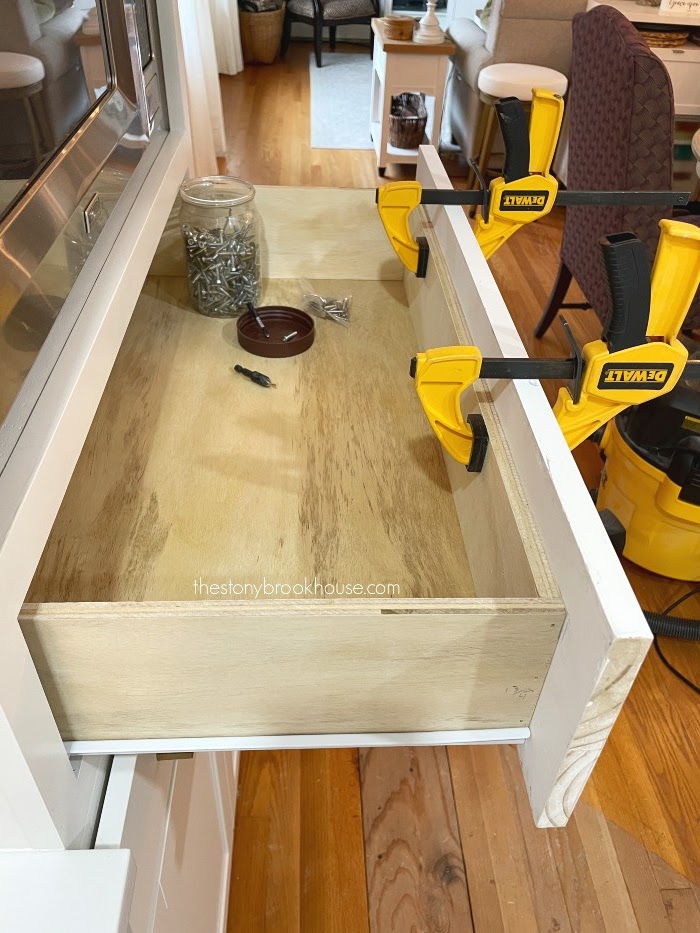
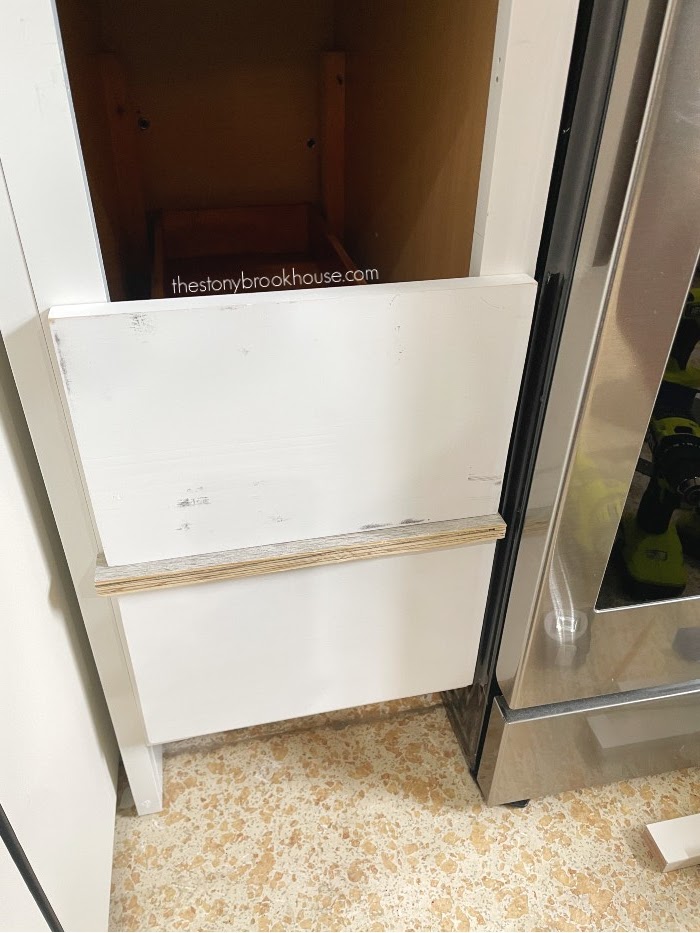
For this cabinet, we're going to add more drawers with fronts and handles. In between the drawers, you need a spacer. Oh! It's going to look so good! You can see inside the drawer how he's marked where the other drawers are going.
He used a piece of scrap wood to use as a spacer between the drawer fronts. This insured that the drawer fronts looked even.
Adding the rest of the slides and spacers for the drawers.
As you can see, it was getting a little tight in there, but he did it! Oh, man! It looks so good!
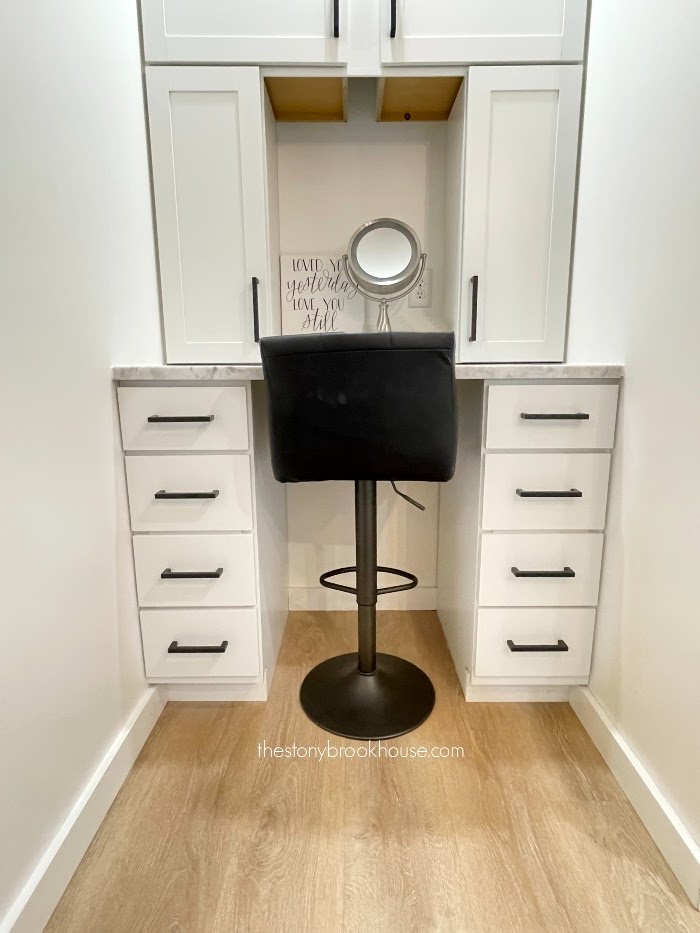
It worked out so well, he decided to make them for my vanity in our master bathroom. Yay! Look how great they turned out!
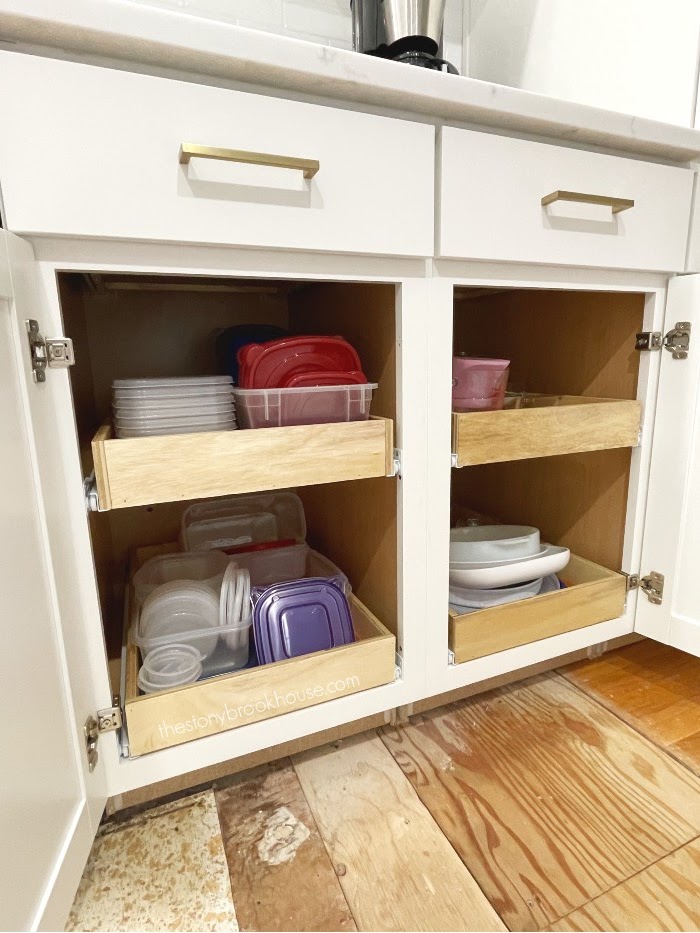
If you look closely in the open drawer photos, you can see that it's actually only 3 drawers. The middle 2 are connected, because I needed those drawers to be taller.
Okay, I know this post is long winded... but lastly we did make more cabinet drawers for the kitchen. Some we used old cabinet wood and when we ran out we made them out of new wood. Some are a combination of old and new wood.
I'm so happy with all of them! It has made our kitchen so organized.
Thanks for reading! Let me know if you have any questions.
Here's links to all of our Kitchen Remodel!
1960 Kitchen Remodel Plans
Kitchen Cabinets Going In
More Kitchen Demo
Kitchen Update - Ceiling Paint
Building A Shiplap Island
Why I Chose Quartz Counters
Where To Put the Microwave?
Building A Stove Hood
Fridge Enclosure
Kitchen Tile Backsplash
Bakeware Organizer
How We Built All These Drawers
Installing Open Shelves On Tile Walls
Installing LED Undercabinet Lights - No Soldering
Blessings,
Lori











They look great! If we don't have wood, is plywood 3/4 what you would use or would you use something else?
ReplyDeleteThanks for sharing your ideas and DIYs with us!
Thanks so much!! We used 1/2" plywood. That seemed to work perfect for us. Some of the older wood we had was 3/4" which we used for the bottom part of the drawer.
Delete