*This post contains some Amazon affiliate links. As an Amazon Influencer, I earn from qualifying purchases. Please see my full Disclosure Statement.
I was so excited to tile our kitchen backsplash! When we lived at Stonybrook, we never did any sort of backsplash. We just left the wall painted. Here I knew we HAD to install a backsplash. The plaster wall was so wonky, plus I knew a tiled backsplash would take our kitchen to the next level! 😍
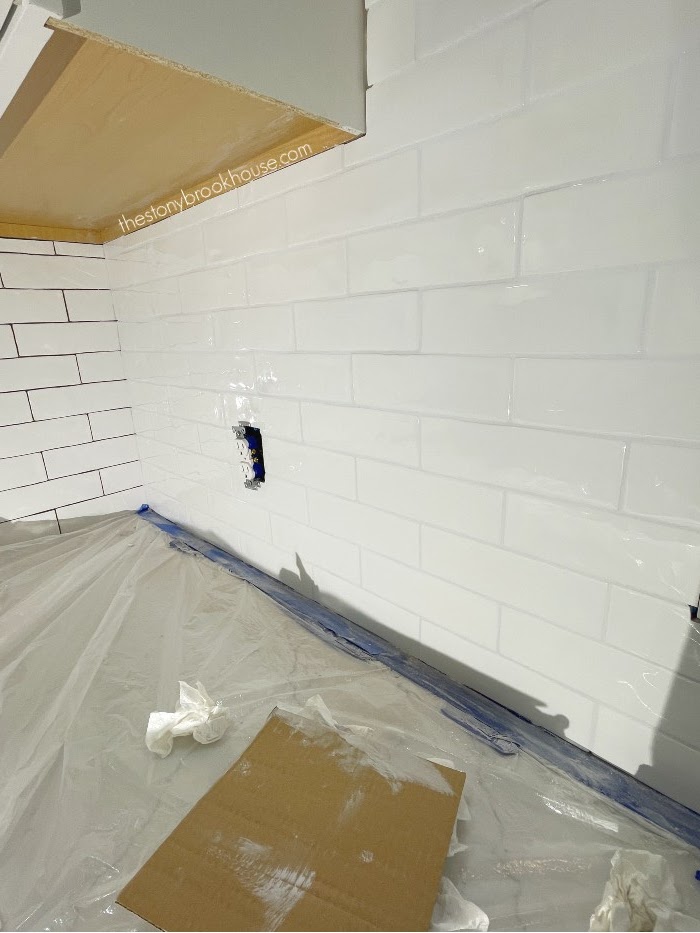
The tile I dreamed of had to be white, it needed to be classic and timeless... yet, I wanted it a bit different. The tile we picked was perfectly imperfect! It was a bit wavy, the edges were handcrafted. It was very forgiving! This is the tile we used. It's from Lowes, called Boutique Handcrafted 3x8 Glazed Ceramic Subway Wall Tile. We also used 1/16" spacers. I wanted as small a grout line as possible.
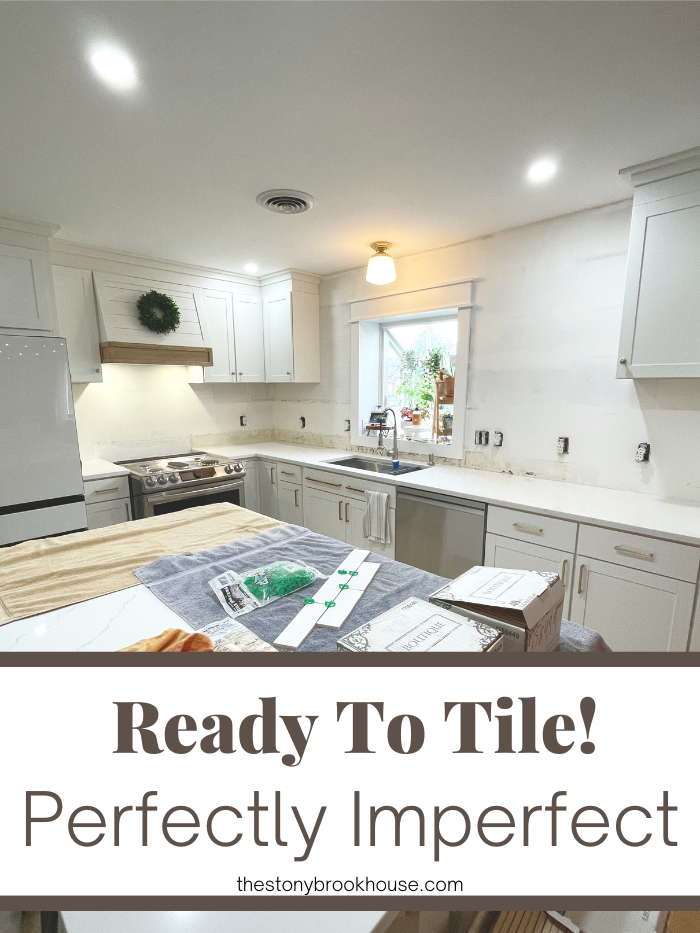
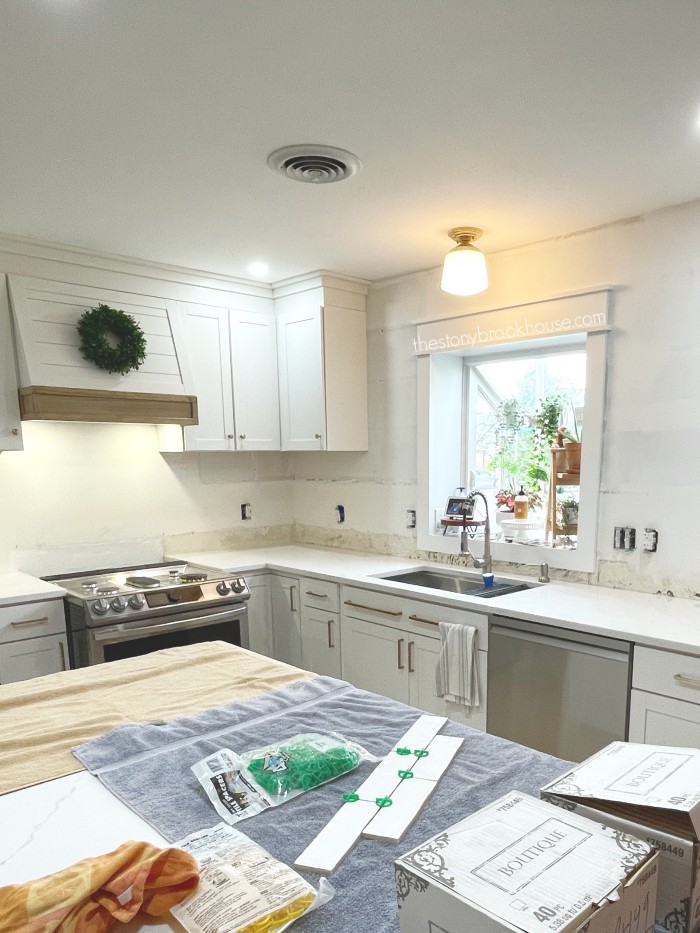
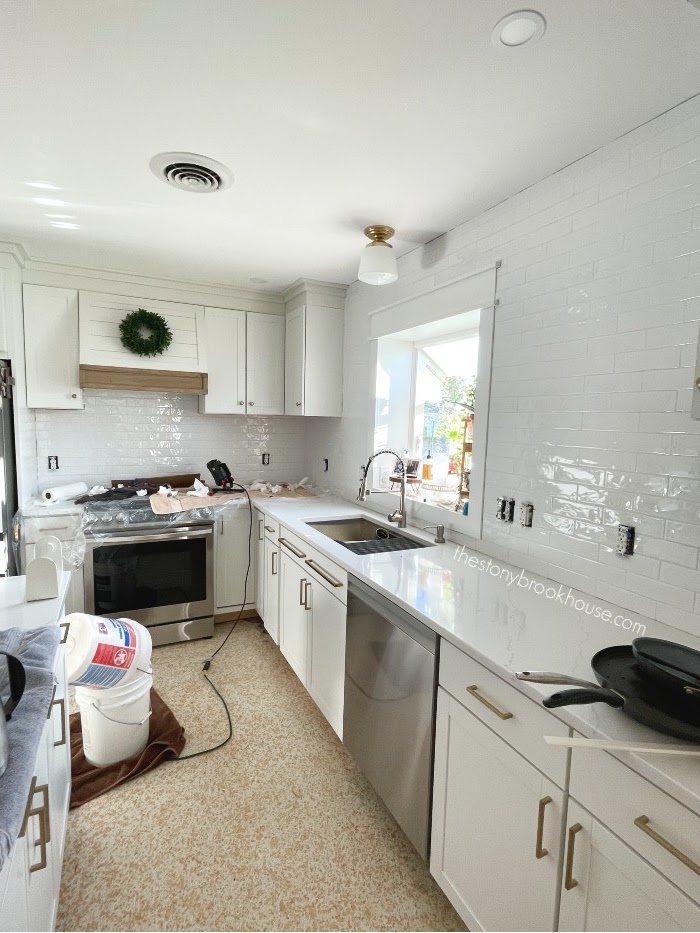
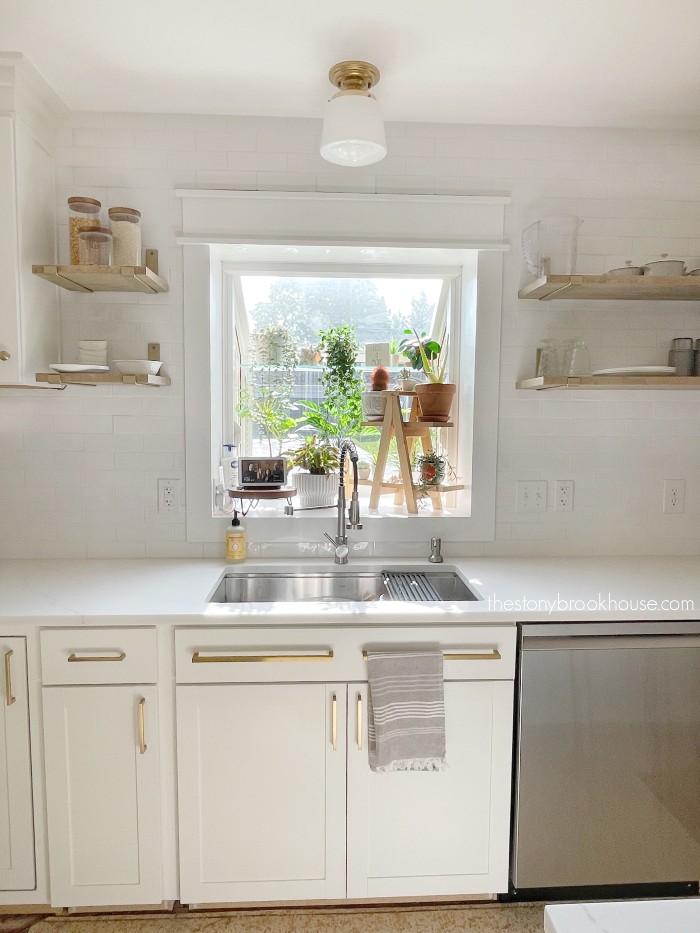
Here are all the areas we are tiling. I love that we decided to tile all the way up the wall to the ceiling on the sink wall.
It is going to be GORGEOUS!! It's been a minute since we tiled last. Our last tile job was our master shower. Tiling The Master Shower
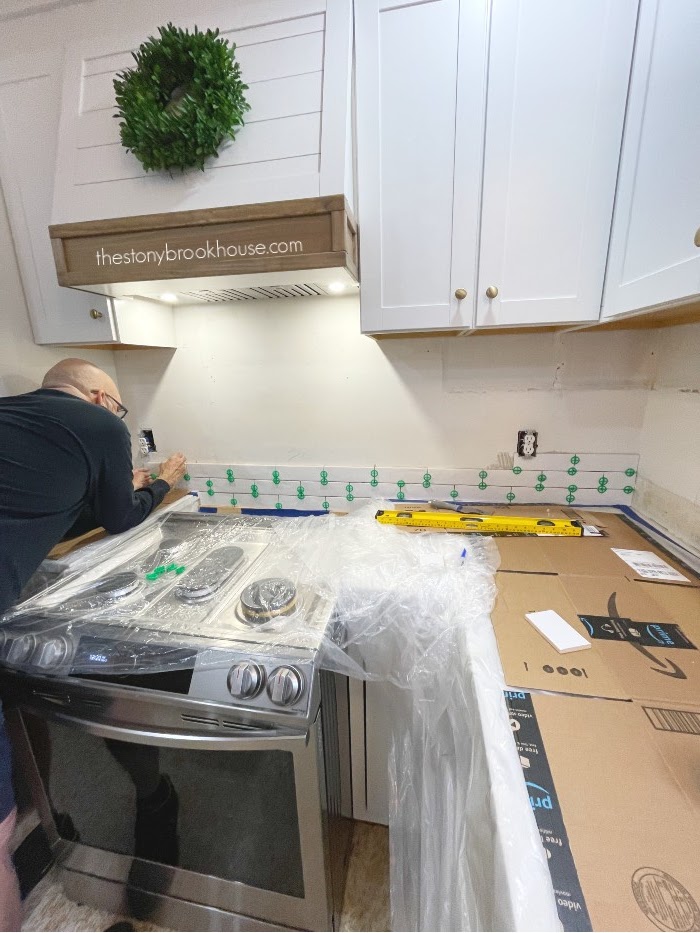
We did the same subway tile pattern, which is super easy!! I think setting up to tile takes the most time. Making sure the first row is super level. We used this laser level. We would not tile without it!
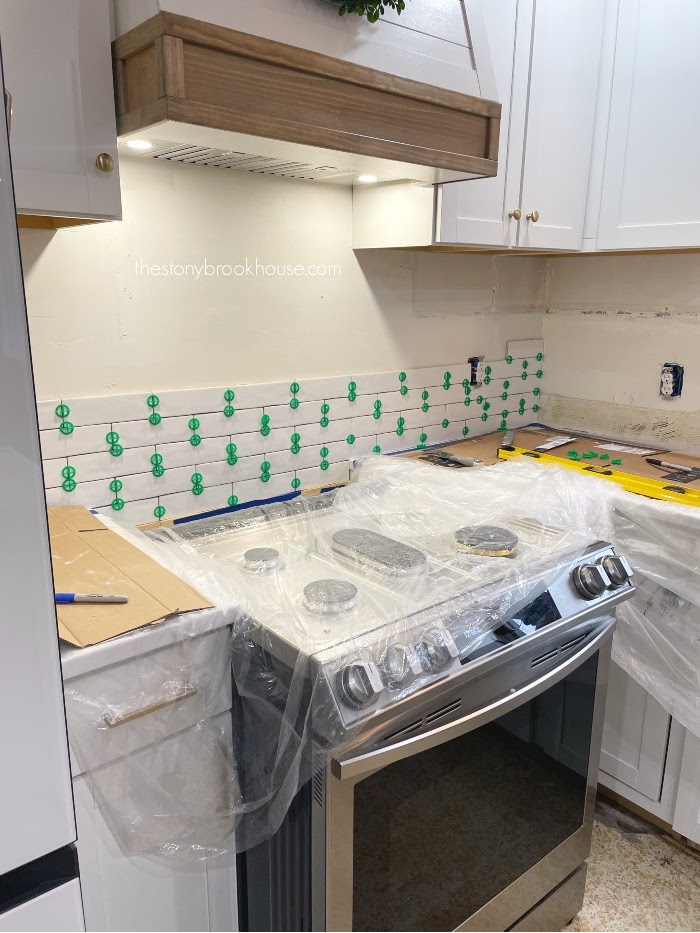
We had to pull the stove out as far as we could in order to tile behind it. (But not too far, the gas is still connected!)
First things first, we taped plastic to the counter and covered with cardboard to protect our lovely counters. Did you see those beauties installed? Why I Chose Quartz Counters.
To adhere the tiles to the wall, we used Mapei white ceramic tile mortar. Just mix in a bucket with water until it's the consistency of peanut butter. We found it easier to backbutter each tile then place on the wall. We just weren't fast enough to smear it on the wall and then place the tiles. This just worked better for us.
It's amazing how fast it started to go. Hubby made all the cuts around the outlets. He's a whiz at using the angle grinder. This is the tool he used with a diamond blade. Dewalt Angle Grinder.
It's looking sooo good!!! We also used just a regular ole snap tile cutter. They are super easy to use! We used one just like this tile cutter.
This is about as far as we got the first day.
Ready to go in the morning!
I know most people only tile to under the cabinets, but my vision for this kitchen was more! I could see it tiled to the ceiling with beautiful wood shelves! Oh! I can't wait!!
Now for some pretty tricky cuts around the window.
All the tiling is finished. This is our waste tiles.... not too bad!
This is the grout I used for the shower, and I'm going to use it here also. Basically, because it's the only grout I've found to be pure white! I don't want white tile with beige grout. This grout is tricky to use, but once you get the hang of it, it's a breeze! Mapei Ultracolor Plus Max in Pure White.
I mixed very small batches. It's easier to control with the short amount time before it starts setting. This grout is all about the time it has to set. It's a short window about 10-15 minutes, then you need to start sponging off. You cannot wait, it will harden and you won't be able to get the haze off.
It's also very particular about how to mix it up, nothing like the mortar! I measured with a scale 3.02 oz of distilled water (you don't want any impurities to mess with the color of your grout) to 1 pound of grout powder. Then mix. It came out perfect every time. It's important to mix very well! You'll think you've mixed it enough...then surprise!! You'll see a blue streak and that's your clue to mix more!
This grout is a beautiful white white and looks amazing with the white tile!
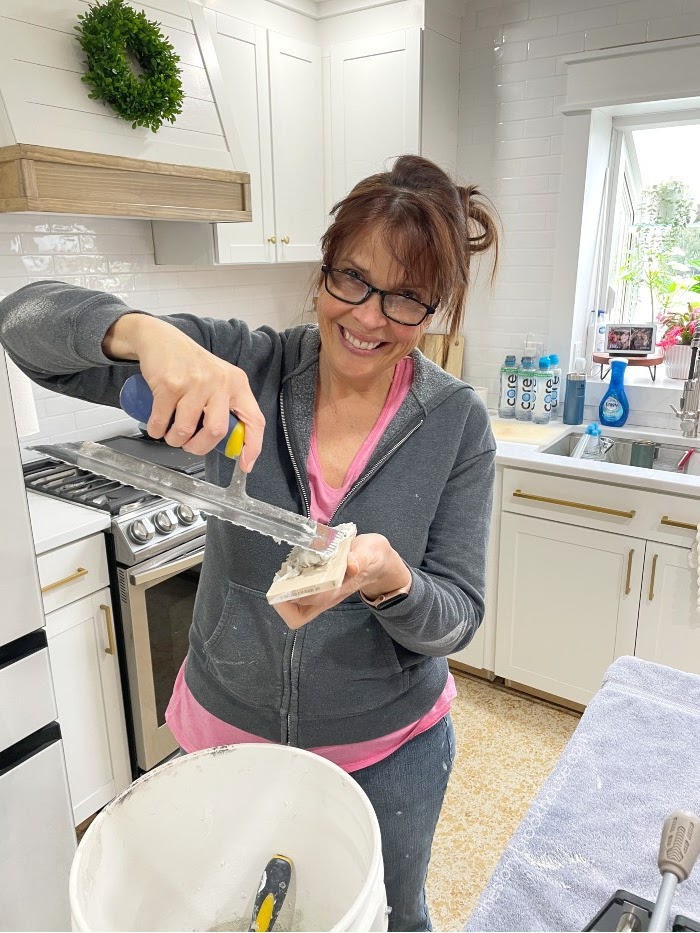
Doing small batches is the way to go! Mix grout, smush it in with a grout trowel. You have 10-15 minutes to use up all the grout, which I did and worked out perfectly. Then come back with your wet sponge. You need 2 buckets of water. One to dip you sponge in and one to rinse out your sponge. I felt that kept my sponge the cleanest for wiping the tile.
Then come back immediately and buff out the haze. I used paper towels. You do need to be careful at first not to 'hit' the grout and just wipe the tiles, but in about 5-10 minutes of going over the area, it's already hard and you can buff the corners of the tiles. Then that section of tile is completely done!
I just love it! Especially how 'imperfect' it is! It really hid all of our mistakes. Which is why I called it perfectly imperfect!
I was sooo tired that night, but I only had this little bit to do. I had to finish!
Finished! Well.... we thought we were...
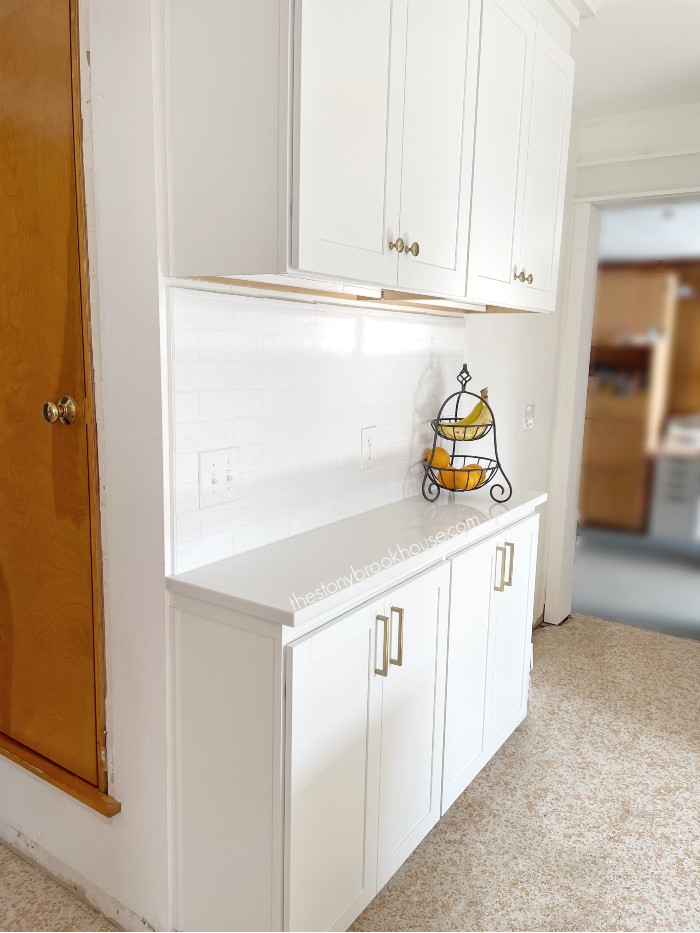
We decided to tile one more area... The little bar on the other side of the kitchen. We used Schluter tile edging strips on each end to finish the edges of the tile. They are pretty easy to use and give it a nice edge.
That went super quick...
Okay, now were done! It looks sooooo good! Once we add the under cabinet lighting and trim it will be perfect!
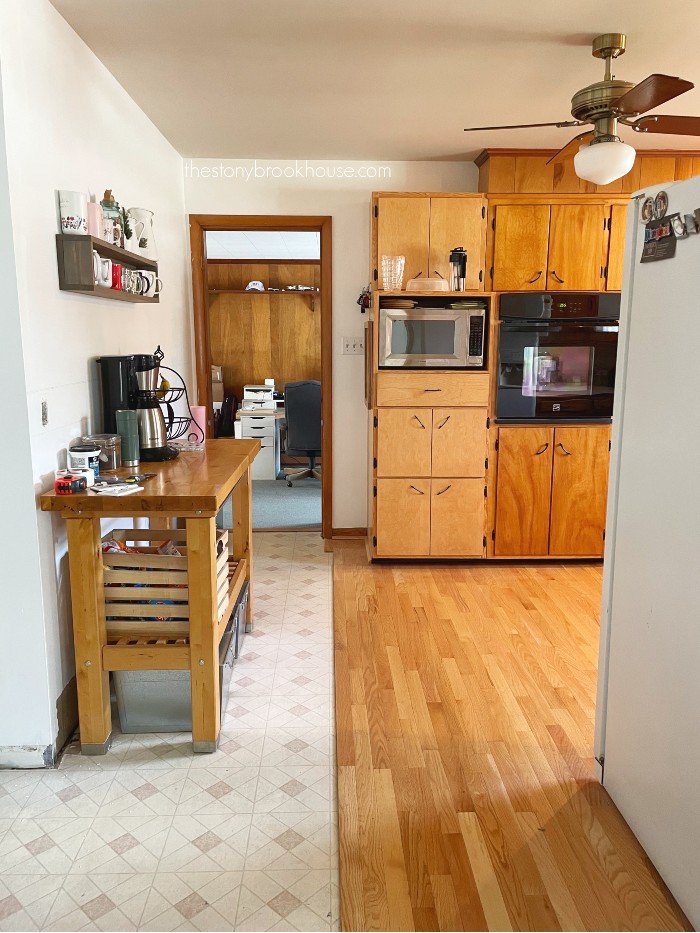
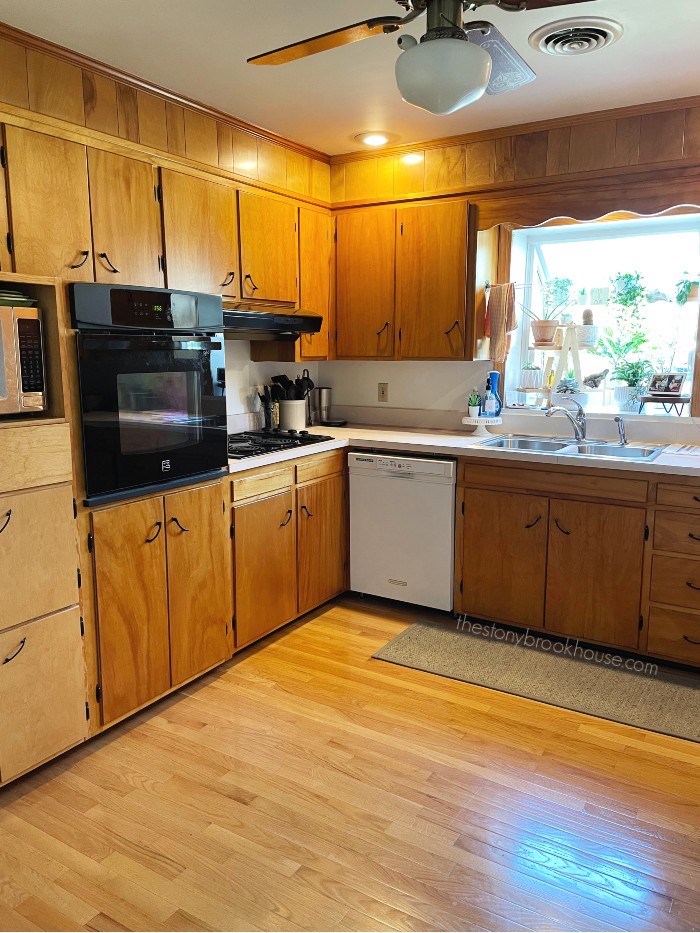
I can't believe this is our kitchen! This is what I dreamed of the minute we walked into this house over 2 years ago. We went from this...
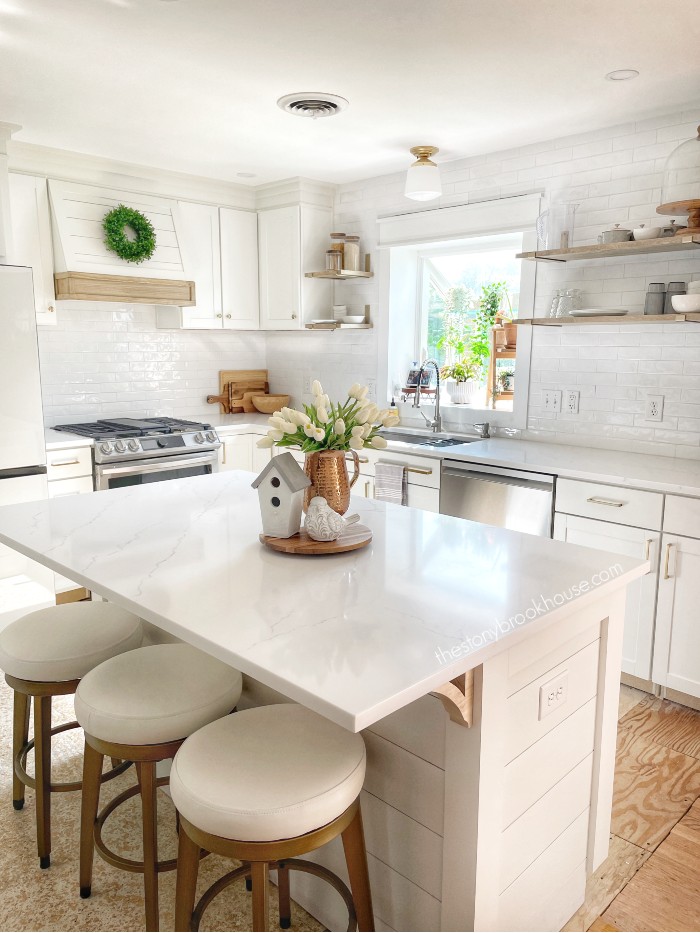
To this gorgeousness!!! Someone pinch me! Yes, we've already added the shelves! They aren't completely decorated yet, but they look soooo good!
Blessings,
Lori
Here's all the start to finish progress we've made in the kitchen!
1960 Kitchen Remodel Plans
Kitchen Cabinets Going In
More Kitchen Demo
Kitchen Update - Ceiling Paint
Building A Shiplap Island
Why I Chose Quartz Counters
Where To Put the Microwave?
Building A Stove Hood
Fridge Enclosure
Kitchen Tile Backsplash
Bakeware Organizer
How We Built All These Drawers
Installing Open Shelves On Tile Walls
Installing LED Undercabinet Lights - No Soldering













It looks so beautiful! You and Mike did a great job!
ReplyDeleteThanks so much, Elaine! I really appreciate you taking the time to comment! <3
DeleteYour kitchen is stunning! Nice job! I have two walls in my kitchen I want to tile. You've motivated me to get on it! Happy Memorial Day weekend!
ReplyDeleteHi Donna! Thanks so much! Yes! Do it! You will be so happy you did. Have a great weekend! Thanks for stopping by!
DeleteThis is Bliss, I can’t comment under my name or blog from my phone today for some reason. Anyway, it looks great! I never had a backsplash till our redo either, just wallpaper, and I love mine too, might be my favorite part.
ReplyDeleteHi Bliss! Ugh... I don't know what the issue is with commenting. It's such a pain sometimes... Thanks so much! :)
DeleteIt's looking nice! I want to do a kitchen backsplash but I have no idea what to pick!
ReplyDeleteHi Liberty! Thanks so much! It's a tough choice, but I knew what I wanted. When I saw that tile I knew that's what I wanted! Thanks for stopping by!
Delete