*This post contains some Amazon affiliate links. As an Amazon Influencer, I earn from qualifying purchases. Please see my full Disclosure Statement.
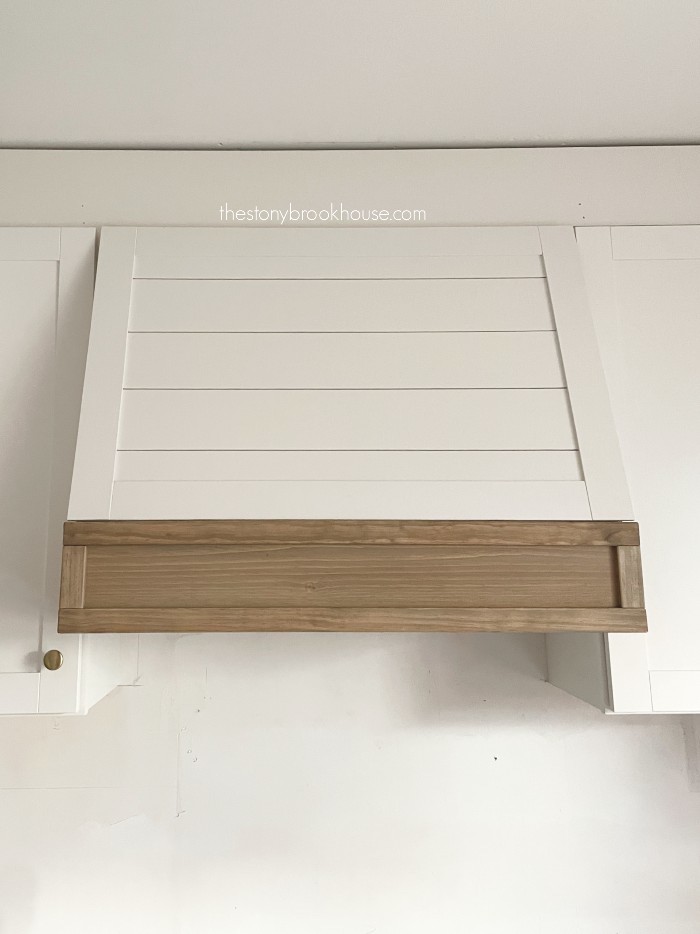
Yes! We did it! When we started this kitchen remodel, I knew I wanted a simple stove hood that had a wood contrast. This is pretty much exactly what I had in mind!
If you want to see the process of our kitchen renovation, here are some links to check out.
1960 Kitchen Remodel Plans
Kitchen Cabinets Going In
More Kitchen Demo
Kitchen Update - Ceiling Paint
Building A Shiplap Island
Why I Chose Quartz Counters
Where To Put the Microwave?
Building A Stove Hood
Fridge Enclosure
Kitchen Tile Backsplash
Bakeware Organizer
How We Built All These Drawers
Installing Open Shelves On Tile Walls
Installing LED Undercabinet Lights - No Soldering
This post, by no means will be a "tutorial", but it will show you the steps we took to build our stove hood.
We wanted a vented exhaust fan. The recirculating ones are fine, but we felt better with a vented one, since our stove is gas. That means we will be cutting into the ceiling and roof in order to vent it. We planned on a 30" stove hood for our 30" wide stove, which is pretty standard.
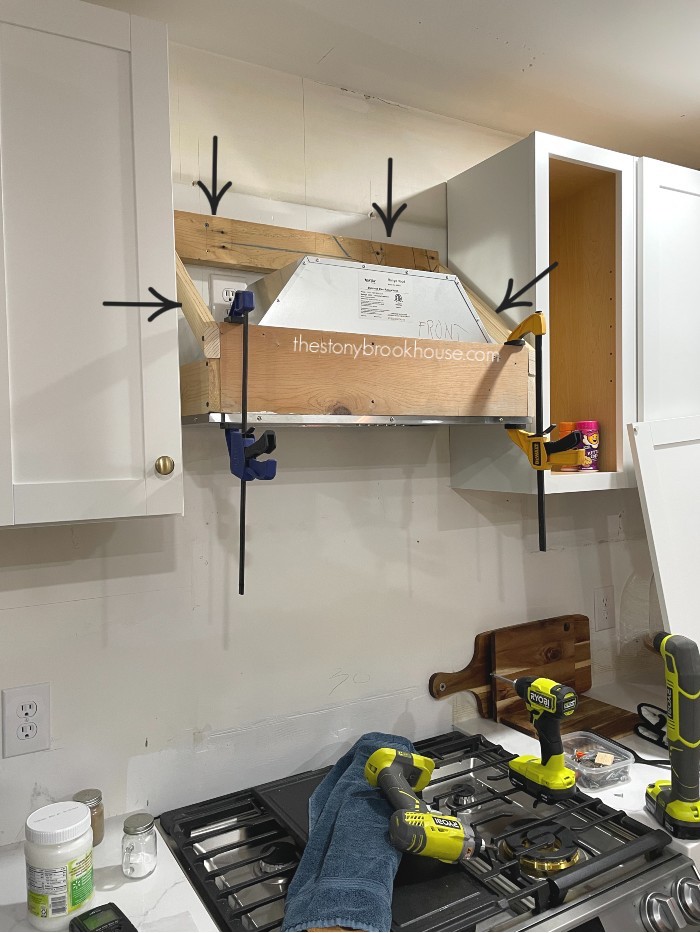
We had already installed an electrical outlet in the space where the stove exhaust fan would sit. Here hubby is attaching the frame to hold the fan. We purchased our stove exhaust fan on Amazon. It is an EKON 900CFM vented range hood. It had pretty good reviews and it was WAY cheaper than anything at Lowes or Home Depot. We've had it now for 6 months and are still happy with it!
Above, hubby added additional supports for the weight of the stove fan. We've got it in there pretty snug!
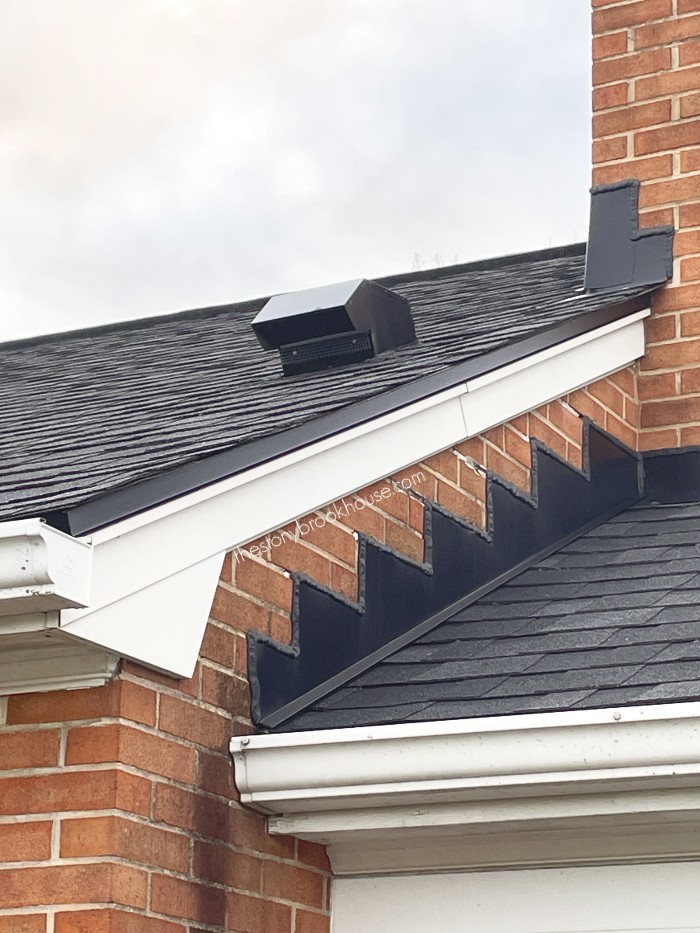
Next, it was time to install the vent pipe through the ceiling into the attic and through the roof. He did an amazing job. We were a tad bit nervous cutting a hole in our new roof, but it all worked out great!
Now that the stove exhaust fan is functional, it's time to dress it up! We used 3/4" plywood to form the sides of the hood. Hubby worked his magic numbers to achieve the correct slope.
You can see that the 3/4" plywood still wasn't wide enought to fill the gap between the cabinet. We added a very small filler piece to make it all fit.
Before we get too far ahead of ourselves, we needed to figure out the size of the 'door' for the stove hood. I have such a cool plan for that! Looking good!
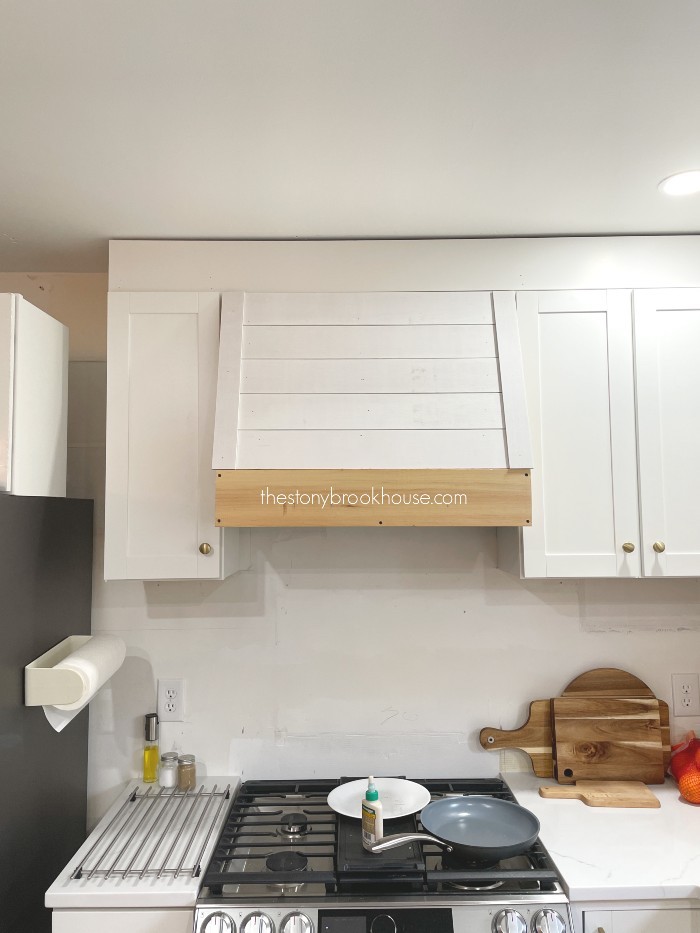
I want to paint the top half of the sides white to match the cabinets and the bottom part to be stained with trim pieces added.
It worked out perfect! The trim pieces will hide all the screws that hold the whole thing together.
If you look in the next photo, you can see that we added a 1x2 at the top of where the door will hinge. This is where we will add a piano hinge.
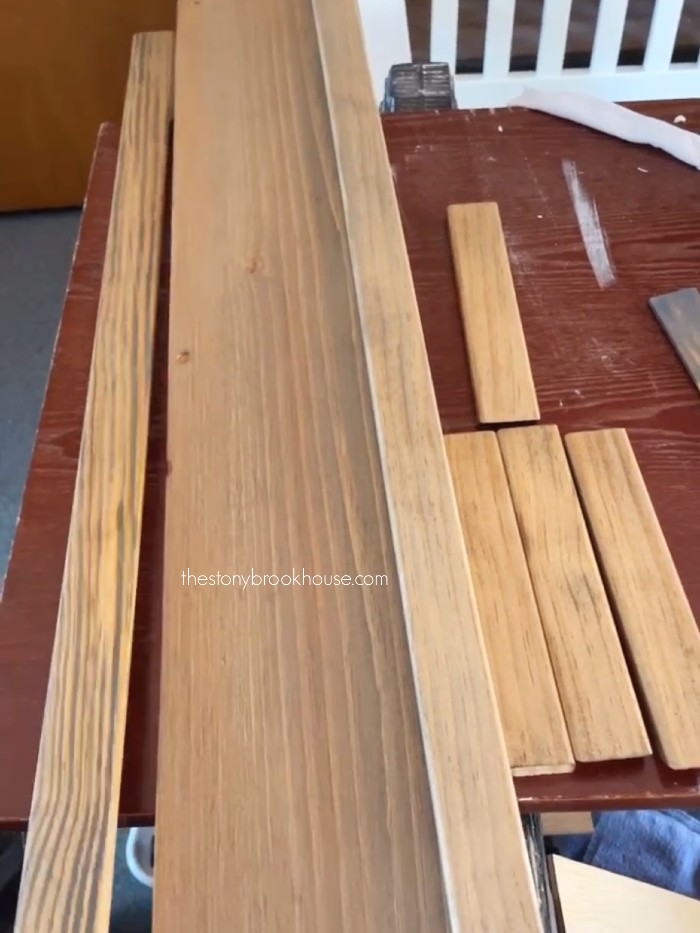
Loving this! It took us awhile to settle on a stain color. I think it's the perfect tone, not too gray, not too orangey brown.
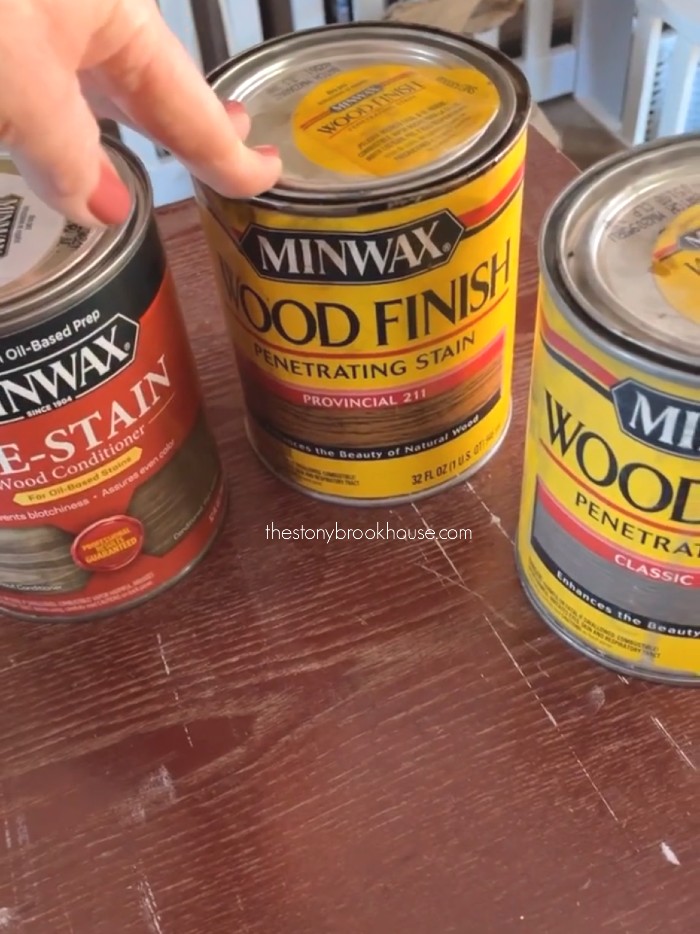
This is the combination of stains. First, I always use Minwax Pre-Stain. This keeps the stain smooth and even. Then I use the Classic Gray stain, wipe on and off, then Provincial stain, wipe on and off.
These trim pieces came out great. Except the long piece on the left. I saw the grain on it before I cut it and I had a feeling it was going to stain weird. And it did... ugh! I went and got a new board without that weird zebra graining. It worked out fine!
Now, we're ready to work on the 'door'. I wanted to shiplap the door and give it a trim to mimic the cabinets. I used the underlayment 'shiplap' and used a nickel for the gap. Nailed them on then added trim pieces.
Wow! It's really taking shape! Just a few more pieces of trim for the door, spackle and paint.
We need to stain the front piece and add the trim pieces. Then hubby added the piano hinge at the top, so we can open it if needed.
You can see that we've already started building the cabinets to the ceiling.
I glued all of the trim pieces so that I didn't have to fill any nail holes. We used Liquid Nails. It's a bit thicker than regular wood glue, so the pieces didn't slide around much. It worked out perfect!
Loving how this project came out! It looks like it was meant to be there and goes so well with the cabinets.
On to the next project! Can you guess? Fridge enclosure? Backsplash tile?
Blessings!
Lori






I like the vent-a-hood. It blends great with the cabinets. You will really enjoy the new look.
ReplyDeleteThanks sooooo much! We are thrilled with how they turned out!
DeleteIt looks fantastic! You and Mike have and are doing a great job. I look forward to seeing more. Elaine
ReplyDeleteThanks, Elaine! We are so happy with our little kitchen. :)
Delete