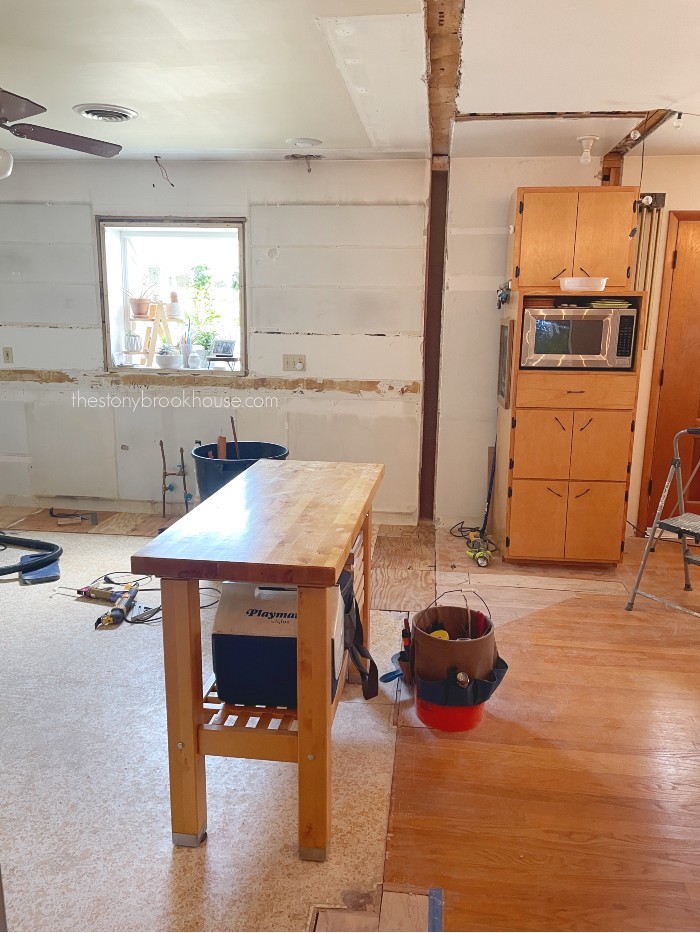
The last post I shared on our kitchen remodel, was where we demoed the wall between the living room and kitchen. What a difference!! You can see that fun at Kitchen Demo - Last Wall To Come Down.
Then we started installing our base cabinets! It's really starting to look like a kitchen again!
While the cabinets were going in, I was working on the ceiling. The goal was to patch the ceiling so that it looked like there was never a wall there.
Easier said than done....That ceiling was a bear to do.
It's clear to see where the wall and closet was. I cut drywall pieces to fill in the spaces. Taped and mudded the seams. Because there was a wall there the ceiling didn't exactly match one side to the other... Lot's of mudding and mudding and mudding.
I can't even tell you how many coats of drywall mud I did. At the ceiling, the walls before didn't exactly match. One side of the wall was lower than the other, so you had to blend it all together.
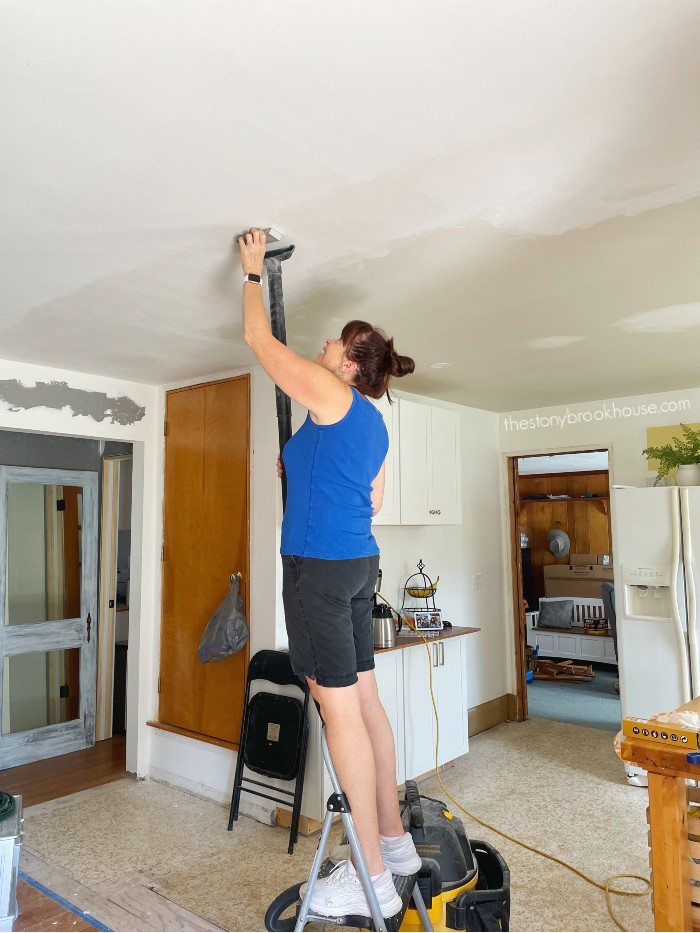
Then once that was done, it all had to be sanded. The key was not to get drywall dust all over the house. I had a system that really worked well. It's just killer on the arms!
I had the sanding block in one hand and the shop vac in the other. Thankfully, it kept the dust to a minimum.
Then I learned a thing or two about ceiling paint. They are not all created equal, that's for sure!!
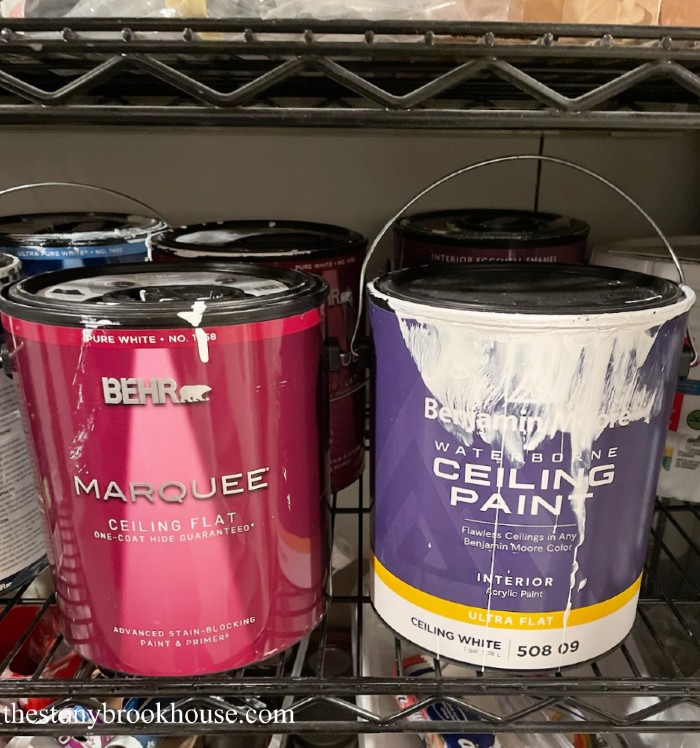
For the ceiling, you want the flattest flat paint you can find. I found that flat isn't always completely flat. The first can of paint I purchased was Behr Ceiling Flat paint. I've used it before in the other rooms. It worked fine. I love Behr paint!
So, I confidently painted the whole kitchen! When it dried, I was shocked! The Behr ceiling paint seemed to still have a slight sheen??? What??!!
This room is unique... there is a ton of light coming in. When light bounces off any sort of sheen it will show ALL the imperfections.
I can tell you that this ceiling has some imperfections... There are some bumps and waves and I could see every single one! Ugh! I did not want to mud and sand again! No way... not happening!
It's really really hard to get it perfectly smooth, especially when I'm trying to blend 'two ceilings into one'. So, I need a super flat paint to cover up the many imperfections.
I did a little research... Benjamin Moore is known for their ceiling paint. Apparently, the flattest flat paint is called 'dead flat'. That's what I wanted!! The paint I purchased was Benjamin Moore Waterbourne Ceiling Paint in Ultra Flat. It was a couple of bucks more, but nothing crazy.
The flatter your paint is the less your imperfections will show. They literally blend into nothing, no joke!
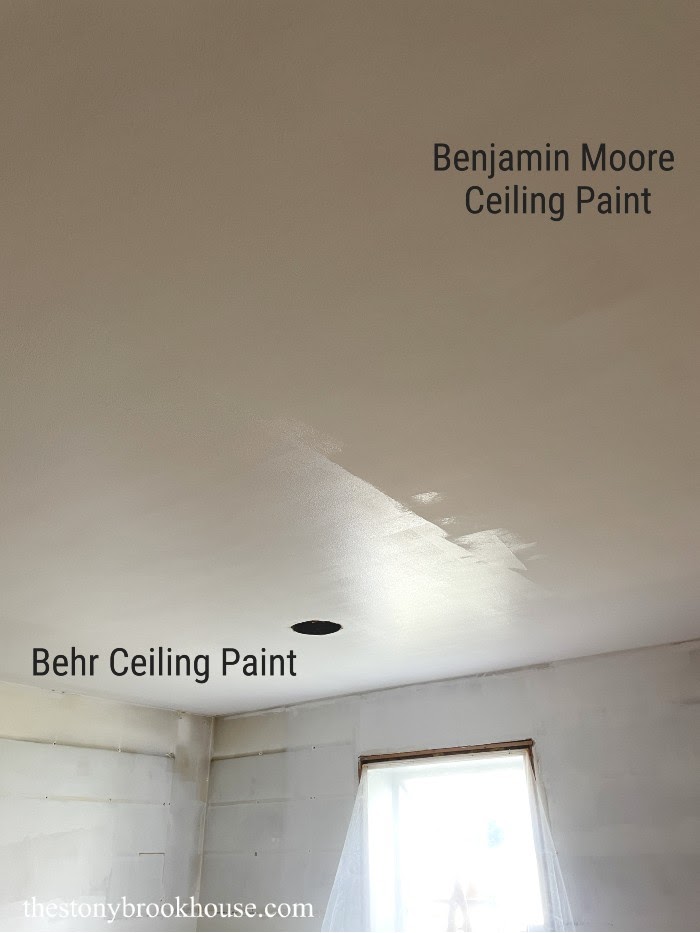
Let me show you the difference!
Crazy right?? That's not wet paint! That is me painting over the Behr paint. With the Benjamin Moore paint, the ceiling just kind of disappears. Perfect!
Now look at these ceilings!!!
Is the ceiling perfect? Absolutely not! Those bumps and waves are still there... But with this paint they disappear!
Granted, you can clearly see where I stopped painting. I'm not ready to tackle the dining room/living room yet. Also, those 'lines' are shadows and have nothing to do with the ceiling.
You may be wondering why half the photo is blocked out.... well, that's because our cabinets are in and so are our counters!! Yay! I'll update soon!
Blessing,
Lori
Here's all the start to finish progress we've made in the kitchen!
1960 Kitchen Remodel Plans
Kitchen Cabinets Going In
More Kitchen Demo
Kitchen Update - Ceiling Paint
Building A Shiplap Island
Why I Chose Quartz Counters
Where To Put the Microwave?
Building A Stove Hood
Fridge Enclosure
Kitchen Tile Backsplash
Bakeware Organizer
How We Built All These Drawers
Installing Open Shelves On Tile Walls
Installing LED Undercabinet Lights - No Soldering


Nice blog
ReplyDelete