*This post contains some affiliate links. Please see my full Disclosure Statement.
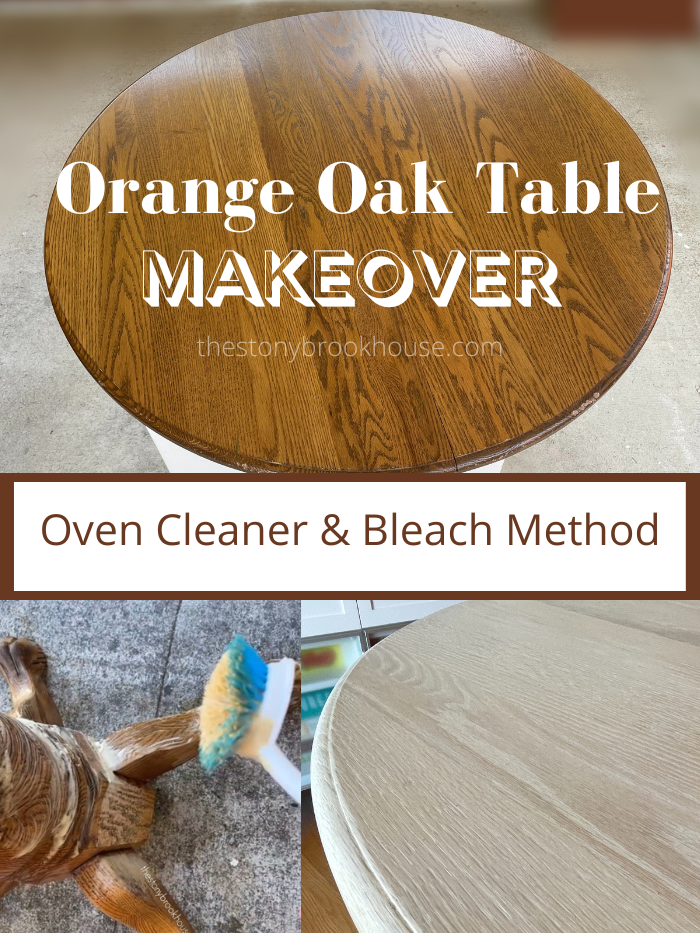
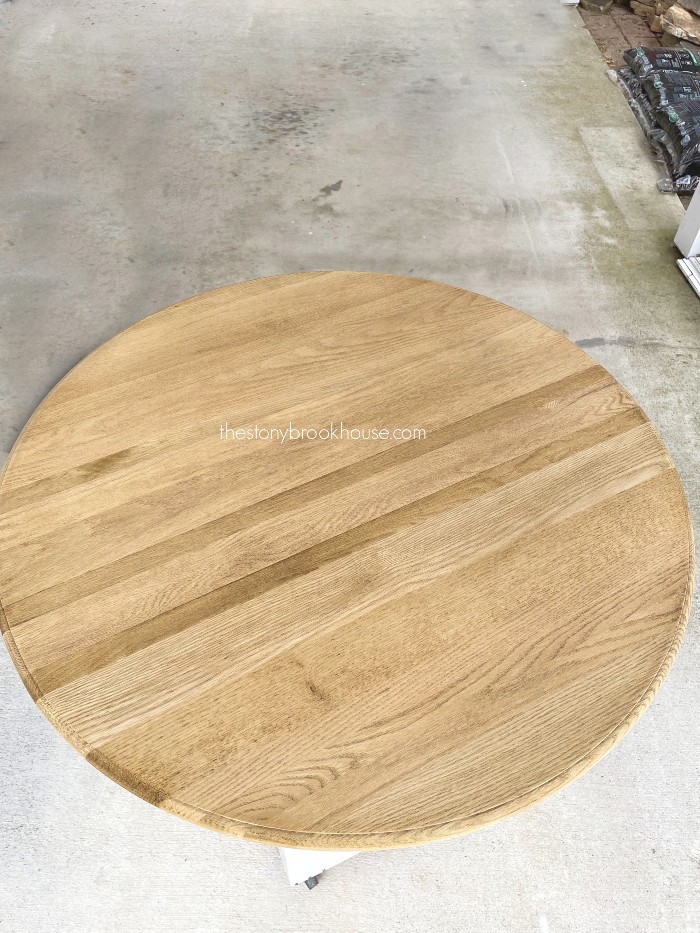
This table was such a blessing! I was on my nightly walk and I saw this table sitting on the side of the road with a free sign on it! We've been wanting a new table. The one we have was also orange oak, but not in as good of shape as this one.
I pulled up, flicked on my flashers, and opened the back of my CRV. This table top was heavy! I rolled it over to my car and tried to lift it in. Almost, but then it slid out of my hands... Ugh!
Then a young man in a truck pulled up and asked if I wanted help! Oh! Yes! Thank you! He effortlessly lifted the table top into my car. I told him I could get the rest, and thank you, thank you!! Then I loaded the pedestal and leaves into the back.
What a blessing! I was so happy!
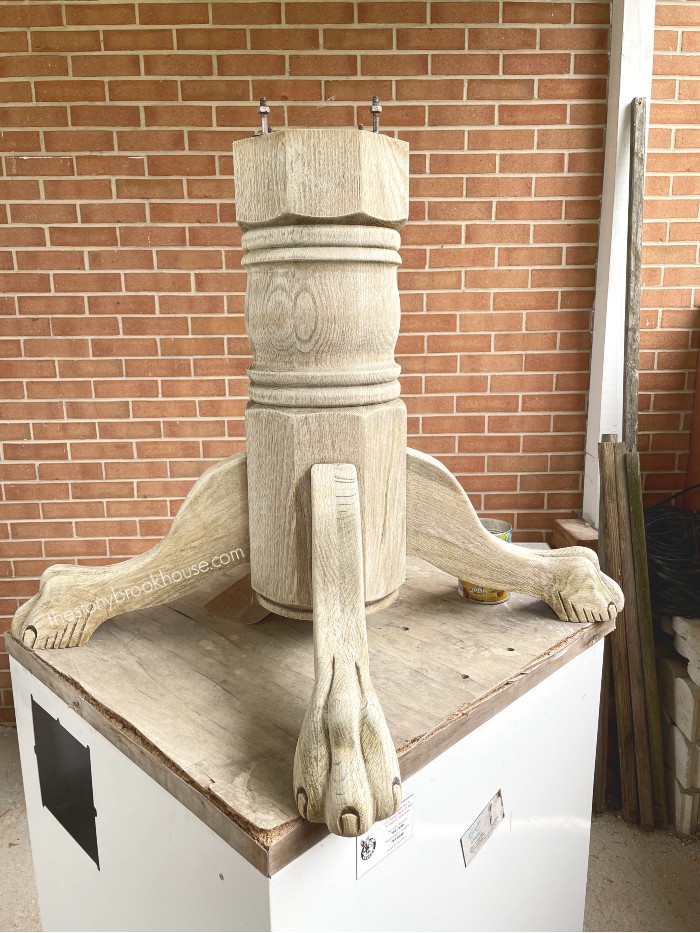
The pedestal had the most intricate detail to it, so I decided to start with that, first. In my mind, start with the hardest, then the rest of the project seems so much easier and faster to finish!
Isn't this a nice ugly orange oak? I never actually put the table together until it was finished... Praying it all works out!🙏
So, I've been watching the latest trend of using oven cleaner to strip old varnish and stain off. Hmm.... what have I got to lose?
I picked up some cheap oven cleaner from Dollar Tree to see how it would work. Don't waste your money. It really didn't work very good. Not like, Easy Off! It doesn't matter what kind of Easy Off Oven Cleaner. Just get the real deal!
That stuff worked! Don't get me wrong, you still had to work to get the stain off. But it was easier than sanding forever!
I wore a respirator, because that stuff is strong, even if I was outside spraying it.
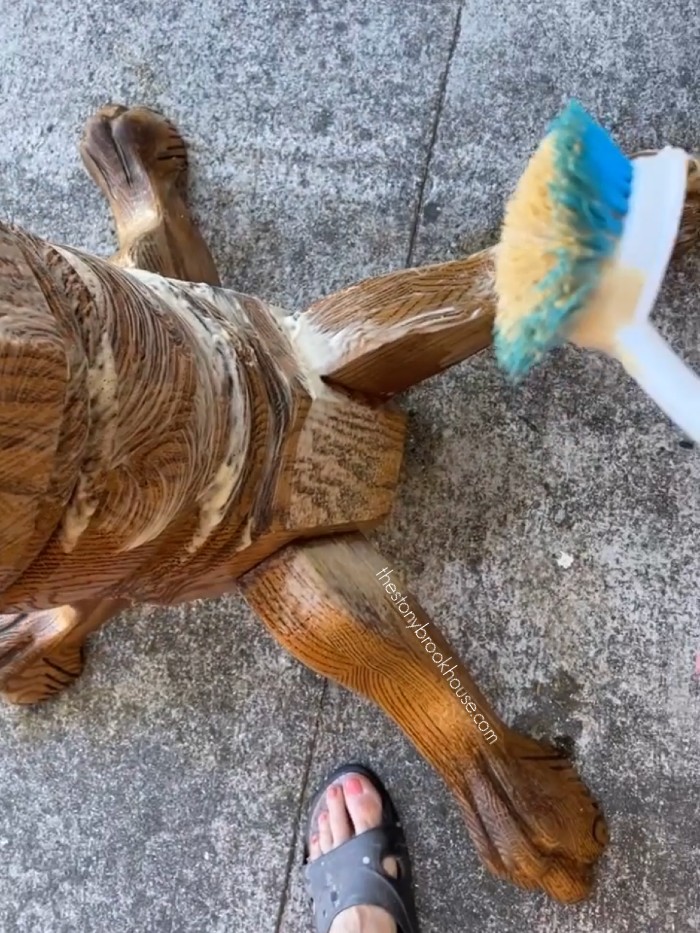
First, spray on a thick coat. Wait about 30 minutes, then scrub it and hose it off. It took about 4 coats of spray and scrubbing. After the 2nd coat, I moved on to a Scotch Brite stainless steel dish scrubber. Now we're talking! It did not damage the wood. Oak is a tough wood, I can't say how it would work on other woods. Use your best judgement.
I also did the same technique to the table top and leaves.
Okay, now that we are down to the bare wood, let's bleach this thing!!
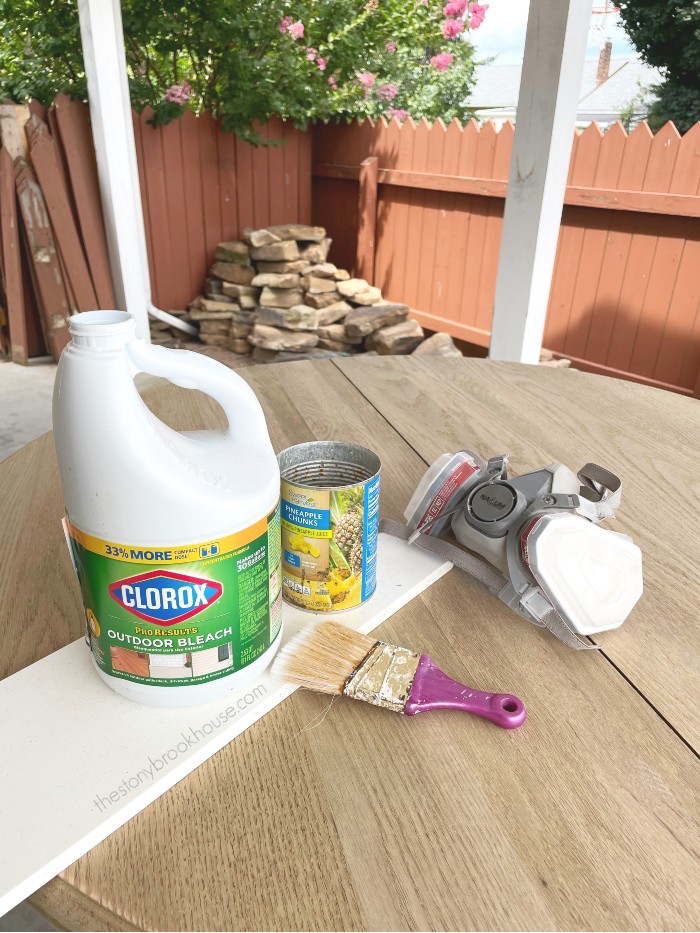
I was soooo excited about this part! I picked up some Clorox Outdoor bleach at Walmart in the Auto/RV section. It was only about $6 for the gallon.
All I did, was pour some into a leftover can, and brush it on. (Again, I wore my mask, bleach is strong as well.)
Then I set it out into the sun to dry. This next photo is after the first coat.
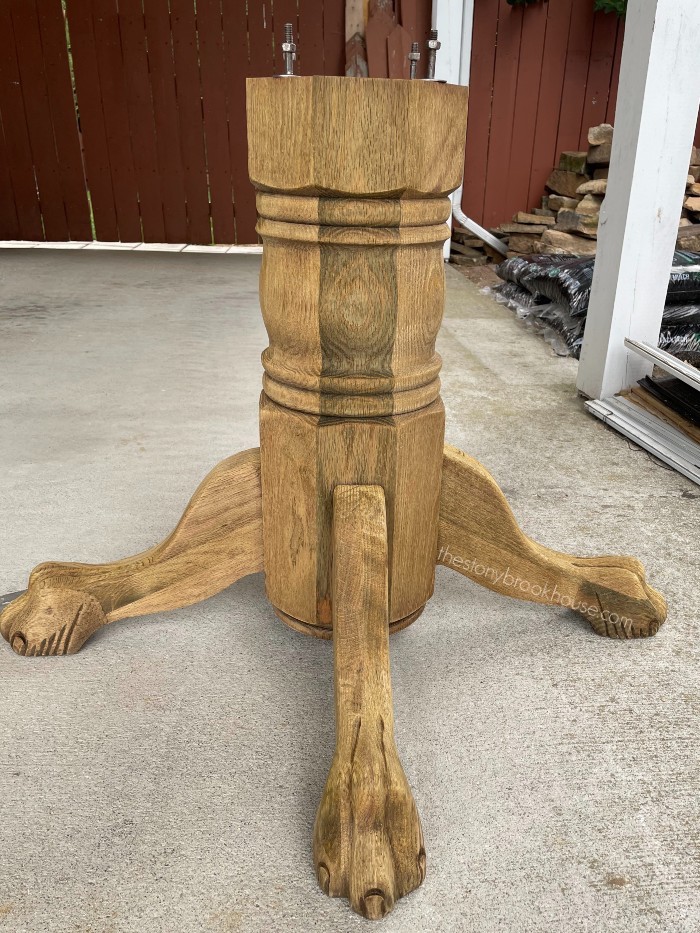
This is about 3 coats of bleach on the pedestal.
Before: (I put this photo here so you could easily scroll between the before and after.) What a difference!
It's odd how different parts of the wood accept the bleach differently, but I love the variation. You can do as many coats as you like. However light you want it.
After the last coat, I wiped it down with water to neutralize the bleach.
Ready for some more fun? It's time to sand!😜
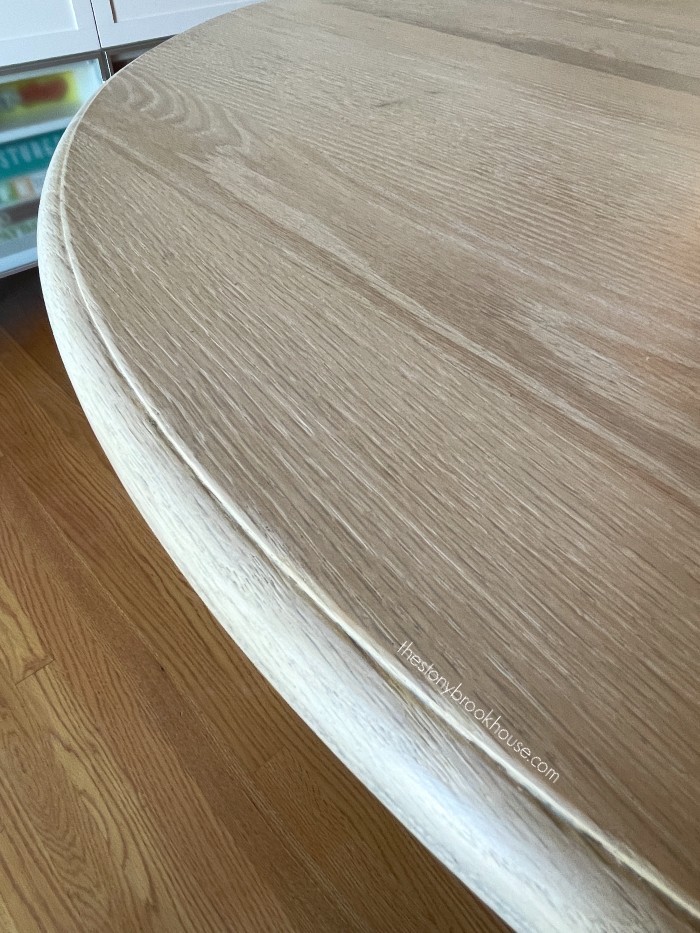
I started with 150 grit and worked my way up to 400 grit. I wanted this baby smoooooth!!! Just look at it! 😍
Then one last step to finish it off! Time to seal. I used General Finishes Flat Out Flat. I've used General Finishes before when I transformed my other dining table.
I really like the flat out flat finish. I did 3 coats and it literally feels like there is nothing on the table. No shine, it almost feels like a wax, but it's not. So far it's held up well!
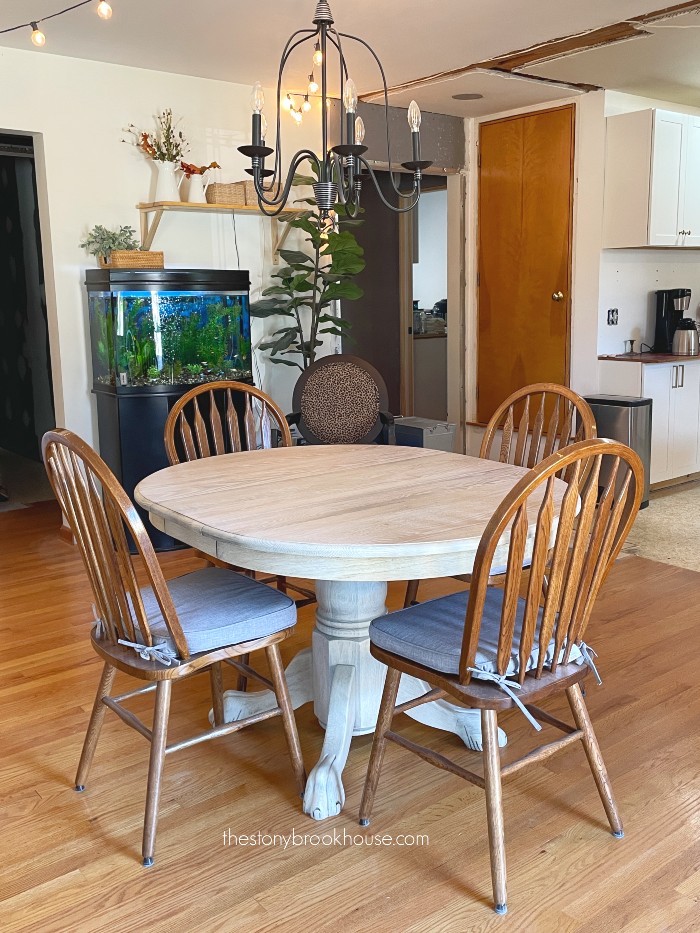
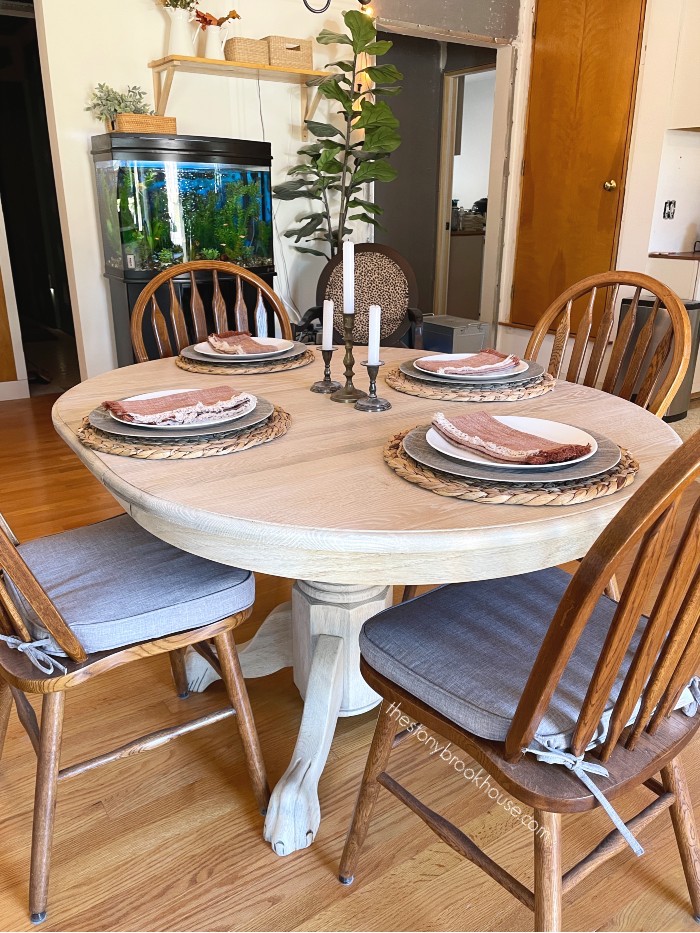
The whole table put together looks amazing! (It worked out great! 😍)
I wasn't so sure about the claw feet, little did I know how much hubby loved that part!
This was truly a labor of love, but worth every minute. I love how the table came out!
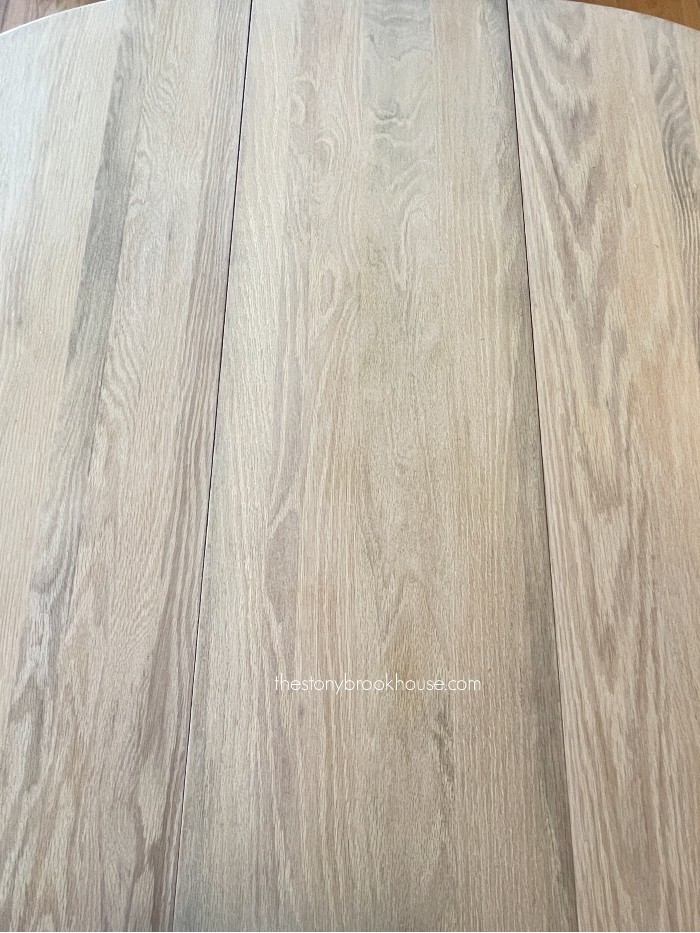
Look at all the variations in the wood top!
Now we have a beautiful table, that's solid and perfect for us!
What to do with those chairs.... Any ideas? I don't know if I have it in me to do that whole process to each chair. We'll see....
Blessings,
Lori









Paint the chairs black
ReplyDeleteI'm thinking you're right! :)
DeleteI would paint the chairs black.
ReplyDeleteYes! I'm going to have to find time to do that!
DeleteBeautiful table!
ReplyDeleteThanks so much! We love it!
DeleteI love how the color came out! I have a table that I stripped and sanded but wasn’t sure what to seal it with. I’m afraid of it turning orange again!
ReplyDeleteI hear you! It's almost been a year and it's still gorgeous!!
DeleteDoes the table look white or gray or natural unfinished wood? It is hard to tell in pictures as to the tone? Thank you!
ReplyDeleteIt looks more white natural. In the last picture collage, that's the exact color. Thanks for stopping by!
DeletePersonally I prefer the original. But each their own. It was a lot of work for you.
ReplyDeleteThank you for sharing! Yes, everyone has their own style. We still love the table and I would do it all over again. It's so important to us to love what we have!
DeleteI once dreaded painting over wood. But I have painted and stained tops and they come out beautiful!
DeleteSo true! I know some people have a hard time with it. I love creating! We still love how this table turned out! Thanks for sharing!
DeleteHi, I’m refinishing a table with similar beveling on the edge. Your’s is beautiful. I’m going to use your bleaching idea. There are some areas that’s lighter than the rest of the top from some spills over the years (15 yrs). Hopefully the bleaching process will help. Fortunately the legs are wrought iron so I don’t have to work on them as well. Again, beautiful finished product.
ReplyDeleteHi Cynthia! Thanks so much! We still love our table! It was some work, but well worth it! I'm sure your's will come out gorgeous!! Thanks for sharing!
DeleteI just did a table similar I love how yours turned out. Next time I will use the bleach method I love the look. Suggestion for your chairs how about spay painting them either white or black.
ReplyDeleteThanks so much! We considered spray painting them black. I ended up finding some super comfortable ones on FB marketplace and sold the oak ones! Thanks for stopping by!
DeleteThis comment has been removed by a blog administrator.
DeleteI really want to try this on a sofa table. Where did you do all this scrubbing and rinsing? In the driveway? The grass? Did you have to be careful where all those chemcals ran?
ReplyDeleteI did all of the scrubbing and rinsing in the driveway. I didn't have any issues. When you rinse it, you have to really rinse it! So, it was pretty diluted when it hit the grass. I also have some stone area near my driveway that it ran into. Hope your sofa table comes out great!! I still love our table!
DeleteI’m doing a table of my own from Facebook marketplace, can you let me know what color paint you used?
ReplyDeleteHi! Very cool! Well, I didn't use any paint. I stripped it and bleached it. Then applied a clear coat.
Delete