*This post contains some affiliate links. Please see my full Disclosure Statement.
This is truly the exciting part! Because it actually has become the space I've been visualizing for the past 6 months!! Not exactly, but sooo close!
I have to give all the credit to Hubby! I may have shot a nail here or there, but this man has done all the incredibly hard work. I thank God, for the way his brain works to figure out all the things we do and have done. I am thankful for the determination and strength The Lord gives him every single day!
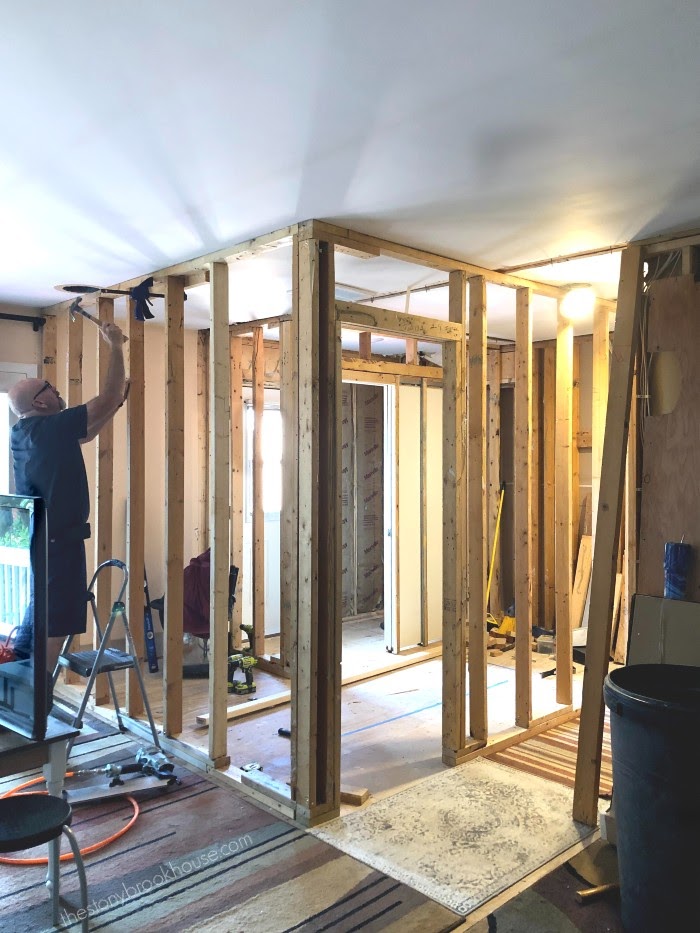
In the next photo, Hubby is just starting to frame out the water closet.
I've had people ask me, "What is a water closet?" It's a nice way of saying it's a toilet room. 😆 A separate room with a door that has a toilet in it. This was the one thing hubby and I decided was a MUST HAVE. We had one at Stonybrook and if we could make one work here we would. And WE DID! 🙌 Hallelujah!!
If you read my post about our Master Bath Design and Plans, then you'll know why we decided to keep the door that leads to the patio.
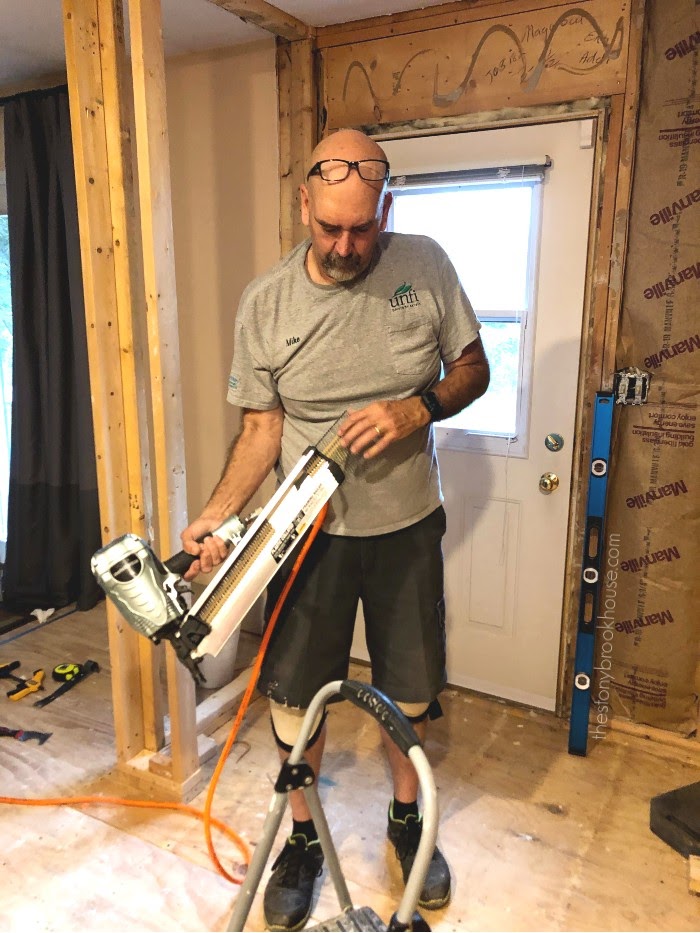
This framing nail gun is awesome! We picked up the framing nail gun on Black Friday at Lowes. It has been the best purchase for this remodel. In fact, we couldn't have done it without this Metabo Framing Nail Gun.
Remodeling this house that was built in the 1960s, made us realize that all the nails we've been pulling out of the studs were all nailed in one at a time, by hand. 😲 I just can't imagine the time and strength that took! I'm so thankful that we have rebuilt this master bath using 99% of the studs we've reclaimed. 👍
The quality of this photo! 😕 This is the only one I could find that included the hallway unfinished. Here you can see the water closet framed. The pocket door is ready to be installed. I've labeled where the shower and vanity will be placed.
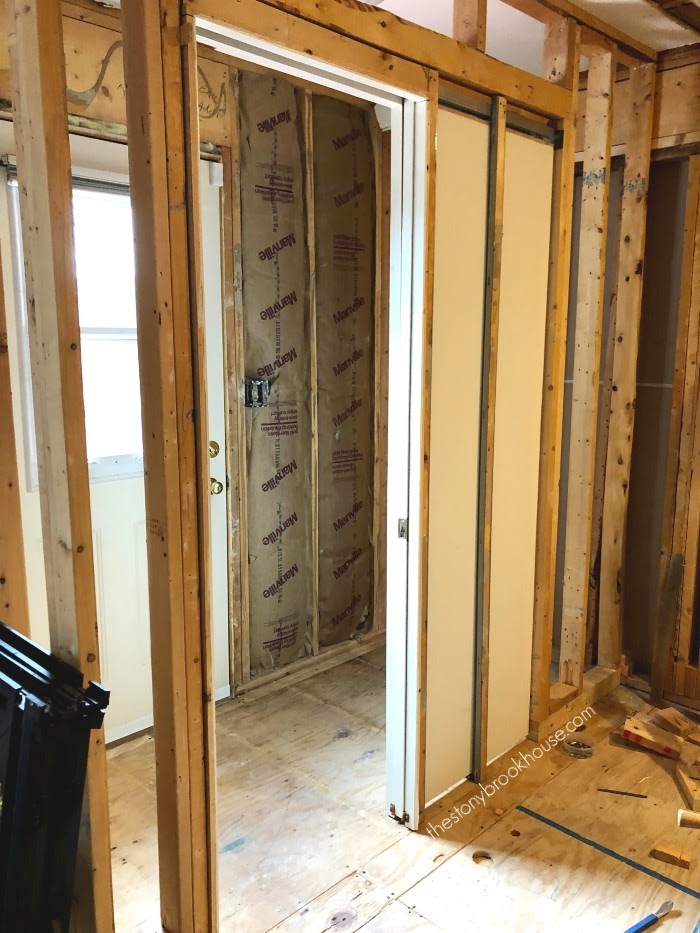
Then we installed the pocket door.
I just love that we were able to reuse the pocket door. Plus we don't have to accommodate for another door swing.
This photo is inside the water closet. The plumbing for the toilet needs to be in-between the joists. So, we decided to add an extra wall behind the toilet and create a shelf. This puts the plumbing between the joists and the toilet center will still sit 12 ½" from the wall.
We will be insulating and adding double drywall with Acoustical Caulk to sound proof this bathroom because the guest bath toilet is right behind that wall. 👍
Now to frame the hallway wall. You can still see the toilet from the old bathroom, yep it still works. 😂
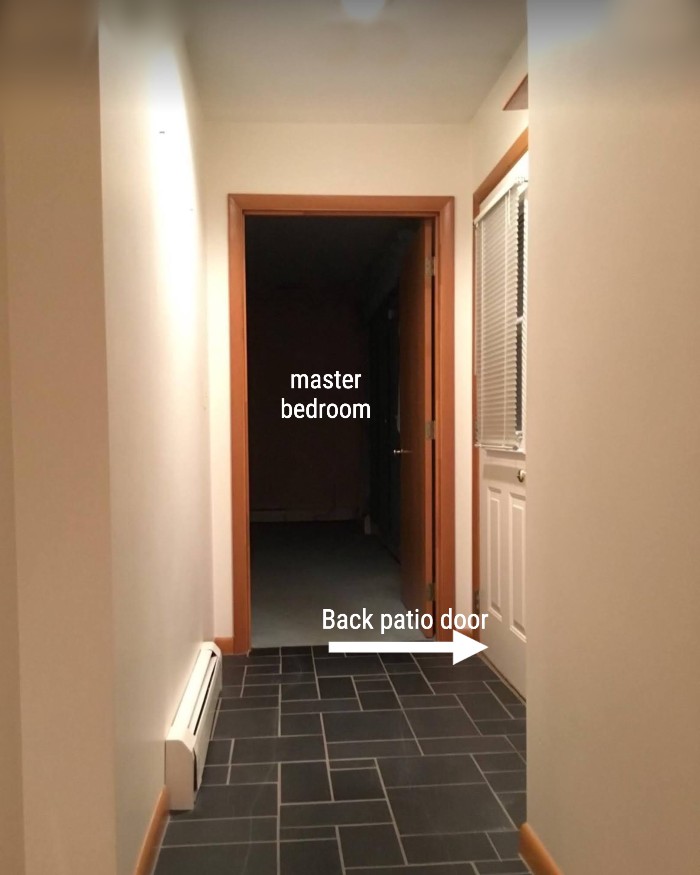
It's so funny that this hallway was actually the two bathrooms with the pocket door between them. The next photo is terrible, I took a screenshot from a video... you'll get the idea.
This "walkway from bathroom to bathroom" has turned into our hallway. Once finished the new hallway will be 36" wide.
The master bathroom is framed! Yay! It's hard to believe it started like this...
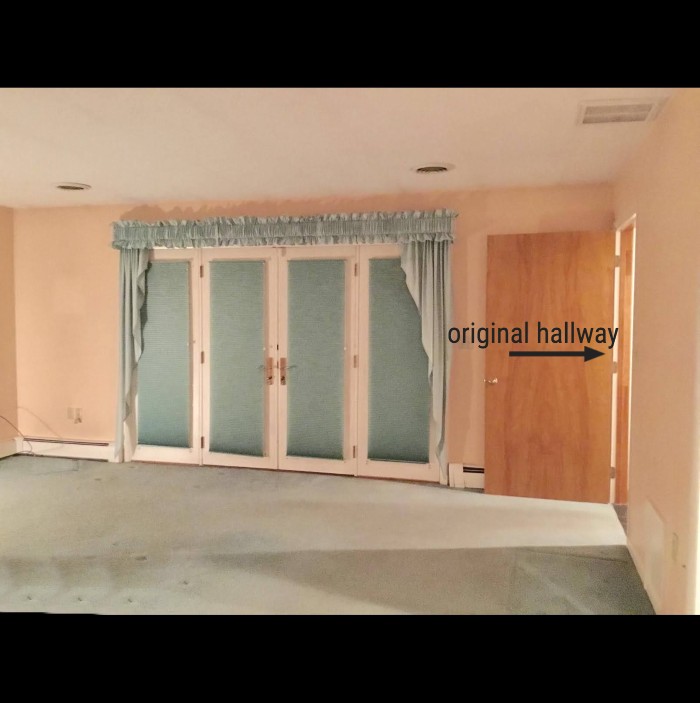
Original master bedroom and hallway.
Crazy right?!
What's next? Hubby is finished with sewer. Next we need to run water, electric, then drywall!
You can see all the demo we did here:
Blessings,
Lori





No comments
Post a Comment
Comments are awesome! Let me know what you think!