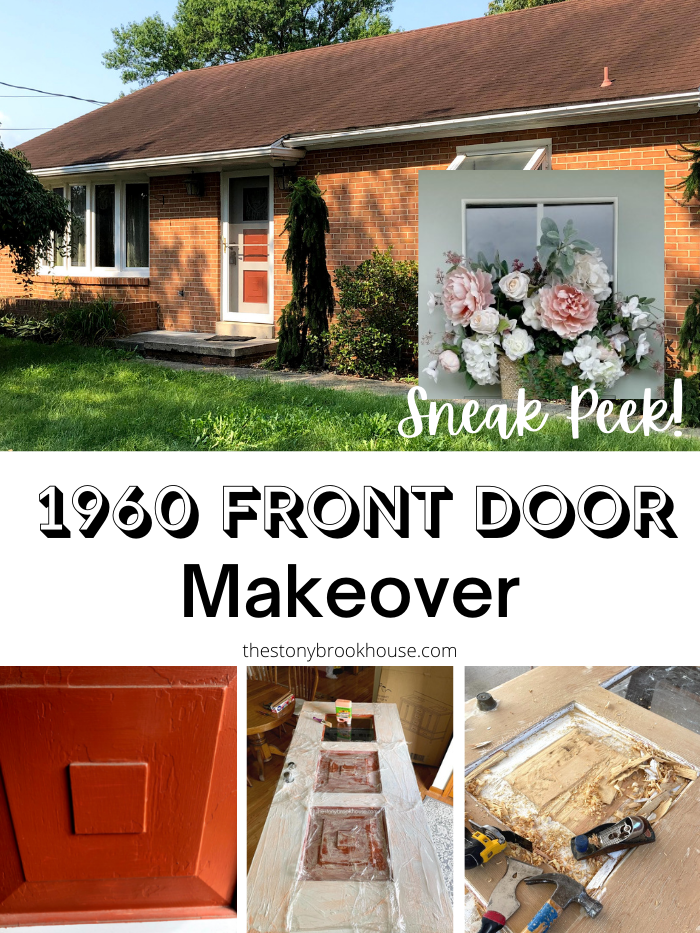
When we first moved in, I wanted to take out that front door and replace it immediately. Well, you know with all the projects that we've been doing, that wasn't top priority...
Now, I'm so glad that we didn't replace it! I'm starting to appreciate the quality of materials they used in the 60's. It definitely isn't the same today!
This is a solid wood door. I have no idea what type of wood, but it's solid.
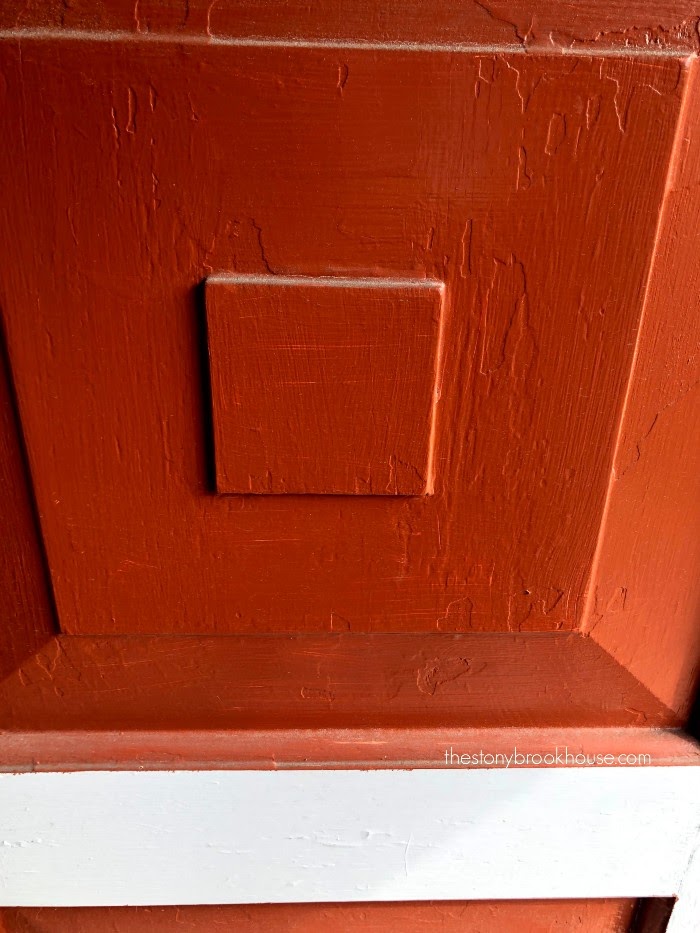
But they did a terrible paint job! Yeah, let's just paint over the chipping paint...😝
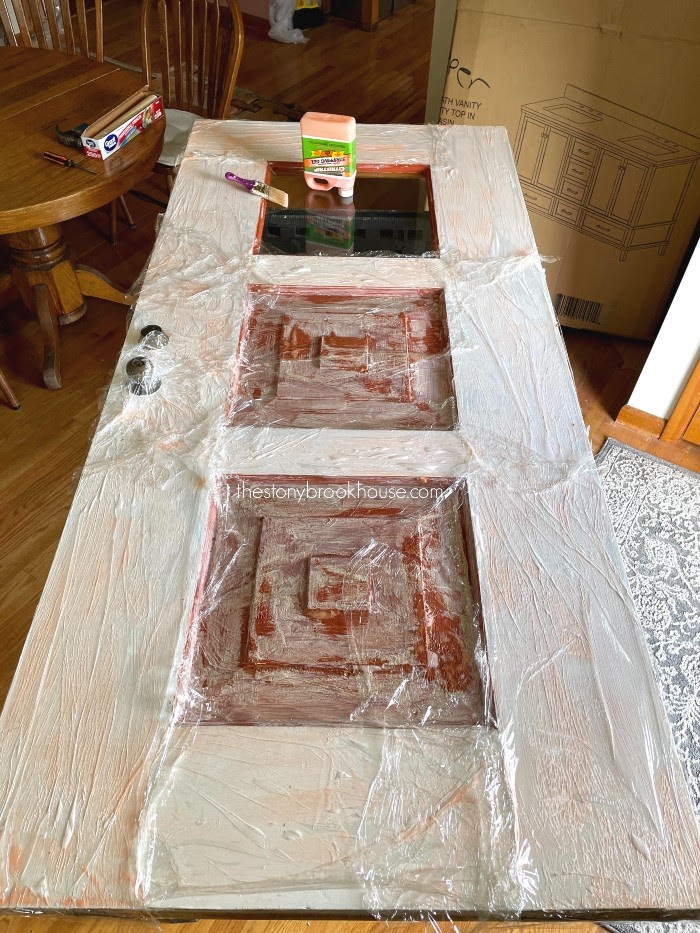
First up, I slathered Citristrip all over that thing and covered it in plastic wrap.
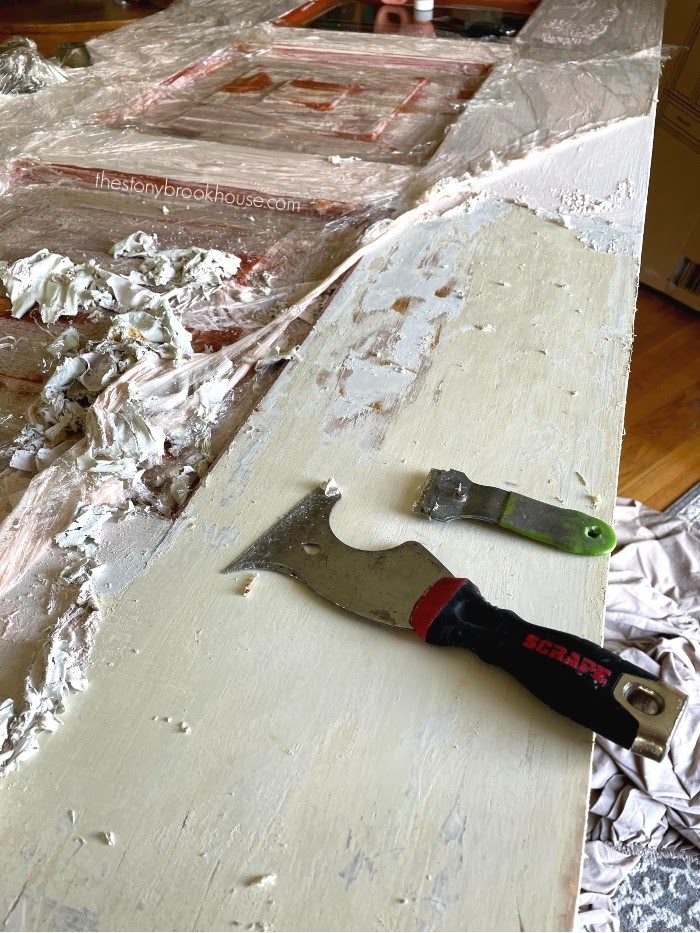
Then the fun stuff. Scraping all of it off. It kinda get's addicting... I'm a peeler... I love peeling, you know after a sunburn. I know there are many of you out there like me!😜
This quickly got very messy and had to move the project outdoors. But we're making progress.
I coated the door two more times with the Citristrip and started sanding.
Now, that I was down to the wood, it was time to do something with those weird square things in the middle. I had and idea that I was praying would work. (And it did!)
Then I realized I needed to get even more out, so I just went to town! No turning back now!
I hacked the crap out of it! I used every tool I could think of!
It finally smoothed out a bit. It was enough to make my idea work!
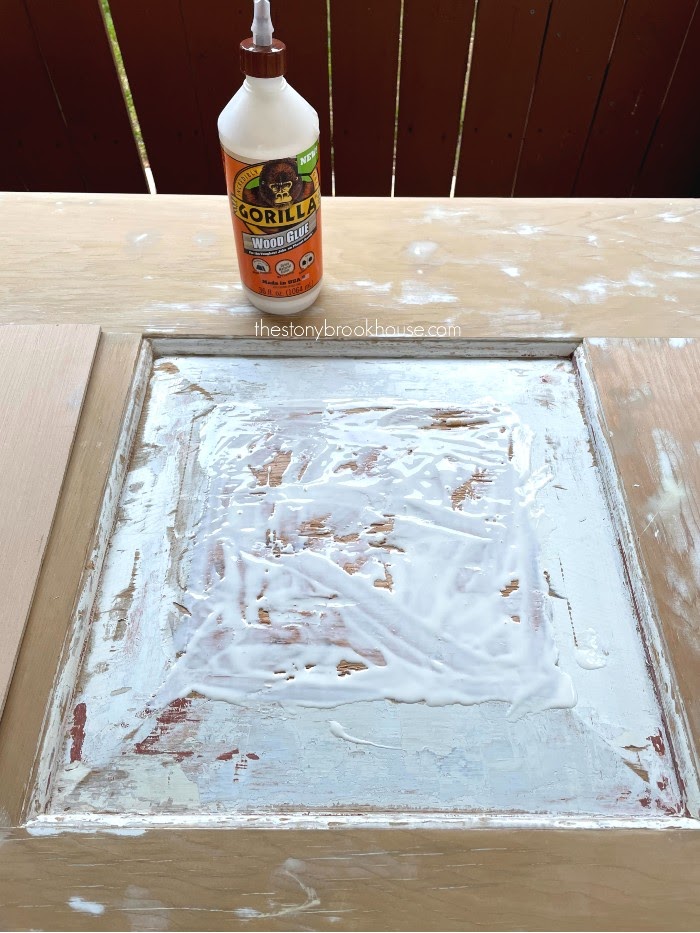
Then I added a boat ton of Gorilla Glue to the center.
Then I added a square of underlayment to fit inside. Ahhhh! I'm so excited about this!
I nailed it in with my Ryobi Cordless Nail Gun and filled in the holes with Minwax Wood Filler.
The second underlayment piece was a bit bowed, so Hubby helped me nail it in with the bricks stacked on top.
I waited til the glue dried and finished filling the nail holes. Then I caulked all around the panels with DAP Dynaflex exterior caulk.
One more good sanding and we were ready for primer.
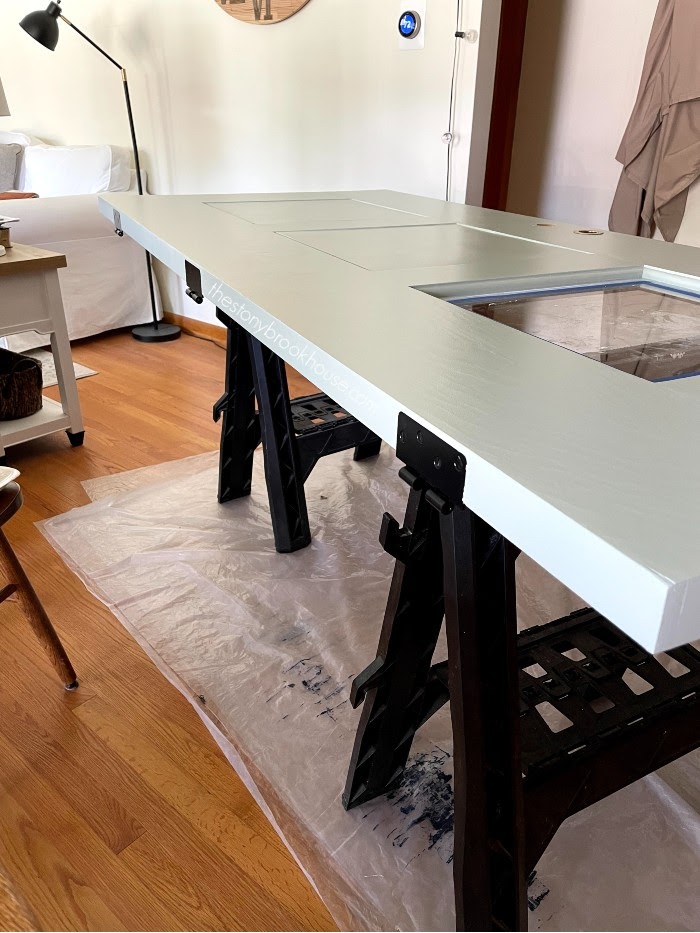
I did two coats of Zinsser 123 Primer and was starting to paint the color when I remembered to take a photo!
I was so excited to get paint on this door! I took all the hinges off and scrubbed them down and spray painted them black.
Then I decided to paint the trim around the window white. I wanted to add a white grid in the window.
I did the electrical tape grid trick. I'll do a post on that next. It worked out great!
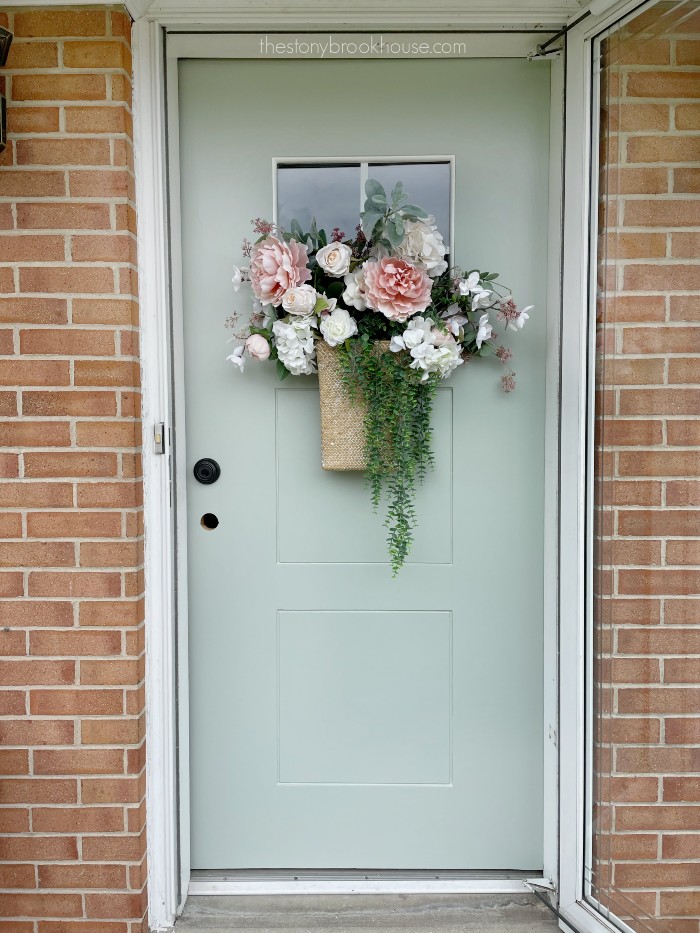
But here's the front door!!!
Isn't she beautiful? I painted it the same color as I did at Stonybrook. You can see that door here, Easy Front Door Makeover.
The color is Sherwin Williams Oyster Bay. I had it mixed in Home Depot's Marquee Exterior paint in satin.
I am soooo in love this this door!!! Is it perfect? No. But is is a 1000 times better than before!
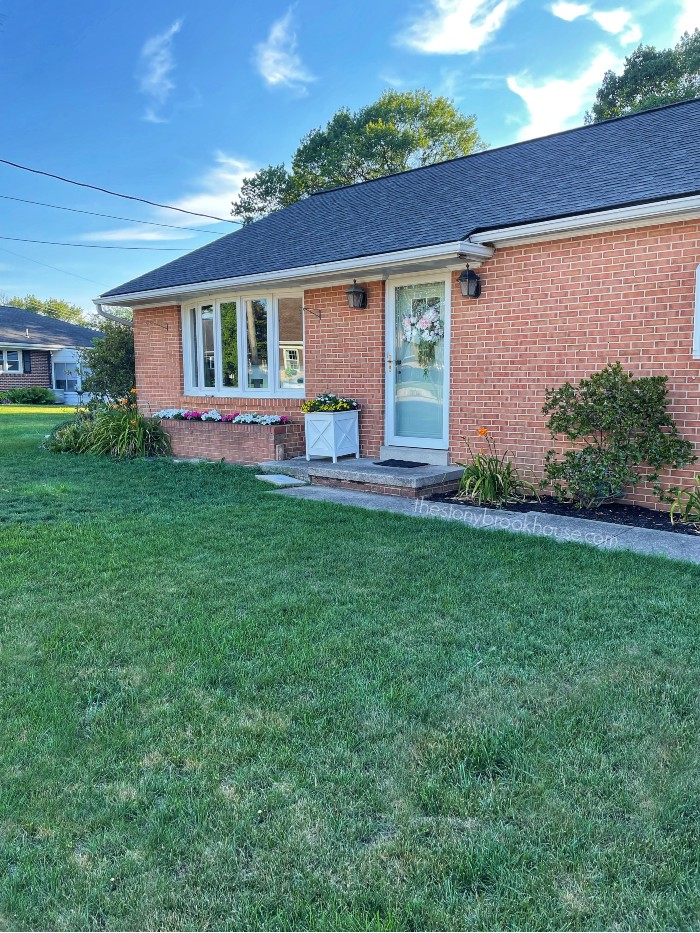
Here's a little before and after. Before, when we first bought this little gem.
After! So much has changed in the last 9 months! And so much more to do!
I can see the brick painted, a cute front walkway... Oh the possibilities!
Blessings,
Lori









It looks amazing! Great transformation!
ReplyDeleteThanks so much, Doreen! It was definitely a labor of love!
DeleteAbsolutely beautiful!
ReplyDeleteThanks so much! I just love how this door turned out! Thanks for your comment!
Delete