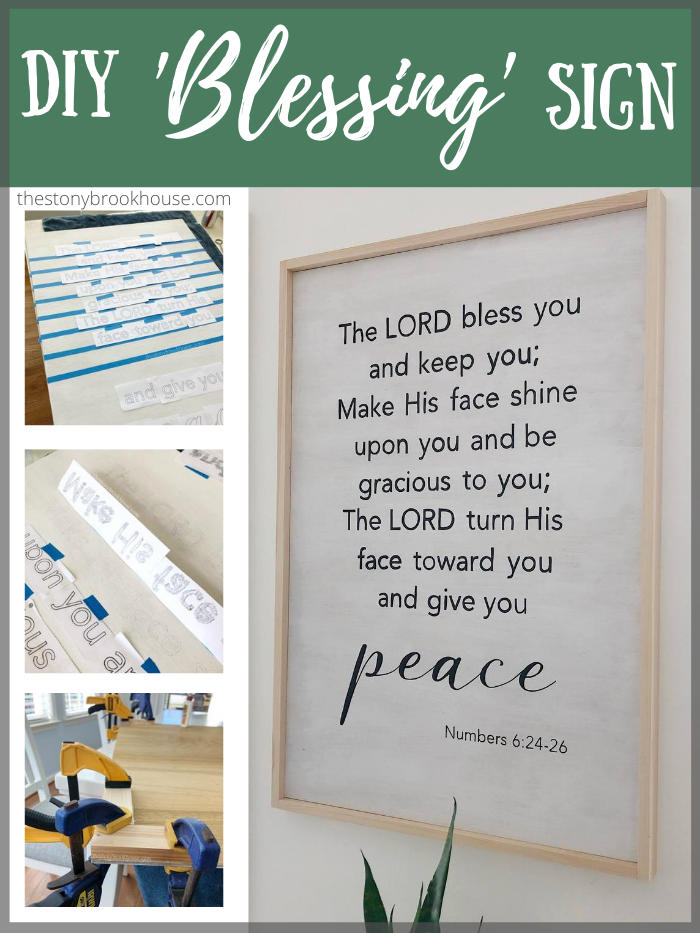
I love this sign!! This verse is so powerfulI had to have it in our office. It brings me such peace.
*This post contains some affiliate links. Please see my full Disclosure Statement.
I love it... it's just seemed a bit heavy for that wall, with the plants on the wall and the floor plant. I moved it to the other side of the room and like it so much better!!
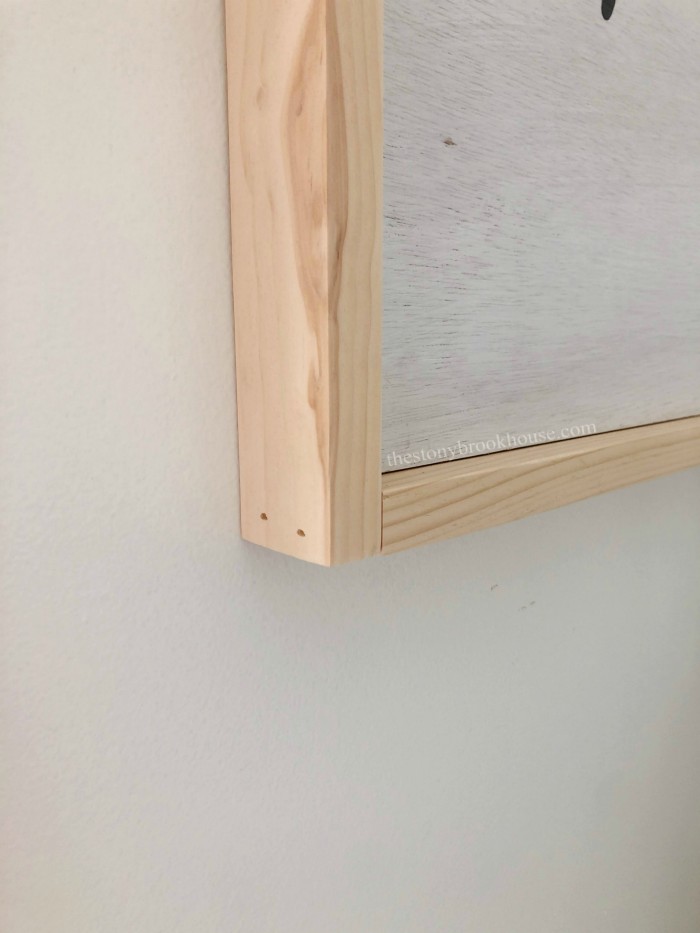
The frame is raw 1x2s cut to size. I didn't want to bother with mitered corners. These corners are just butted up to one another and nailed in place with my nail gun using 1½" nails.
If you've followed me for any amount of time, you probably know I like to make signs. 😍
Here's a few of the signs I've made in the past.
So, let's get right into the process.... I've shared it so many times, but it's always worth repeating.
I hand paint all of my signs. Yes, you can make signs using a Cricut or Silhouette but I really love the organic feel of hand painted signs. Are they perfect? No, that's kind of the point. 😊
For this sign, I started with a plain piece of underlayment board cut to the size I wanted for the space. This is a pretty big sign measuring at 28" x 40".
I brushed on a quick coat of white chalk paint. I wasn't trying to cover every part perfectly.
While that was drying, I began working on the size and font for this 'blessing' sign. I wanted a sans serif font for most of it with a script font for the word 'peace'. (Sans serif is a font without the decorative strokes on the stems of the letter)
I figured out the font and sizing in a Word document, then printed it in 'outline' format. The tedious part is spacing and lining up the words.
Here I'm just figuring placement.
Then I tape off lines so the phrases are evenly spaced.
It really helps to have the phrases taped together.
I measure the spacing between words to make it consistent, then line them up using a ruler. Then tape the phrase together using clear tape.
Next, line the phrases up with the blue tape, making sure they are centered on your board.
Now, for the fun part! Tracing and painting.
I tried to press hard while tracing to leave an indent in the wood, but the underlayment is a bit too hard... and there are a LOT of words. So instead of getting hand cramps, I decided to pencil the underside and just trace the words.
So much easier on the hand! 👍
Once the whole sign is traced, I used a black paint pen to paint the words. I picked mine up at Walmart, but you can get them anywhere. They happen to have the one I used on Amazon, I linked it here.
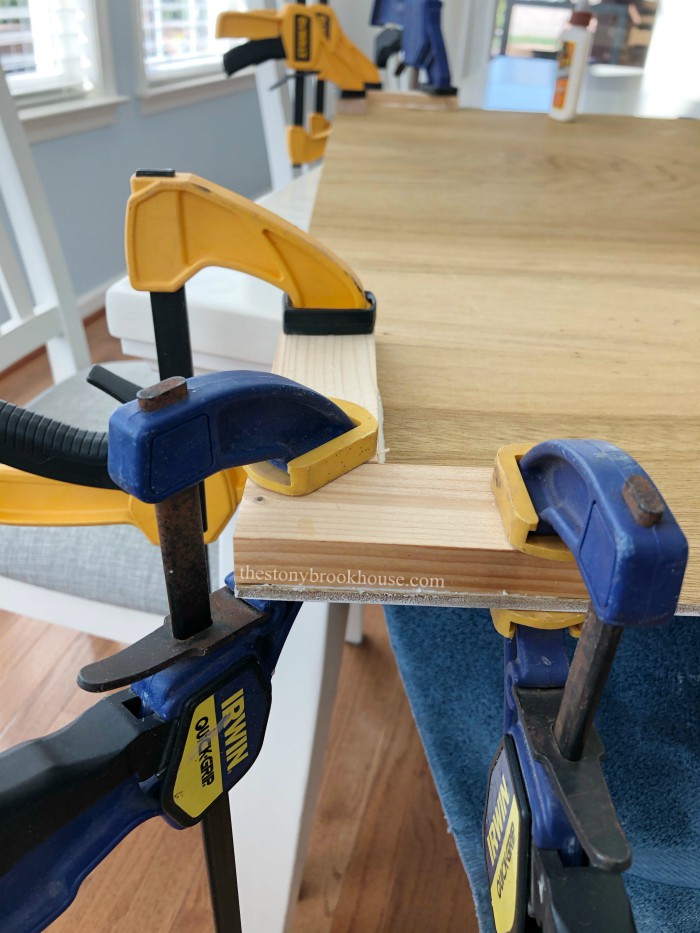
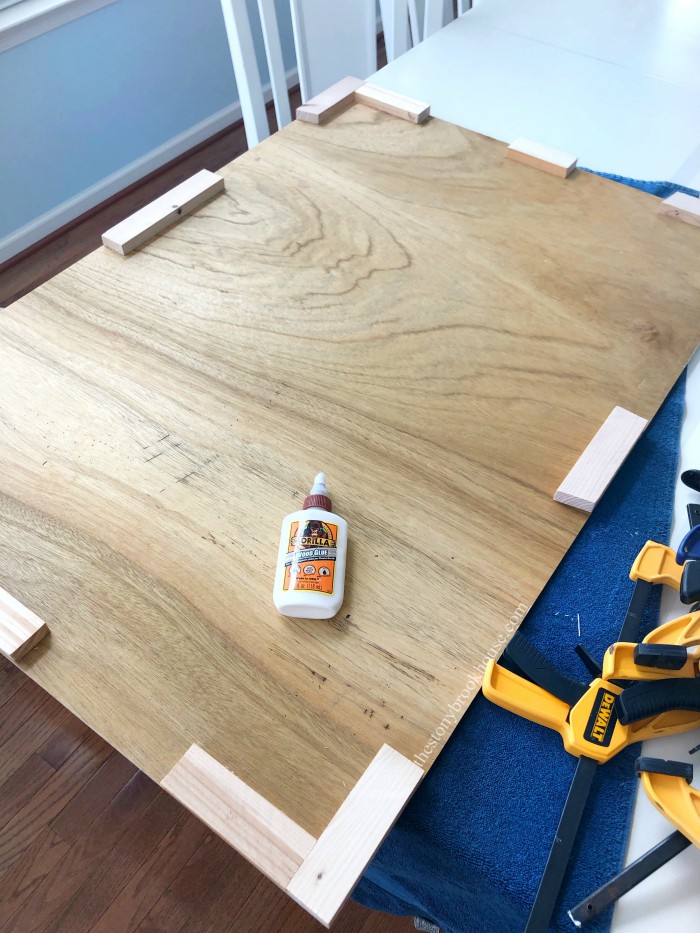
Underlayment is a really thin wood, and I wanted to add a frame to my sign. I didn't want to deal with filling any nail holes, so I glued blocks of wood to the back.
I placed them at the corners and a couple along the sides. Now I'm ready to attach the frame.
Can I just tell you that Hubby and I are LOVING our new office!!
Blessings!


Amazing DIY ideas, thanks for sharing.
ReplyDeleteThanks so much! You made my day! :)
Delete