This update was LONG over due! I'm so glad Hubby decided to help!
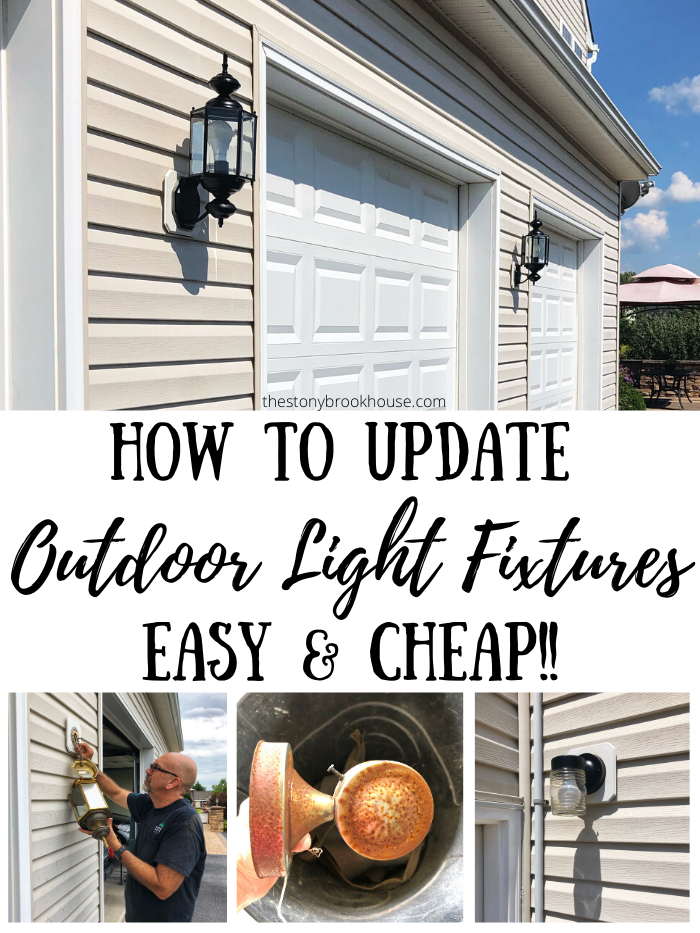
I know that some people don't really like the word 'cheap', but seriously, this is the cheapest route to go to update your outdoor light fixtures!
I don't think I went through one can of primer or paint. Total cost for painting the fixtures? About $12!
To replace our actual fixtures would be $100 for each fixture, for the garage and front door, and only about $6 for the back door lights. So, I look at it like this.... I just saved us $400!
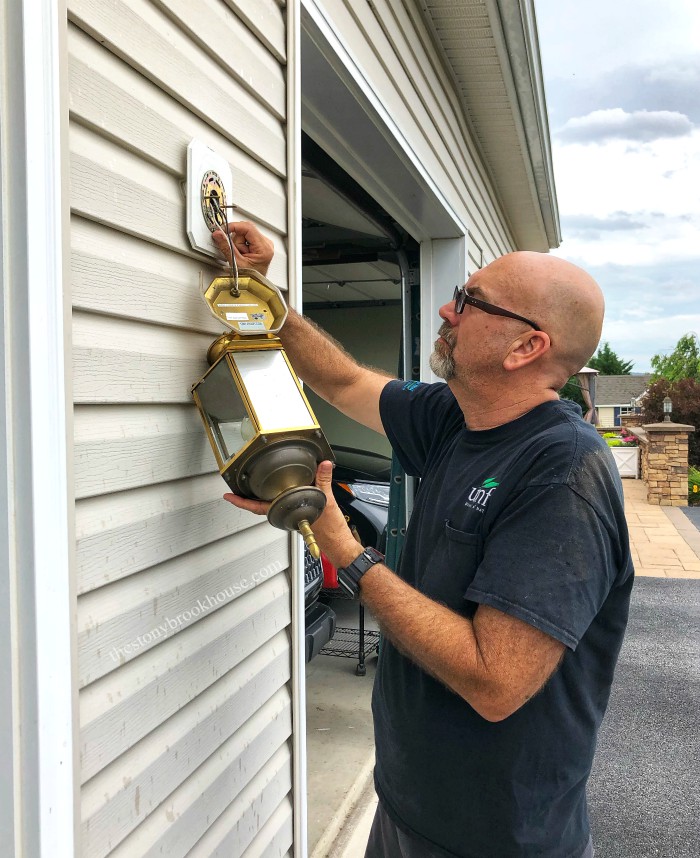
Here's some before photos... (they were the only ones I could find... Hubby was so on the ball, he was already taking them down before I could grab my phone to snap a pic! 😍 )
This next photo was before we painted our shutters! Plus we don't have an orange door anymore! You can see how we did those projects here, How To Paint Shutters and Front Door Makeover.
So, first things first, make sure the power is OFF! No accidents, please! Then you start unscrewing the light fixture and disconnect the wires.
Then we took them apart and cleaned all of the pieces.
We kept all of the nuts and screws in a plastic bowl, so we didn't loose any parts. 👍
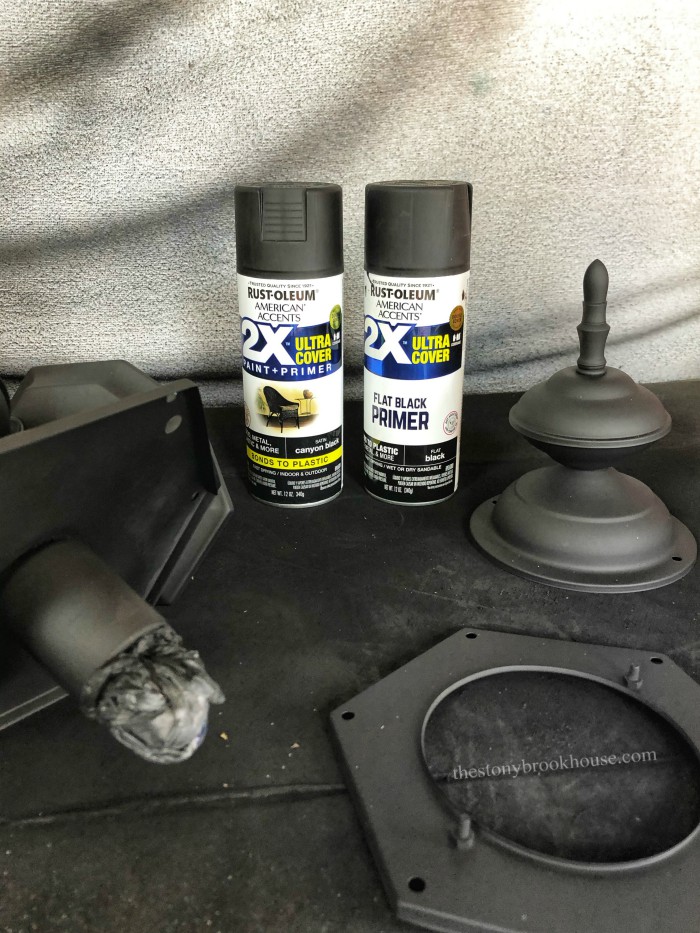
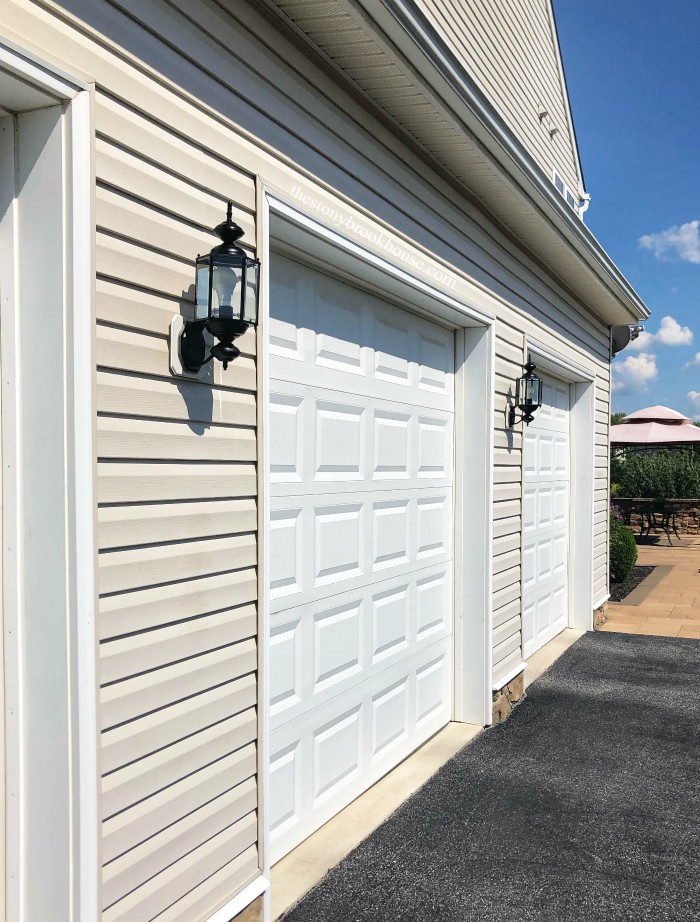
Here comes the easy part... Prime all the pieces with primer, I use my favorite... Rust-Oleum 2X Ultra Cover in Primer and Paint all in black.
I did 1 coat of primer, and 2 coats of paint. Then after that, I gave everything a coat of Rust-Oleum Matte Clear Coat.
Then we just put them back together.
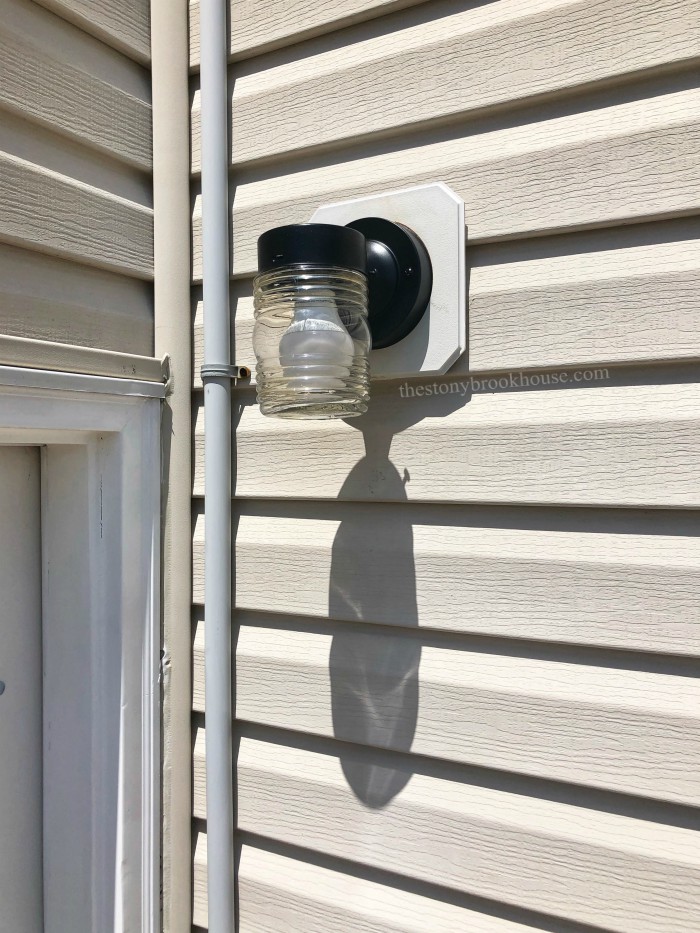
That's it! So super easy! Don't they look so much better?
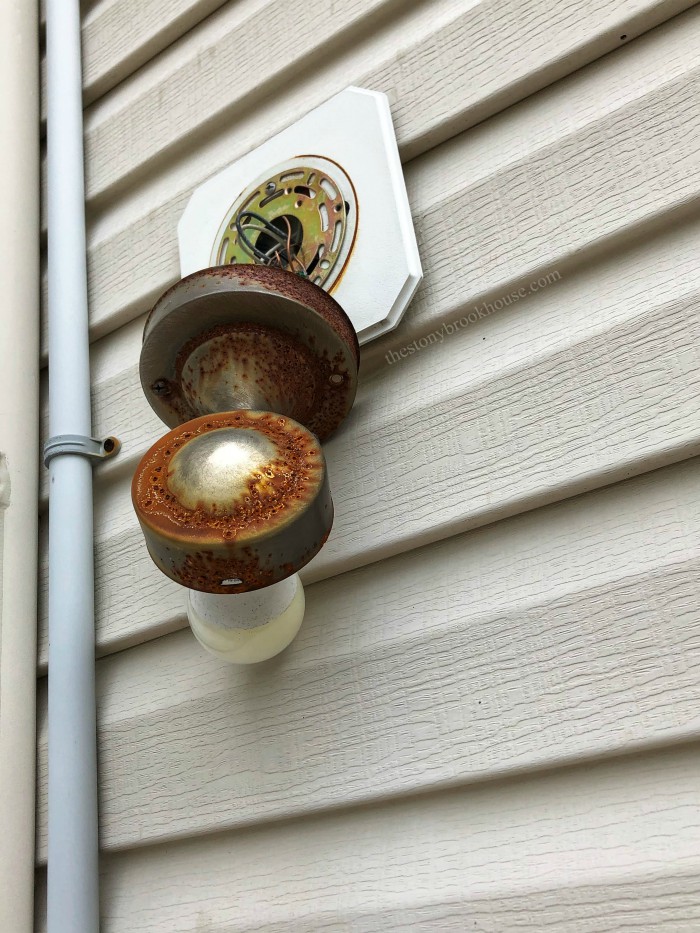
Let's chat about these little rusty fixtures.... Boy, they were pretty bad...
Kind of embarrassing.... 😳 I didn't realize how bad! Yes, we could have easily replaced them for $6, but I figured we were already on a roll here. Let's see if we can save them!
I sanded them for maybe 5 minutes? Not too bad.
Sure, it still has some pits in it, but I think there is still some life left in this fixture.
Looks brand new! It helps that Hubby scrubbed that glass fixture clean!
That's really it! Save yourself some cash and paint your outdoor fixtures!
Now all we have to finish is the patio lights! Then we're done! Whew!
Blessings!











No comments
Post a Comment
Comments are awesome! Let me know what you think!