*This post contains some affiliate links. Please see my full Disclosure Statement.
There were several reasons why we wanted to add a privacy screen to our gazebo.
The main reason was rain. We realized quickly after we installed this gazebo last year, that rain still came in on the one side of the patio. Covering a good part of it, making it unusable. We also found that a good bit of sun hit that area in the afternoon.
So, this project has been on 'the list' for quite sometime. We've enjoyed this privacy screen for a couple of weeks now, and are soooo happy we did this!
Let's jump in to this tutorial. I won't be giving any measurements, because this was built specific to our needs.
We purchased a bunch of 12 foot treated deck boards for this project. Treated wood, is for outdoor projects. It protects from weather, bugs and such. We will have to wait a year before we can stain or seal this wood.
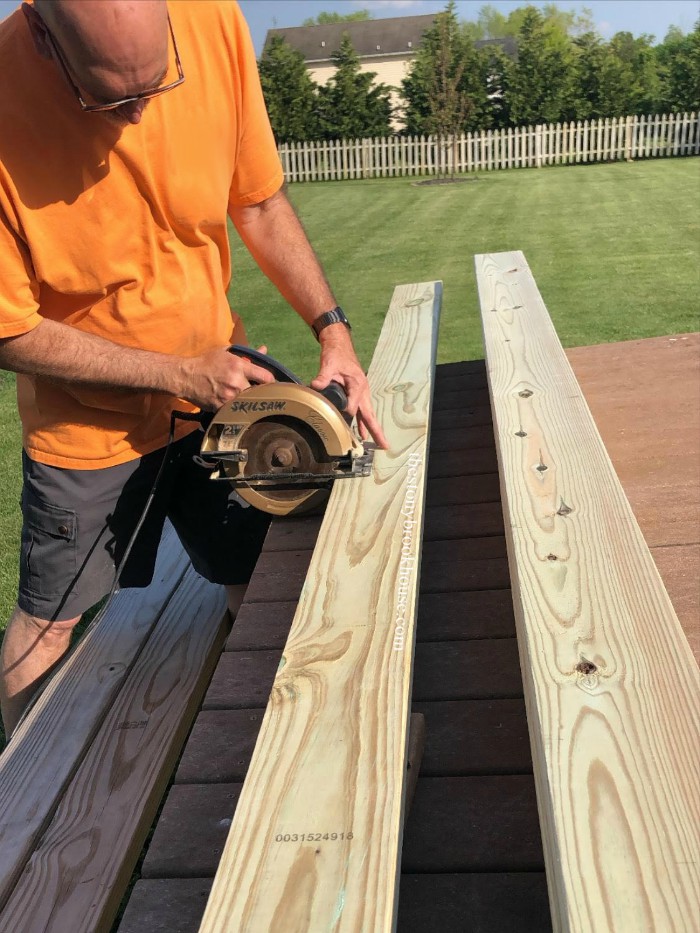
First, we cut the support boards and attached them to the eaves of the gazebo.
Once the support boards were attached, we measured the distance between and cut those boards to size.
We also measured the angle we wanted the boards to sit at and how far apart.
The speed square made it so much easier to mark the lines. It took us a few tries to get the right distance between each board.
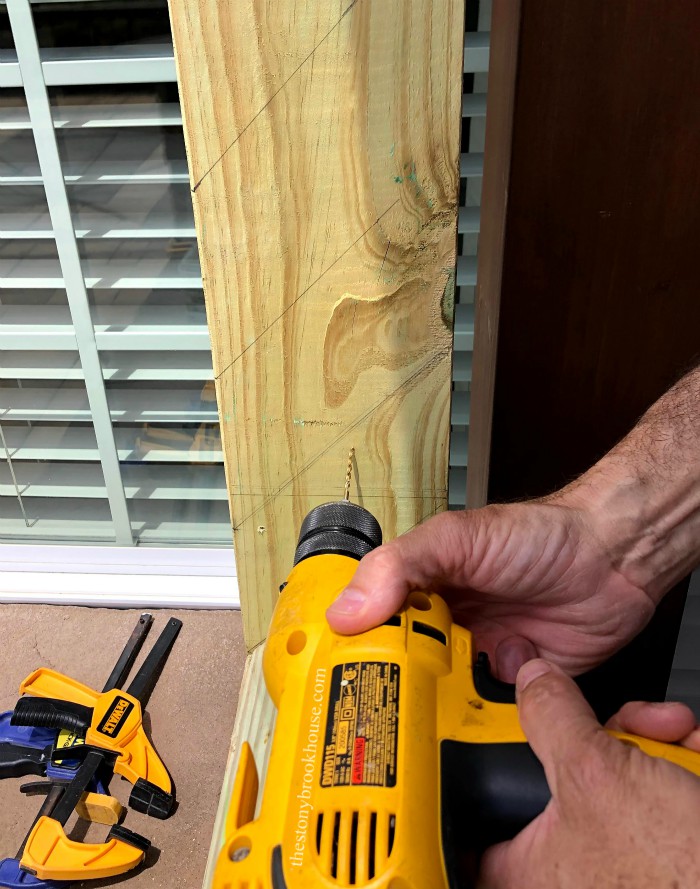
Once that was decided, we drew all the lines and pre-drilled all the holes, to attach the boards.
It's a little more challenging to drill through treated wood, so we used our corded Dewalt drill.
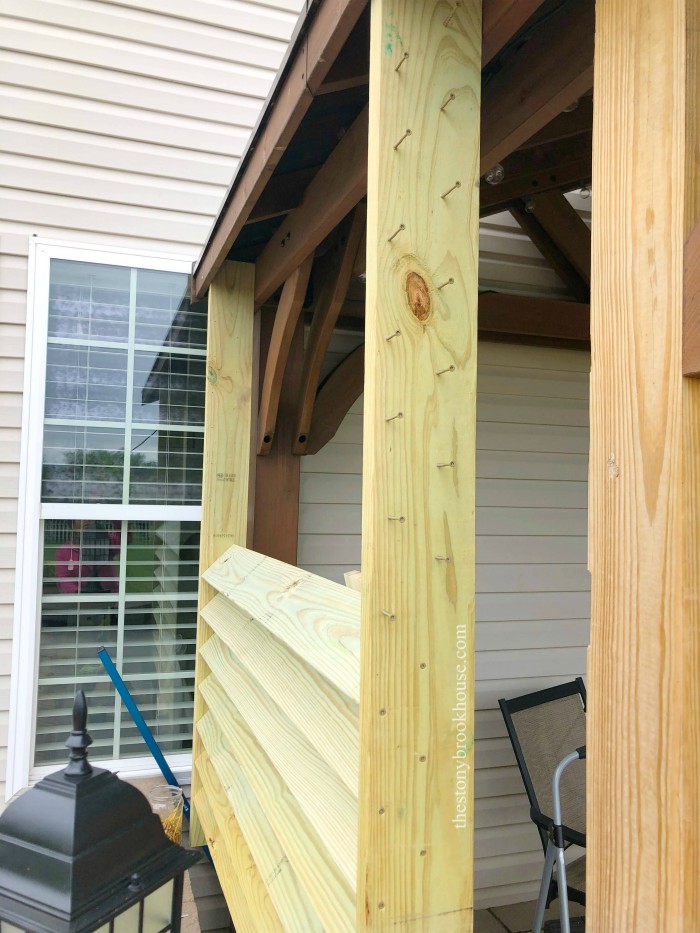
Now it's time to add the boards across.
You can see that we put each screw in just a bit. It made the process go faster.
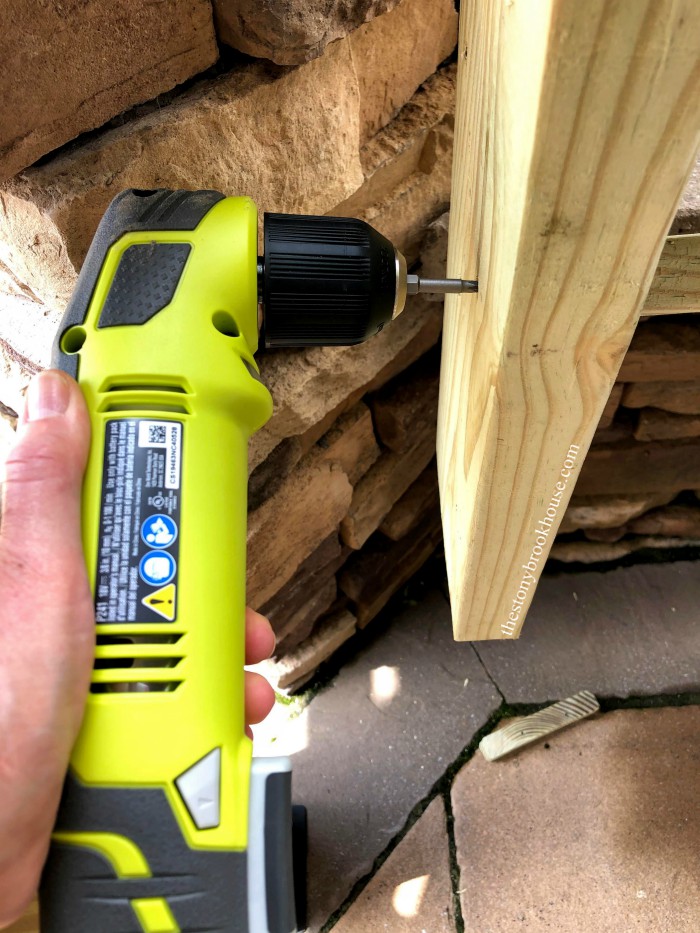
There were some tight spaces, we couldn't get a regular drill in. We purchased this Ryobi Right Angle Drill. That did the trick!
We're making progress.
Once finished, we decided to add a board near the front support post. We felt it looked odd with that opening there. Plus it will block rain from coming through.
Cutting the angles at the bottom of the privacy screen gave it that finishing touch.
To help control the rain, we added two rain gutters. We had already added a rain gutter on the other side of the gazebo last year, and we love how well it collected all the rain and kept everything dry.
The gutter attached at the top will collect the rain off of the gazebo roof, then send it down to the lower gutter.
The gutter at the bottom will catch the rain that drips off the privacy screen. Flashing will be added to the board right above the rain gutter to direct the water. Then both gutters drain into the downspout emptying into the garden at the bottom.
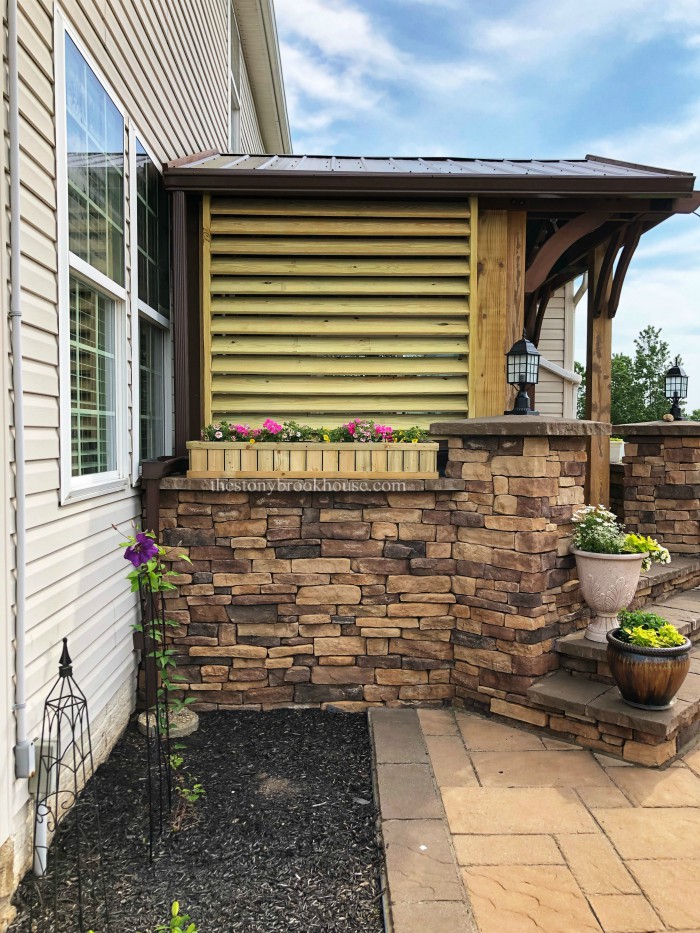
I knew from the start that I was going to have to build something to cover that ugly brown rain gutter.... So, I built a window box and added flowers! Those are so much prettier to look at! A tutorial on that will follow soon!
Let's look at some before and afters.
Before:
After:
Before:
After:
Blessings!
Lori








Very well detailed description of the process of creating your louvered privacy screen. That being said, I think that location would have been perfect for an outdoor blind. Much cheaper (considering the high price of lumber), easier to install, and would allow more light into the space. Also, the untreated would in going to weather and require staining or painting or it will become unsightly.
ReplyDeleteI appreciate your comment. Wood was a lot cheaper when we built it and we really didn't like the look of a blind. We can get some pretty high winds there and we really like the look of weathered wood. It might not be for some, but we loved what we built!
DeleteThanks for posting your project. It turned out great and blends well with the organic look of the stone. We're thinking of using your technique and going vertical with it for our little cabin in the woods :) Your description will make it much easier.
ReplyDeleteOh how nice! I'm so glad that I could help! Thanks for reading!
DeleteI think it looks very classy. I Thank you for posting this!
ReplyDeleteThanks so much!
Delete