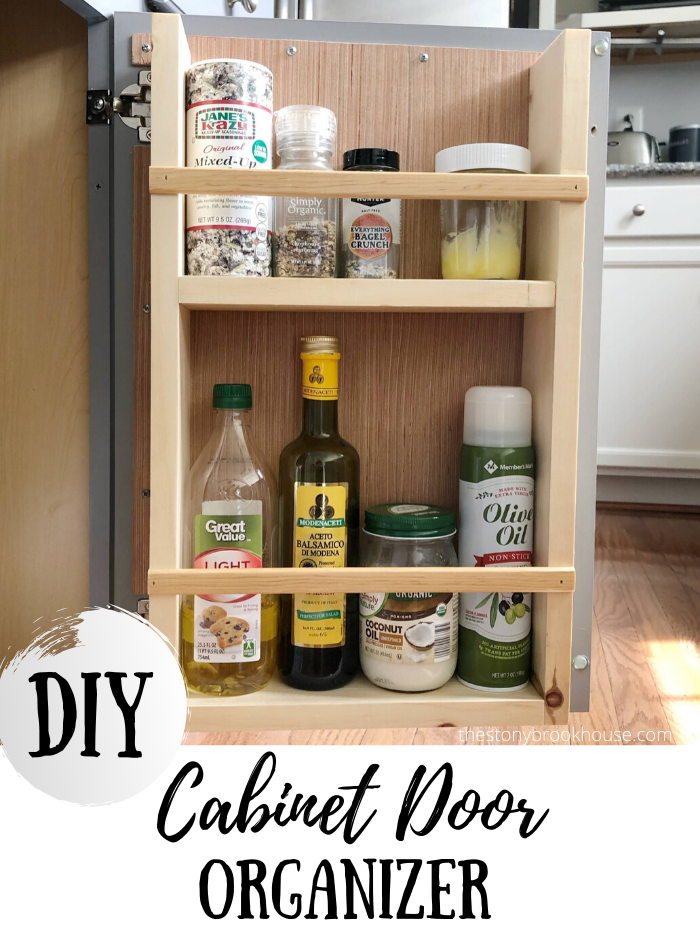
This was a spur of the moment project, that I just couldn't wait to do. It literally took me about an hour or so to make. I am sooo glad I did!
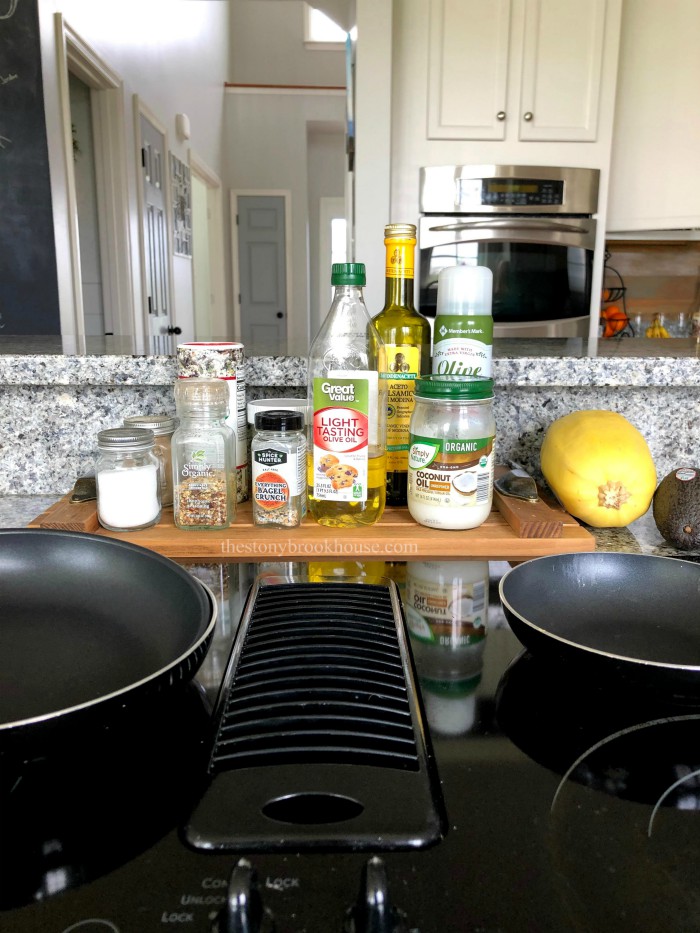
Take a look at this view... The area in front of our cooktop has bugged me forever... I don't mind a few things in this here, but the tall items that stick over the bar... make me cringe...😣
*This post contains some affiliate links. Please see my full Disclosure Statement.
See what I mean? It just looks cluttered. We needed somewhere to store all of the cooking things, but the cooktop is in our island and there aren't any upper cabinets around. Sooo, it dawned on me... use the lower cabinets!!
First things first, I took the cabinet door off and painted the edge. About 6-7 months ago, I painted our island from blue to a dark gray, but I didn't paint the inside of the cabinet doors.
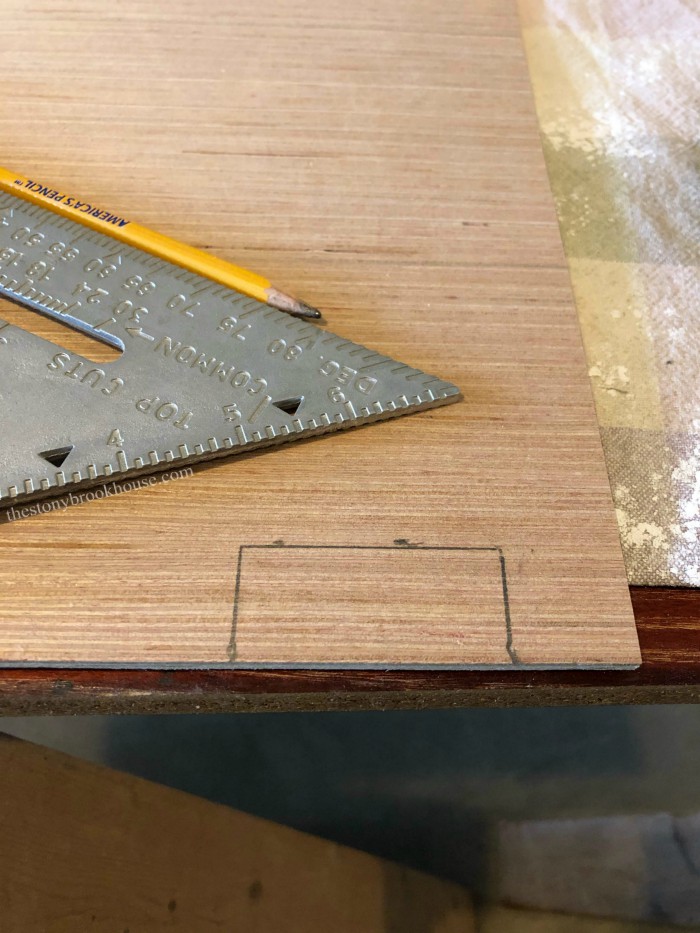
The edge of around the door is 1¾" wide, so I knew that the backing would need to be screwed into that part. It's thicker there than in the middle. Also, you can see that I will need to cut out around where the hinges attach to the cabinets.
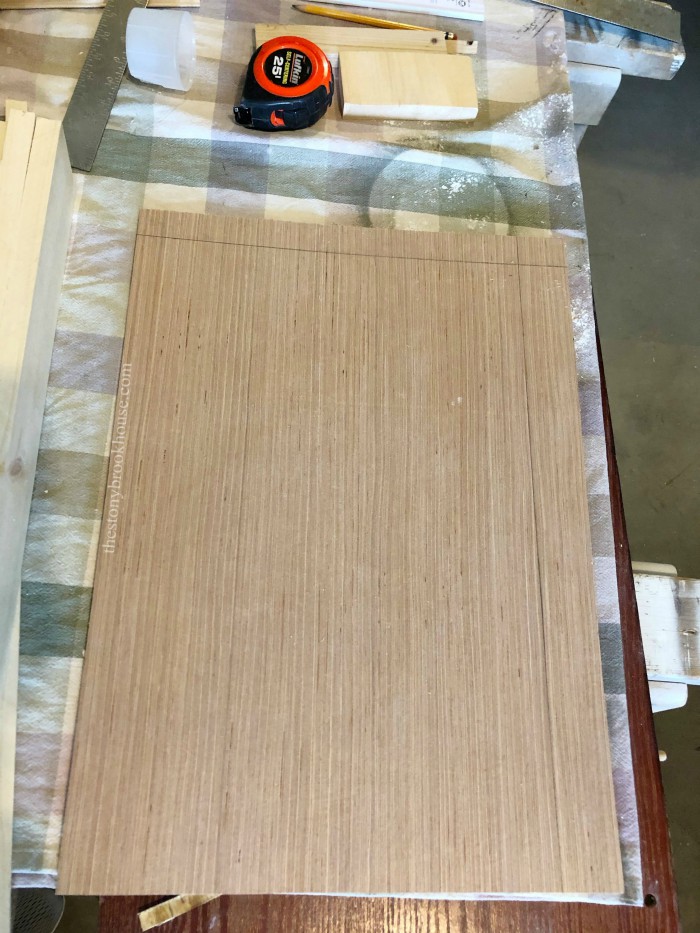
I used underlayment as the backing for my organizer. I cut it to 14"x21".
Then I measured and cut out the area for the hinges.
Now, I need shelves. I decided to use 1x4's because a 1x4 is actually 3½x¾, and the jars that needed to be on the shelf measured 3" wide. It was going to be perfect!
I also measured the bottles to make sure that I had one shelf tall enough to fit those items. The 2 sides of the shelf measure 20" long, the bottom and middle shelf measure 10¾".
Then, I clamped and nailed them together. Pretty easy! Especially when I use my beloved nail gun!
Now it's time to nail the shelf to the underlayment backing. This next step takes out the worry of missing the shelf when you nail it together.
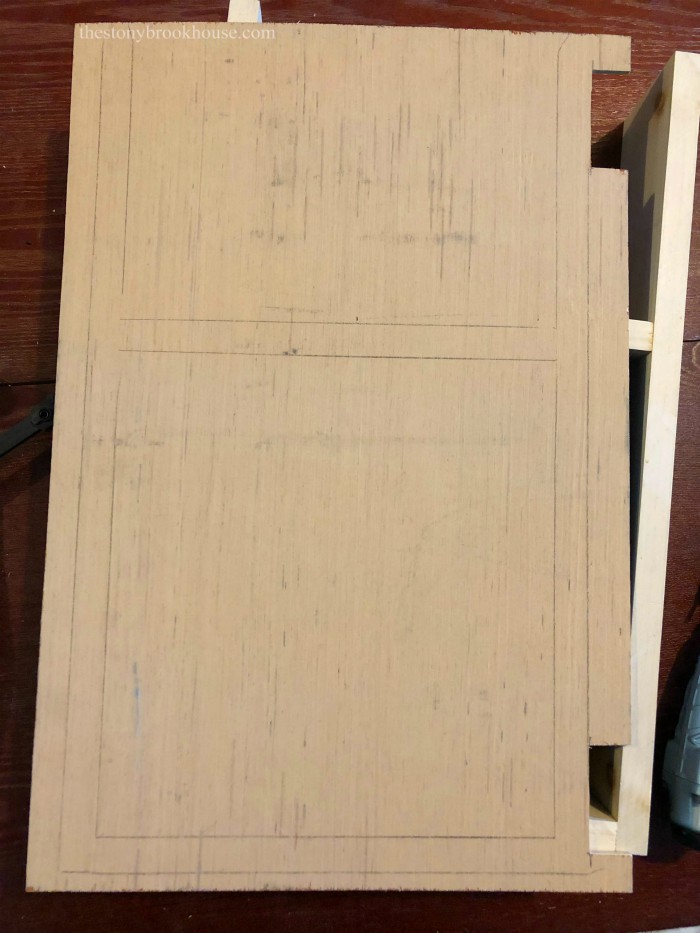
Turn the underlayment over and lay the shelf onto the underlayment, make sure the placement is correct. Then trace out the shelf. It will look like this when you are finished.
It basically, outlines where the boards are so you know exactly where to nail.
Next, glue the shelf to the right side of the underlayment and clamp into place. Flip over to the back and nail the underlayment to the shelf.
I didn't miss the shelf at all. It's securely attached. 👍
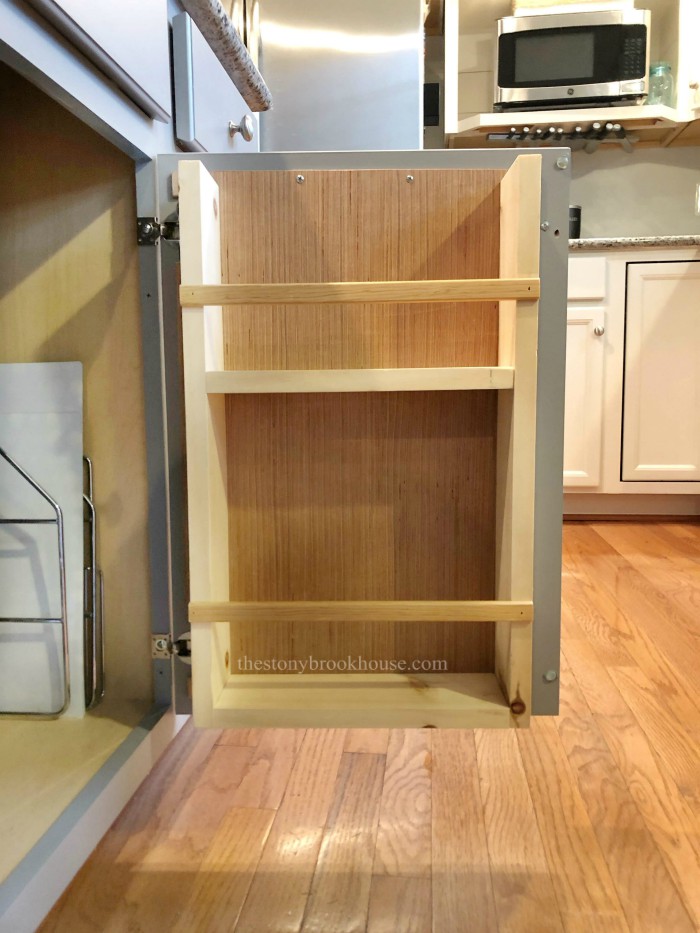
After the organizer is attached to the backing, you need pieces of trim across the shelf to keep items from falling out. I had some scrap pieces that worked perfect! I measured and cut mine to 12¼" long and nailed them in place.
The last step is to attach the organizer to the cabinet door.
Clamp the shelf to the cabinet door and pre-drill where the screws are going to keep it in place. Be careful not to drill to far, you don't want to go through to the front of the cabinet. Screw in small screws to secure it.
Reattach to the cabinet and that's it, you're done!!
Love, love, love it!!
Now my cooktop looks so much neater.
I've even made a similar shelf like this in the bathroom. You can basically make these little shelves anyway you want!
On a grander scale, I made a pantry door spice organizer. I did a complete post on it! Click on over to, The Best Spice Organizer!
Blessings!









I am in awe of your carpentry skills! Hope to get to work on some projects this summer. This was a GREAT idea!
ReplyDeleteThanks so much, Deb!
Delete