*This post contains some affiliate links. Please see my full Disclosure Statement.
First, can we talk about that plant pot! I still can't believe that was a trashy plastic pot! You gotta check out, How To Makeover a Plastic Pot With Joint Compound..
This plant stand needed to be simple and easy to build with a modern farmhouse vibe. Not too many requirements... but the most important one, was that all the wood had to come from scrap in the garage... Lucky me, I managed to find enough 1x2's for this project! 👍
The plant I'm working with has some pretty tall fronds, they are 20"!
I knew I didn't want this plant to be taller than 45" overall. So, here's how I worked the math. The plant and stand was going to be 45" tall, minus the 20" plant fronds and 9.75" pot, leaves 15.25" from the bottom of the pot to the floor.
The legs of the planter needed to hold the pot, so I added 7" out of the 9.75". Adding that 7" to the 15.25" giving me a total of 22.25" for the legs of this plant stand. The cross brace will sit at 15.25" to hold the pot.
Materials:
4 -1x2's cut to 22.25"
4 - 1x2's cut to 10"
Wood glue
Nail Gun
You will also need a scroll saw, or band saw, or even a multi-tool (reciprocating saw)
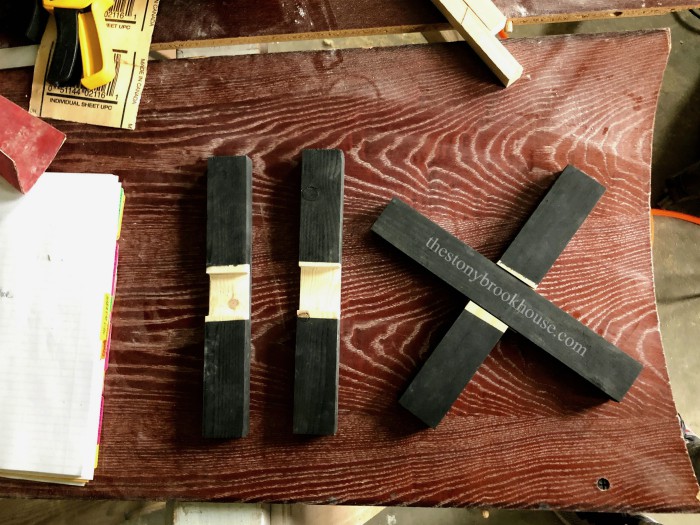
I can't believe that's all the wood I needed, Yay!! Next, I marked where I needed to cut out wood, in order for the cross pieces to interlock. I marked the 10" 1x2 at 5". The 1x2 is 1¾" wide. So, I marked ¾" on each side of the center mark.
I wasn't planning on having to paint the pieces before I finished cutting, but it was going to rain for the next 2 days. So, I gave all the pieces a quick coat of my favorite paint! Rust-Oleum Painter's Touch 2X in flat black.
I taped off where I still needed to cut for the cross pieces.
To cut out the center of the cross pieces, I found it easier to use the multi-tool to cut through the longest line.
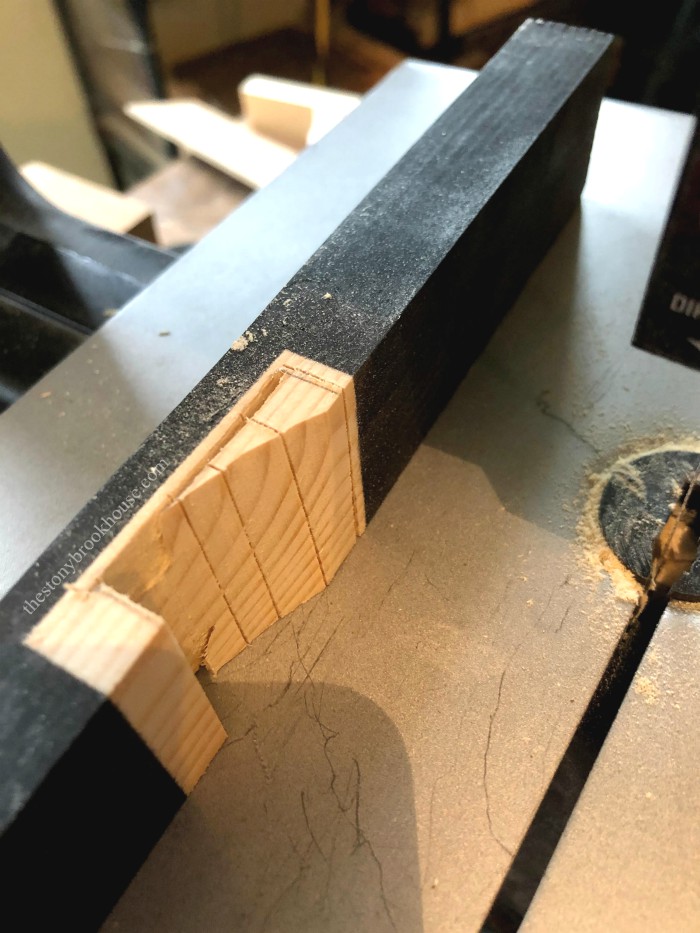
Then I made little cuts with the band saw up to that line.
Next, I used the band saw and cut at an angle aiming towards the corner.
Then flip it the other way, and cut back to the other corner.
One of the pieces didn't fit so well, so I added some plastic wood filler and clamped and nailed them together! 👍 The other cross piece was perfect!
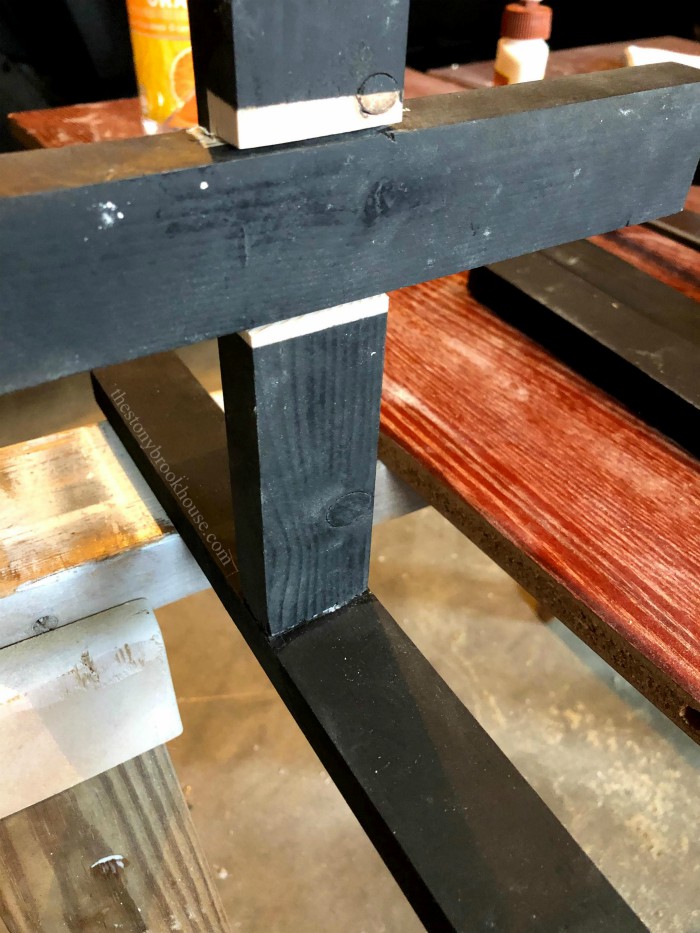
I wasn't too sure how I was going to put this together... I started by gluing one of the cross pieces to the leg and letting it dry. I placed it at the 15.25 mark.
Once that dried, I used my nail gun to secure it in place. Then I added the other leg and cross piece. Glued the ends, clamped and nailed it together.
All that I had left to do was spackle and sand the tiny nail holes. Then lastly, give the whole thing another coat of paint. This time I went with a satin finish.
Originally, I was going to place the bottom cross brace at around 4" from the bottom, but I didn't really care for it there. I even considered eliminating it all together. Then I slid it down to the end of the legs at the floor. And I loved it!!
It just came out soooo cute! I'm thinking of making another one, a little smaller next to it. We'll see if I have enough wood.
Blessings,


❤️ this! Exactly what I was looking for! Thank you!
ReplyDeleteYou are so welcome! I still love that little plant stand! :)
DeleteWhat size nails were used. Did not see in materials list.
ReplyDeleteHi Robin! Oh! Just small 1 1/4" nails. I totally forgot to add that!
DeleteHi! I love this idea but have a question. Did you ever have problems with top heaviness? Did you somehow weigh it down or counter weight it?
ReplyDeleteThank you! No, I've never had any problem with it tipping or falling over from being top heavy. I still love it and use it!!
Delete