*This post contains some affiliate links. Please see my full Disclosure Statement.
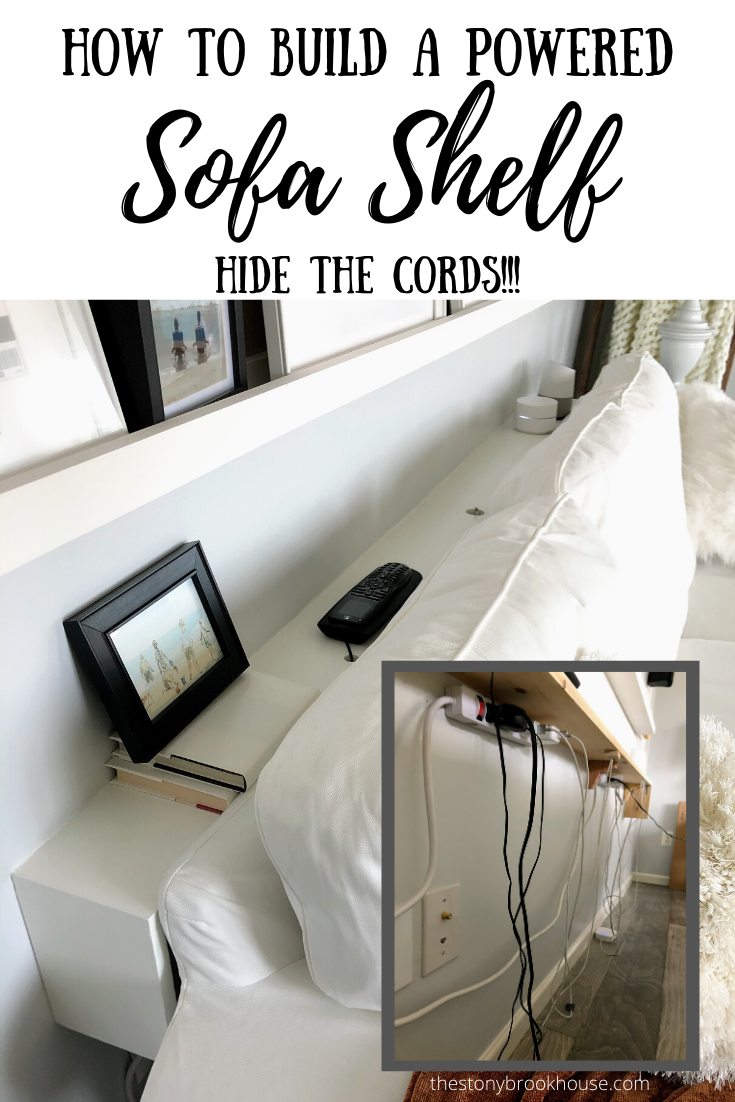
This was hubby's idea and it was a fantastic one! I for one, can't stand seeing cords around and under everything, and in this techy era we need a cord to power everything! Here's our solution to hide all the cord mess.
This was really so simple. First, we measured the height of the couch and figured where we wanted the shelf to sit. Oh, you need to have at least one outlet behind your couch.... That's kind of a no-brainer.
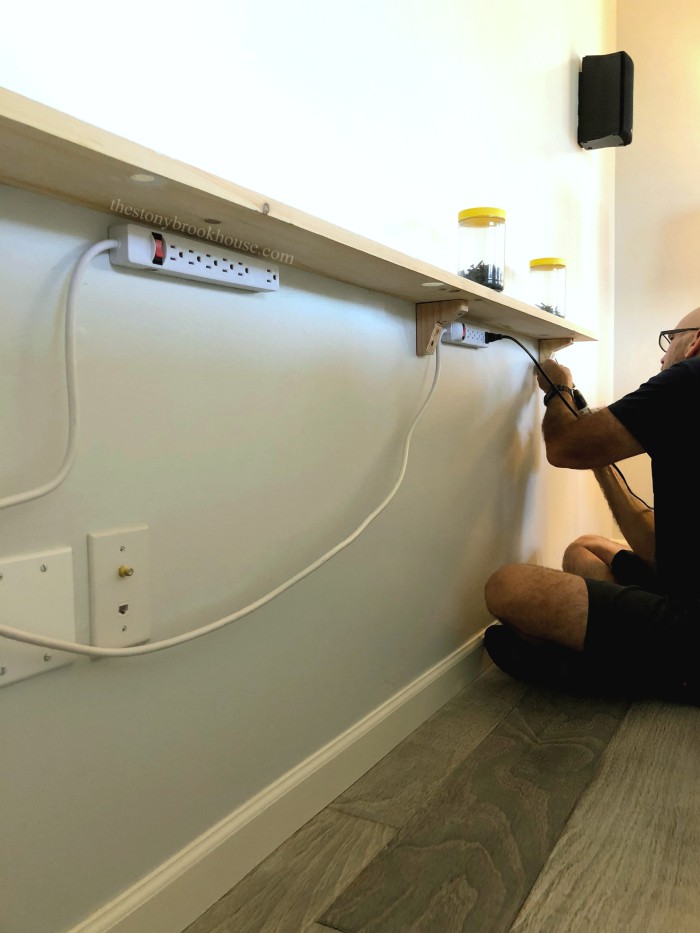
We made some simple brackets out of scrap wood. (Yes, it's a terrible photo, but the only one I could find. 😕) The shelf is made from a 1x6x8 pine board, we cut to the length of the couch. I primed and painted the wood right away.
The only snag we hit was that our wall isn't straight.... really?? But why should I be surprised... The board only touches the wall at one point. So, Hubby took a scrap of wood that was about the width of the gap, and with a pencil dragged it along the wall onto the board.
That created a line he could cut with the table saw. It was actually a quick solution. 👍
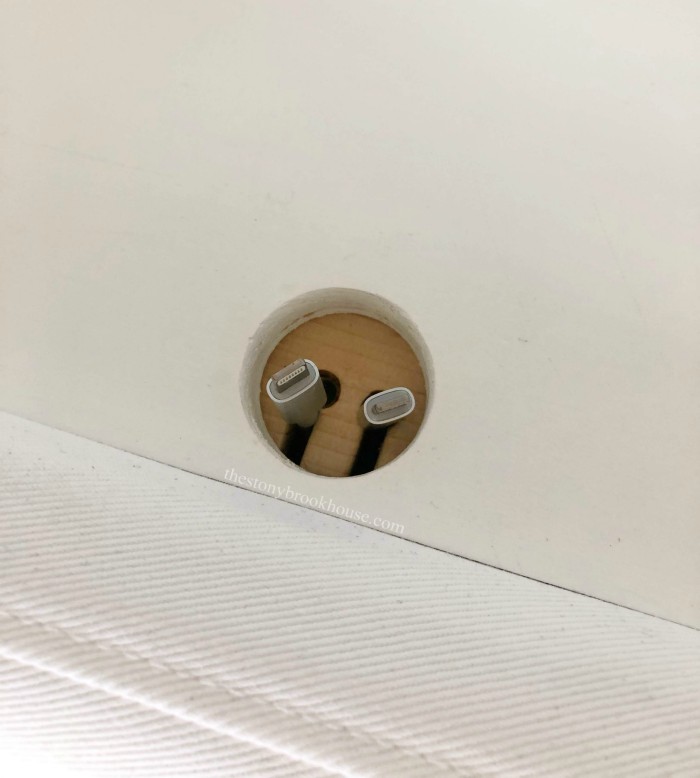
It fit perfectly. The next thing you need to do is figure out where you want your devices to sit or have access to. You'll need to drill holes for the cords to come through. We used a hole saw.
Here, Hubby is attaching the shelf to the brackets underneath.
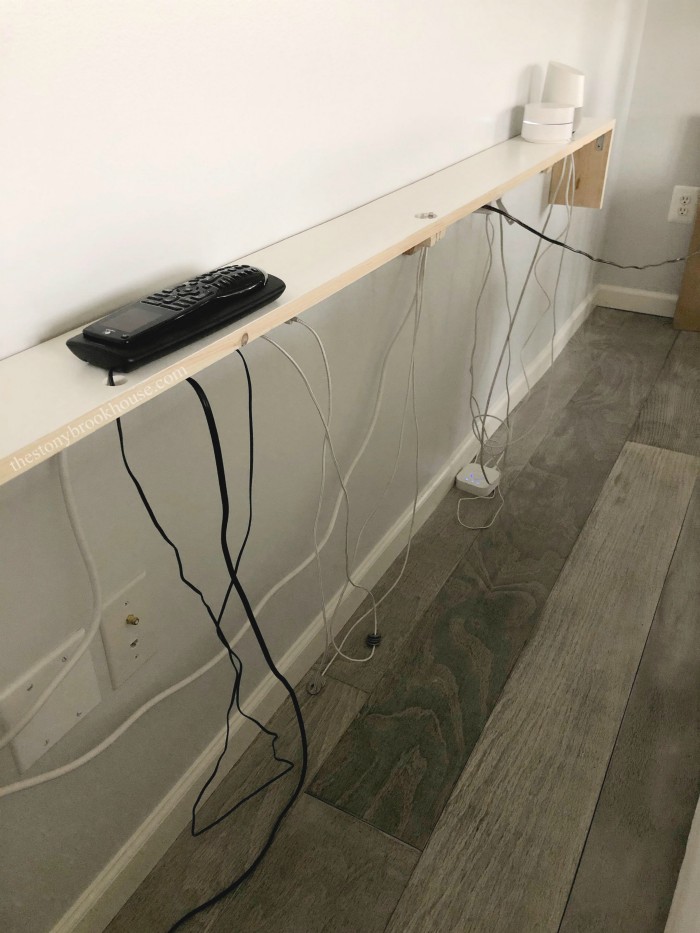
We needed holes for our TV remote, phone and tablet chargers, Google Wifi and our Google home.
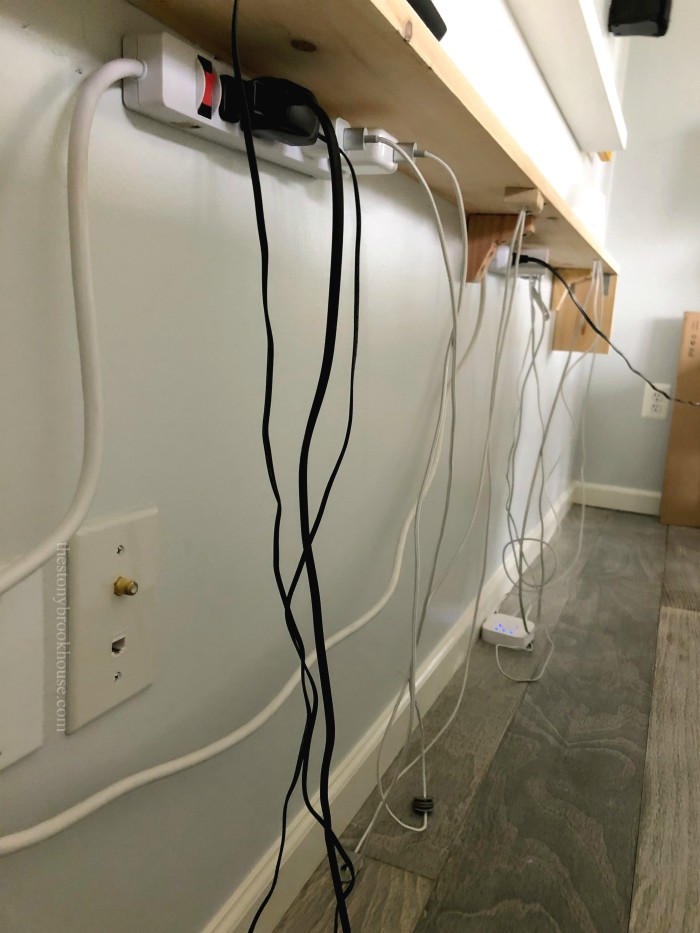
They are all plugged into power strips underneath. It looks a little scary behind there, but it's so much better than seeing cords here and there and everywhere!
We decided to put the phone and tablet chargers in the center, so that they can be easily accessed from either side of the couch.
Hubby also created this little attachment out of wood to hold the charging cords. It's screwed in underneath the shelf. Genius!!!
We purchased 6ft. cords from Amazon and added some washers as weights, so that the cords would pull back down when not in use. They work so well!
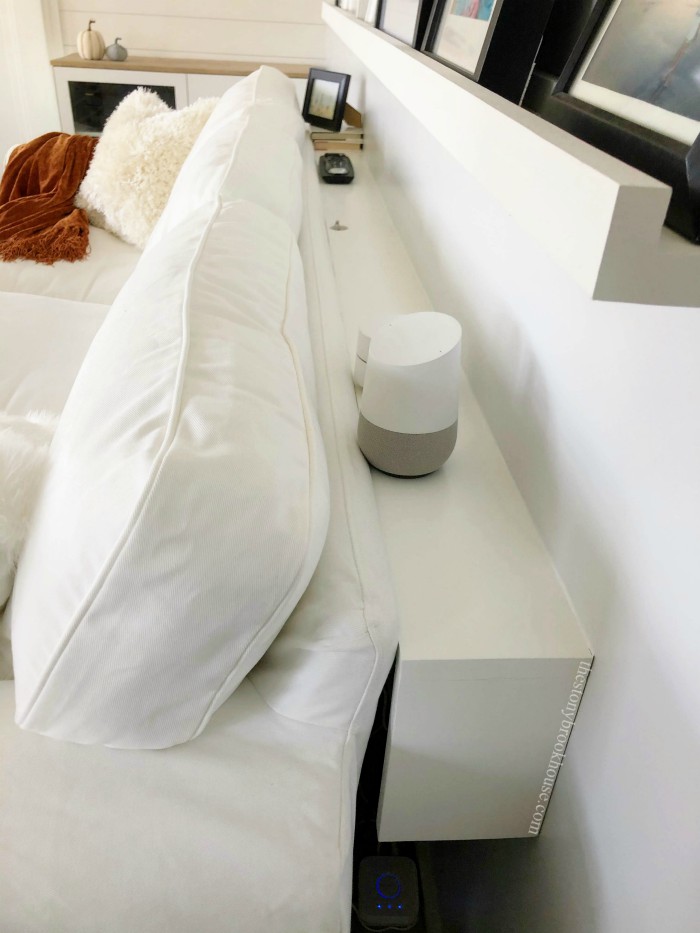
Once the shelf was installed, we realized you could still see cords and the braces from the sides of the couch. Well, that kind of defeated the purpose, right? And of course, I didn't take a picture of that. 😑
I extended the shelf down about 8 inched on both sides, using left over wood. It's attached with L brackets. That solved the problem and you can't see any cords! Perfect! Winner winner, chicken dinner!
Since we've had this up and running for a couple of months, let me tell you, this has been a game changer! Yet, when our kids came to visit, they couldn't use our chargers, because they have android devices. Hubby came up with a solution!
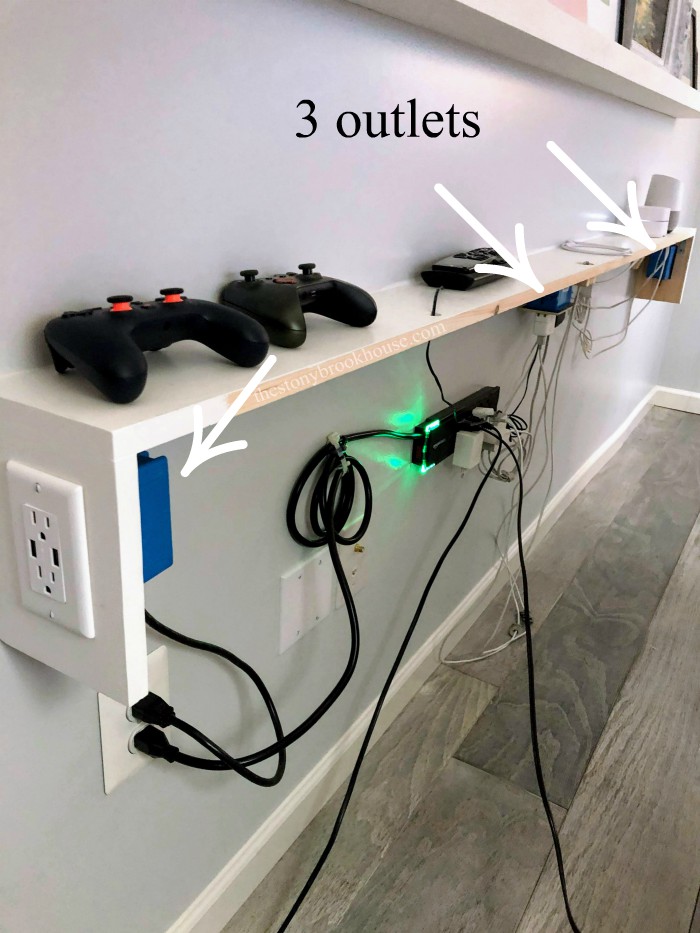
He added outlets on the side panels, with smart usb ports! They actually read what kind of device it is and provides the correct amount of power. 👍 Plus he upgraded the power strip and organized things a bit more. 😍 These are the outlets and power strip we purchased on Amazon. Topgreener 3.1A USB Outlet & Amazon Basic Power Strip
Genius right?? Now, the kids can plug in right there.
I love how it just blends right in. It's also hand for setting drinks back there, too!
Pin it for later!
Blessings!







Wow, what a great idea! I have my next project set :-)
ReplyDeleteThanks!! We LOVE it!
DeleteI've been looking for something like this. Every other plan had something a little off for our space. This will work with few tweaks. Thanks!
ReplyDeleteAwesome! So glad you found us! Thanks for reading!
Deletelove it!
ReplyDeleteThanks so much!!
DeleteHow did you get the usb outlet to work?
ReplyDeleteIt's all plugged in under the shelf into a power strip.
DeleteSorry to say this now, but there's a way better solution for the underneath power strips...add one or more flush-mounted power strips to the top of the shelf. You can buy them in all kinds of configurations with various combinations of USB A, USB C, and normal power outlets built in.
ReplyDeleteGreat idea! We were working with what was available to us at the time. Thanks for sharing!
DeleteCould you give us hand please🤣It is awesome I am remodeling the house at present and this is timely help
ReplyDeleteHahahaha! We all could use a little help in projects! Glad we could be of help! Thanks for reading!
DeleteI think I missed how to install the outlets, and hook them up to the wall’s power outlet. Can you point me to those directions?
ReplyDelete