*This post contains some affiliate links. Please see my full Disclosure Statement.
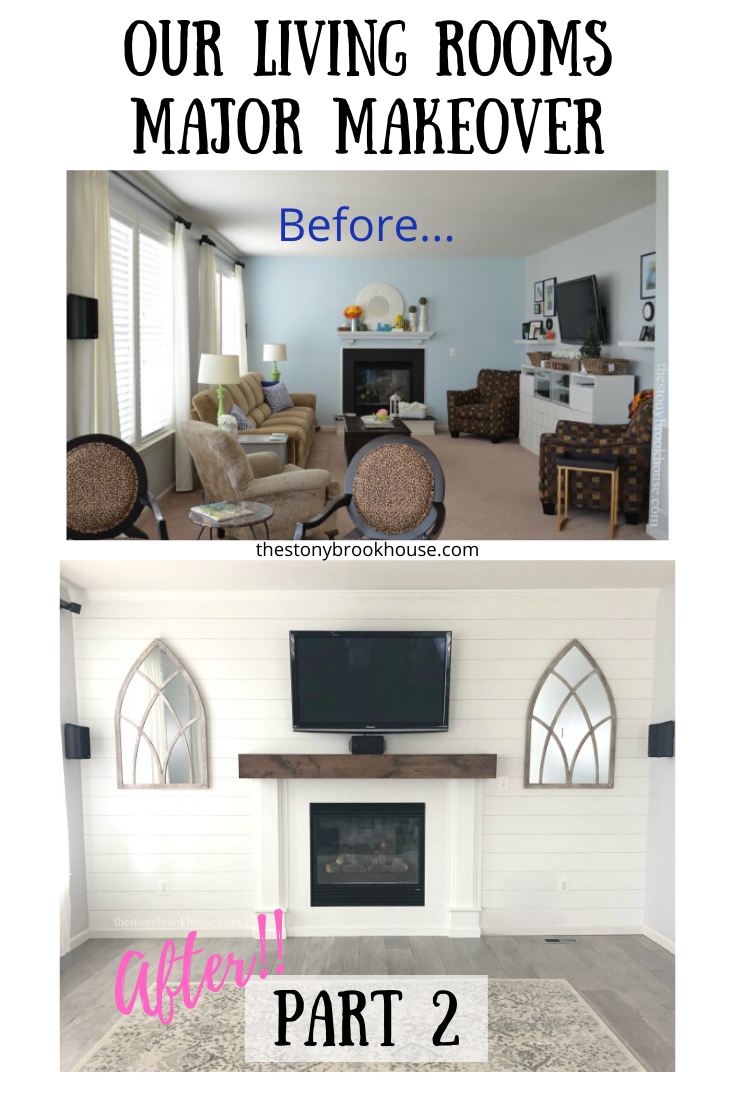
Granted... I know it's just the focus wall... but it doesn't even look like the same house!! First off, if you want to see Part 1, just click Our Living Rooms Major Makeover - Part 1.
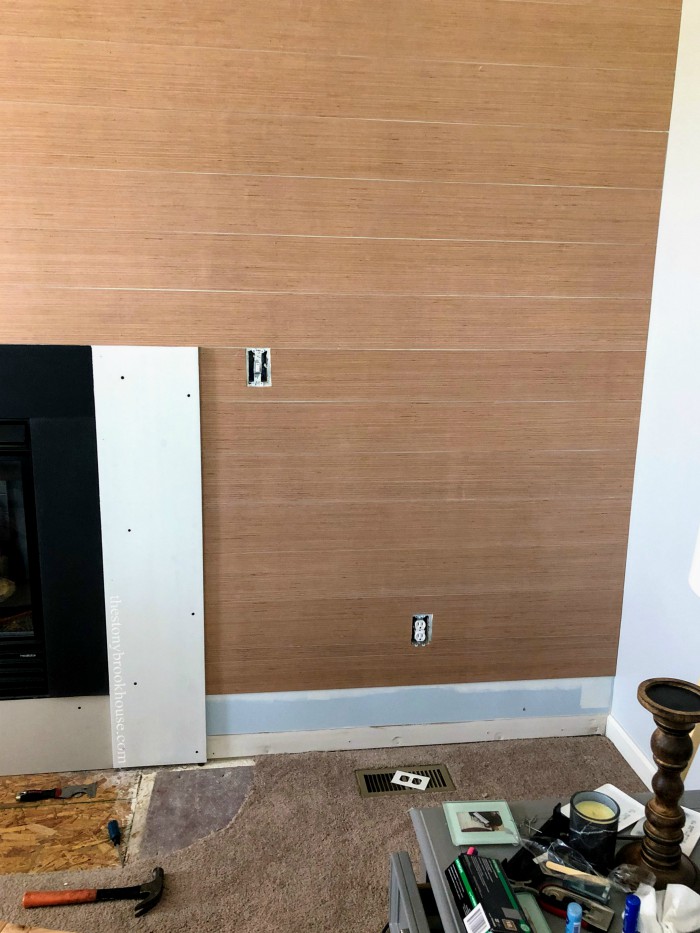
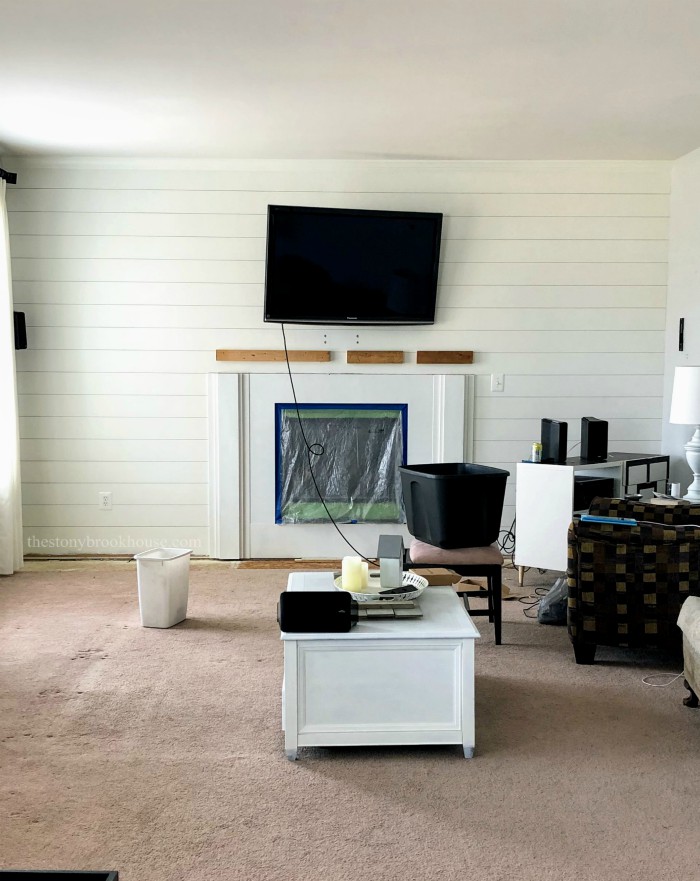
Okay, Let's dive in! I left you with this image...
A plan for the columns for the fireplace began by adding 1x12s to each side. Then I finished shiplapping the wall.
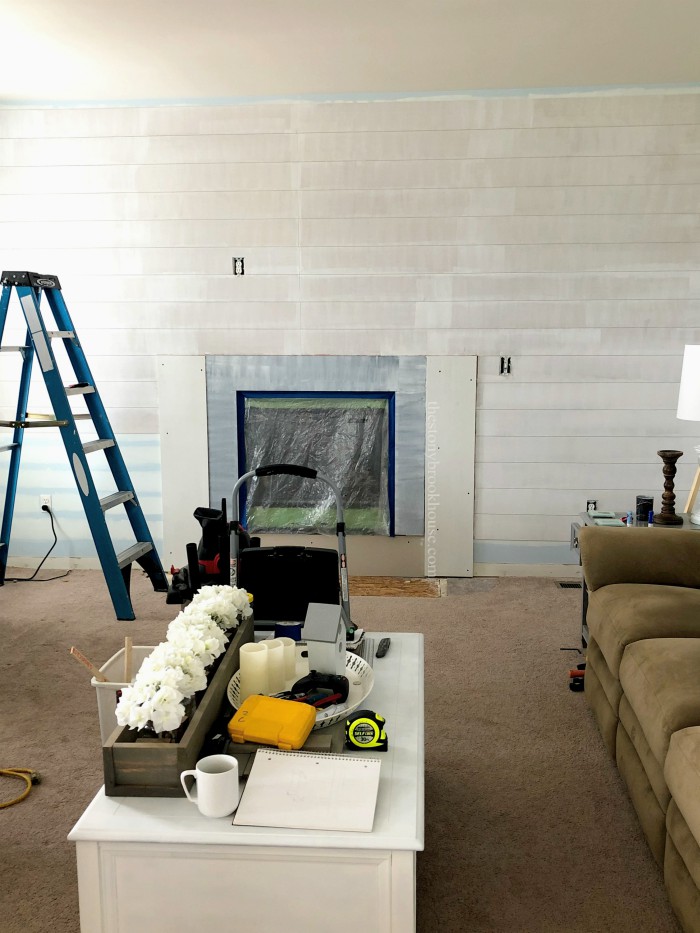
Next up, primer! I just couldn't finish the last part on the left because I ran out of shiplap. 😏
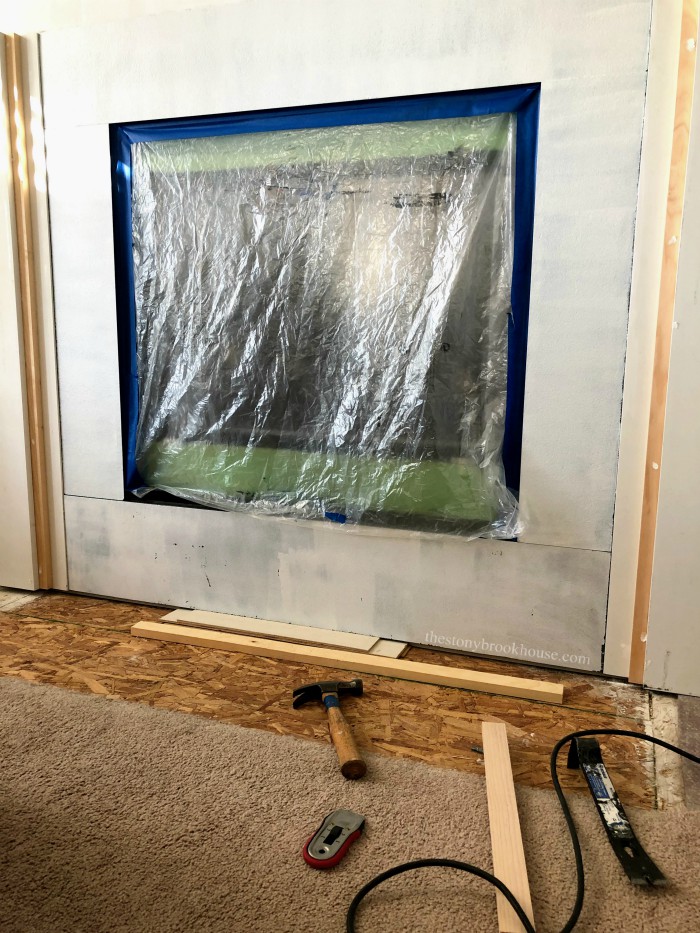
It's really coming along, though... We also decided to paint the black slate around the fireplace. So, one coat is done.
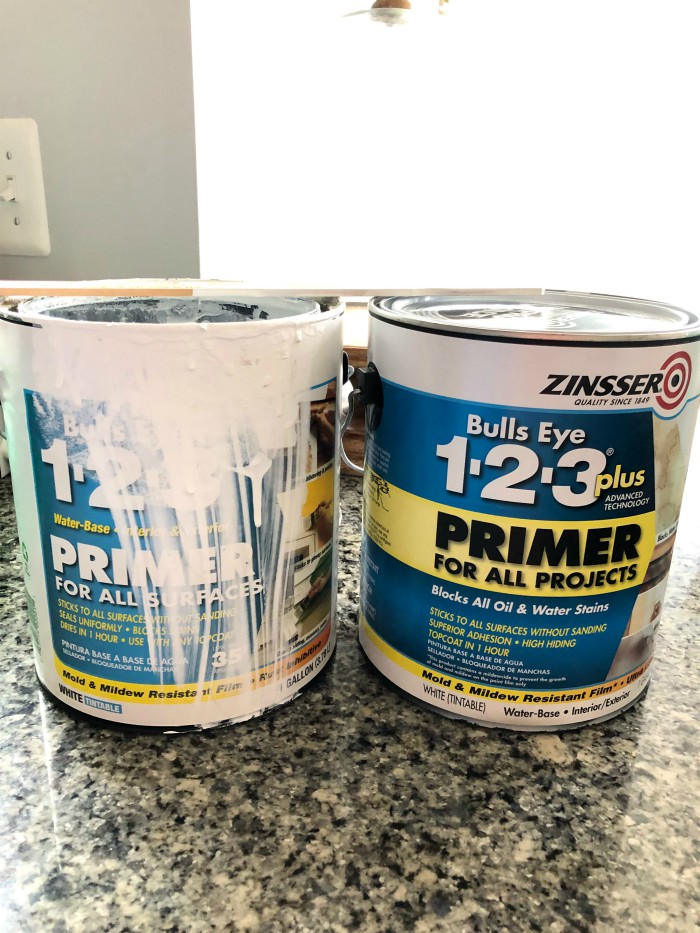
Let's talk about primer for a sec....
I always buy Zinsser Bullseye 1.2.3 primer. What I didn't know is that it now comes in a "Plus"! What??!! What a difference! It cover's twice as good as the regular Bullseye, and it's only a few dollars more! It's going to be Zinsser Bullseye 123 Primer Plus for me from now on!
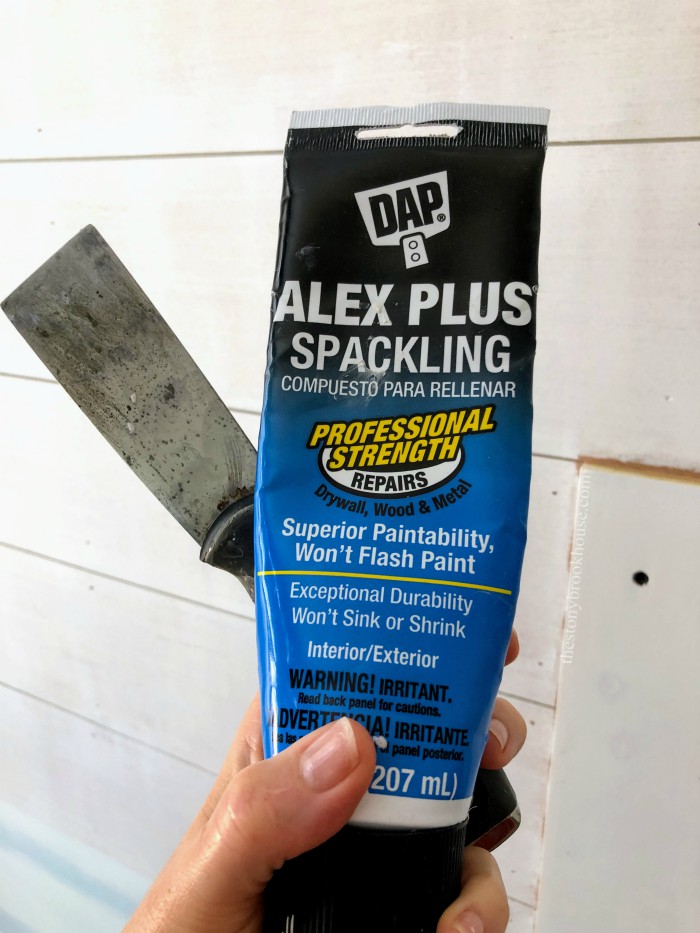
This next product is also a big favorite! Have you ever spackled a nail hole on the wall before painting and then after you paint, you can see a patch where you had spackled?? Ugh! That's called flashing. Alex Plus Spackling won't flash back! So, you don't have to prime the patch before you paint. Yay! Another win!
We've definitely made some progress here! The TV is mounted on the wall. This is the mount we used. We purchased it on Amazon. This is an affiliate link. Mounting Dream Full Motion TV Wall Mount Bracket.
Here hubby is starting to work on the fireplace columns. We haven't figured out the entire design, but this is a good start. 👍
We are basically starting by layering a couple of wood pieces, to give it some dimension.
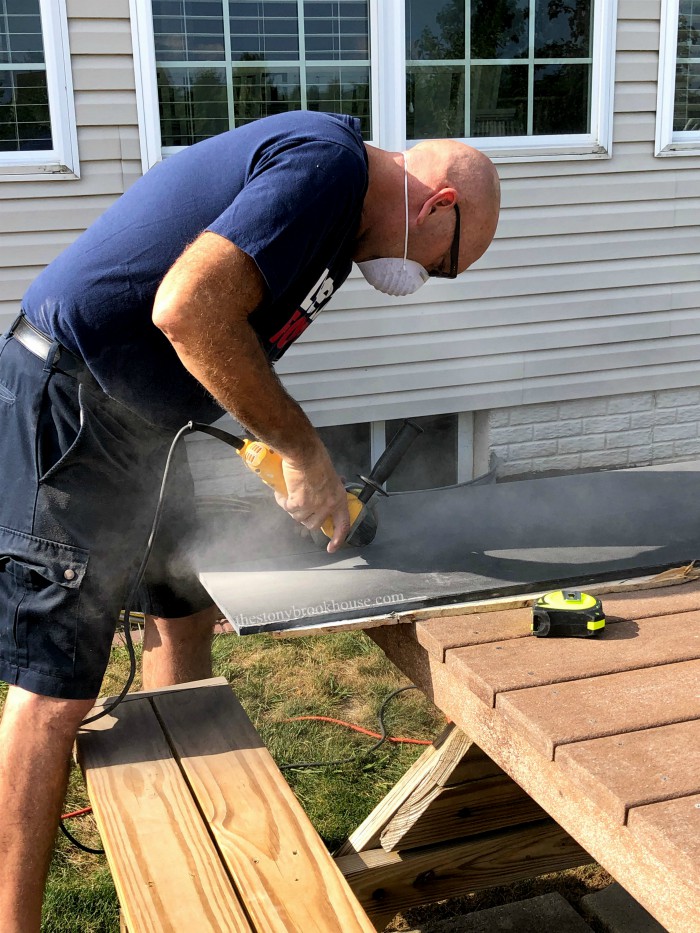
Then we did some research on cutting slate, and realized we could 'cut' it with a diamond blade and a grinding cutoff tool. Which we had! Winner winner, chicken dinner!! 😂
Le me just tell you.... this man is the best! He has skills! Such a steady hand and good eye to cut this piece of slate!! 😍
He got it to fit just perfectly!! We glued it in place using Liquid Nails.
Yay! It's starting to look finished!
Crown molding is done, wall is painted, TV is hung, mounting for mantle is hung. We are LOVING the direction this is going! FYI... there will be a separate post on the mantle. And yes, of course, we built it! 😊
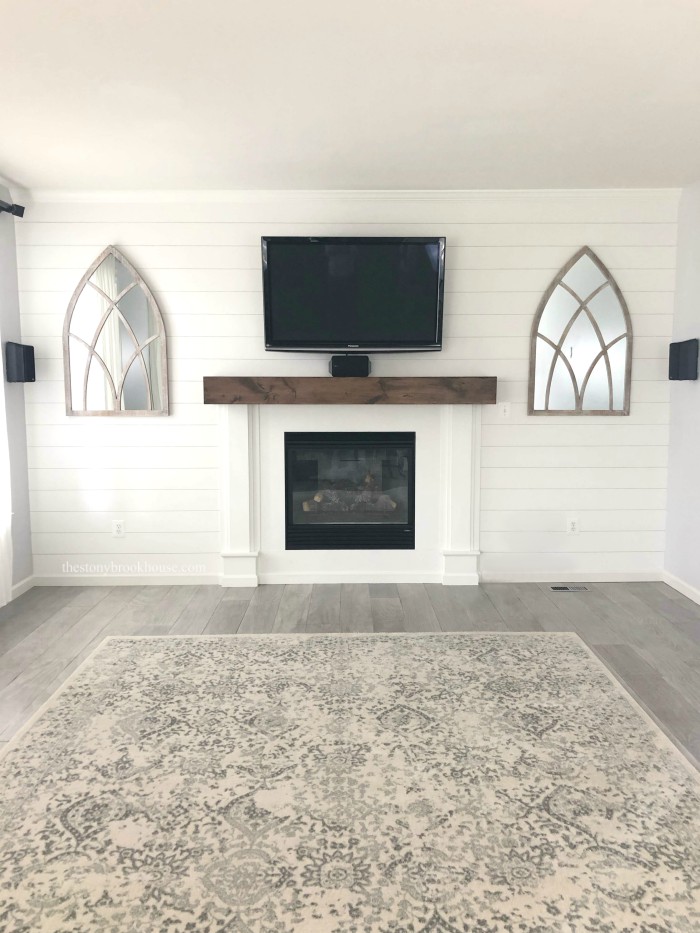
During the construction of this project, I knew I wanted something on either side of the fireplace. It just needed to be symmetrical. I found these at Hobby Lobby!! I purchased them when they were 1/2 off! 💕
Last steps.... finish the column design, hang mantle and hang mirrors.
Back to the columns....we wanted them to stick out just a bit for more depth. At first we were thinking of doing something a bit more fancy and intricate, but while working on it, it just didn't feel or look right.
So, we went with something much more simple, and we love how it turned out! Less is more... We used all scrap to build it! (here's a blurry photo to see that we just used mdf and scrap pieces.)
In this next photo, I labeled the pieces so that you can get an idea of what we used.
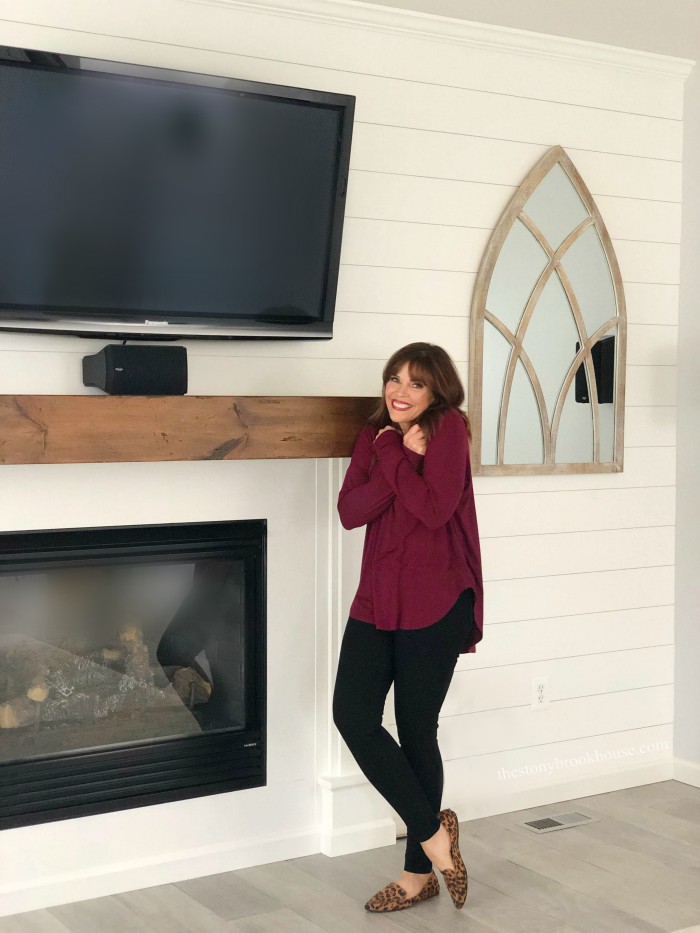
Then it was done!!! Ahhhh!!! The entire room looks and feels so much more us!
I am in love with this wall!😍
❤️❤️❤️!!! ( I photoshopped the cords out of the pics 😝)
See.. I left them in this one. We ran the wires for the TV through the mantle and down the side column. 👍
One more before and after!!! And of course, there is more to come!!! We aren't done... 😍
Blessings!









It is looking great!! Let me know when you want me to drop in ;). I finally completely finished my Master Closet. It feels so good to get something completely done.
ReplyDeleteLiberty @ B4andAfters.com