Updated 10.07.22
*This post contains some affiliate links. Please see my full Disclosure Statement.
Hubby said this is one of his favorite projects that we've done! I'm not sure if I agree, because I've loved soooo many of them! But this one is VERY cool!!
We found these doors up in the attic of one of the properties we owned. When I saw them, I knew they were coming home with me!
The mudroom/laundry room needed some sort of mirror. I just wasn't sure how or what would work there... then I thought of those doors!! What if.....
I cut out the panels and replaced them with mirror??? YES!!!
An hour or so later, with a hammer, spatula, screwdriver, multi-tool, sweat and grit... I got those panels out! It was a job! But this is going to look so cool! I just love the character of old doors.
Next up... paint! I did a bunch of research on how to create an 'old distressed multi layered paint look'... There are sooo many techniques to choose from. I did a couple of different ones. I tried the candle wax technique.
Basically, you rub candle wax on all the areas you want distressed. Then paint over all of it. The paint doesn't adhere as well to the waxed areas. Next, scrape those areas to reveal the wood beneath.
Okay... now, we're getting somewhere...
Let's try the other method... I used Johnson's Paste wax. I globbed it on, and painted with a different color, more of a light minty green. These are all old paints that I had on hand. 👍
The paste wax, in my humble opinion, worked better. It seemed to scrape easier and gave the look I wanted. Sometimes, I would just leave the scrapings and paint over them again...
You just gotta play with it a bit. You really can't mess it up.
So this is where I left it at. I added more paste wax, more paint, more scrapping, more paint, more scrapping, and a little sanding... you get the picture. You just keep going until you get the look you like. 😊
I do have to admit, it was a little hard to stop... I kept questioning myself... Should I do one more? Is this good? Less is more, right? I finally just had to stop and be done! I'm glad I did! I love it!
Next up, let's find some mirror.
That was more of a challenge than I thought it would be. Mostly because of the size of the large cut out. First, I tried a glass/mirror shop in town. They wanted $80 for both!! What??? No way was I going to pay that amount! 😝
Then I hit up Lowes, they do cut mirror, but not the size I needed... Ugh! What to do??
Hubby suggested a thrift store! Yes! We have a Rescue Mission close by and they carry a lot of furniture and things...
Yureka!! Success!! I bought these two for $10 each!! Not perfect, but I don't need perfect!
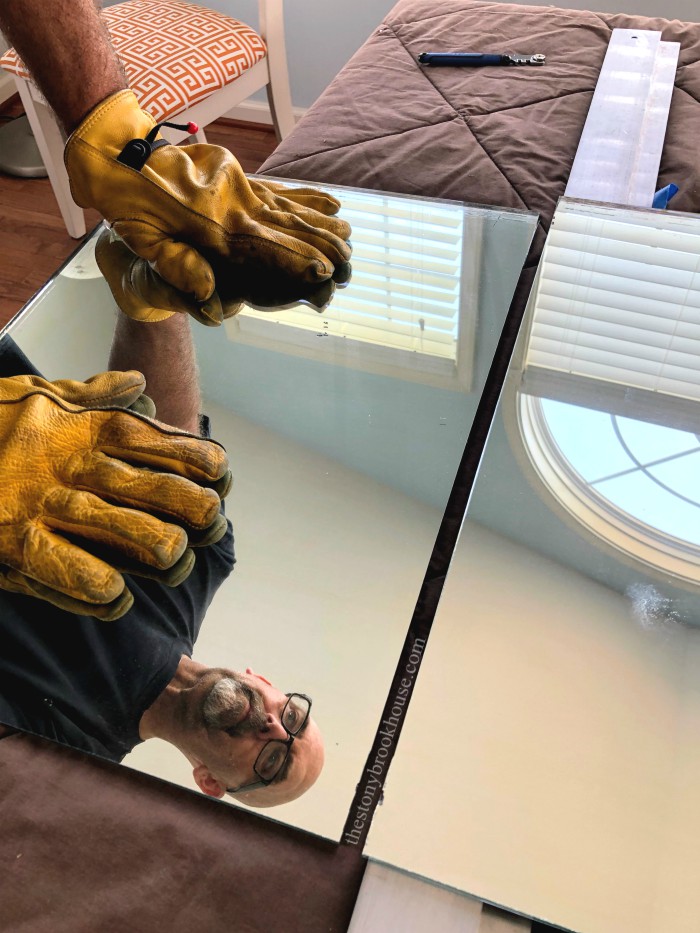
We took them out of their frames, measured and figured out how to cut mirrors!
I picked up this handy little glass cutter at Lowes. This is the one on Amazon. It doesn't have great reviews, but it's the same one they had at Lowes. There is a learning curve with it. Our first cut was not as successful as our next few.
You need to hold it straight up, use a good amount of pressure and go slow. We ended up scoring the glass more than once. By the time we were done with the last cut, hubby had it down!
In the above photo you can see the scored line. We set our straight edge underneath that line for leverage. Then hubby hit the glass with both hands. Boom!
Ahhh nice straight cut! Here's a look at our first cut... it was a pain and a mess to break off all the pieces...
We figured, we hadn't scored it well enough and that's why some of it didn't break on the scoring line. It's fine, that jagged edge doesn't show at all!
Now, how am I going to get this mirror to stay in place?? This was our solution. After we put the mirrors in, I just laid the panels back into place over the mirrors and used liquid nails to seal it. I used a bunch of books and paint cans on top to hold it all down. I think it's good! This was after it was all dry.
Then we needed to find some way to hang this beast on the wall!!! This is one heavy mirror! We looked at Lowes for a metal cleat. But, I am way too cheap to pay for $9 for a 5 inch metal cleat, especially when Hubby was thinking we needed 2 of them. 😣
But Hubby always comes through!!! He's a genius! He found some metal thingamabobs in the garage and MADE a cleat for this door!! He's the best!! ❤️
He measured and mounted this bad boy on the wall! It is PERFECT!! ❤️❤️❤️
I am in LOVE with this! I put the old hardware back on.... 💕swoooonnn...💕
Oh! and we added two extra screws here... inside the door handle holes. Just to keep it from sliding or anything... Just look at that trim piece... gorgeous! Can you see the screw where the door knob goes? These doors didn't have the crystal door handle, but you can bet I'm on the hunt for one!
And you don't need to worry... the washer door opens and hits smack dab at the wood center of the mirror! Yay!!


Hi there! I'm at work surfing around your blog from my new iphone!
ReplyDeleteJust wanted to say I love reading your blog and look forward to all your posts!
Keep up the great work!