Updated 11.13.20
So, we set one up to see how it would light up... we plugged it in and ONE string lit up!!! What???!! ugh.... 😭😭 There was no way we were going to cut off all of the lights and restring both of them. We didn't want to do ONE of them... we even went to Lowes and looked to see if anything looked decent and would work with our budget. Seriously, they looked like skinny twigs stuck in a pole with a couple of lights on it. We were completely disappointed. But now, we were motivated to do something with our trees, because they really are beautiful. 💗
Last year I was thinking about making some sort of planter box/stand/base (whatever you want to call it)... so now we had the perfect reason to! By building this stand we would only use the middle and top section of our tree. It would shorten the tree some, but the box would lift it higher. This way we only have to deal with these 2 sections of the whole light situation. 👍
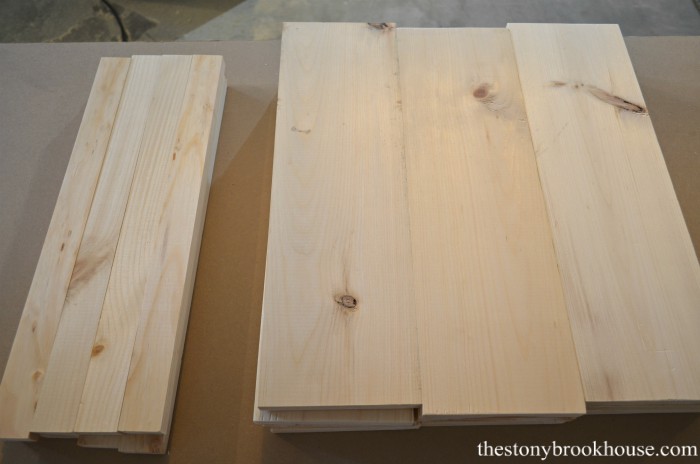
We made the box from 1x6 and 1x2 pine boards. It was pretty simple! We built 4 panels that were identical and nailed them together.
Before we get ahead of ourselves... you need to decide how tall you want your box to be. We wanted ours to be 18 inches tall. So we cut the 1x6 into 12 -18in. boards. 3 boards for each panel.
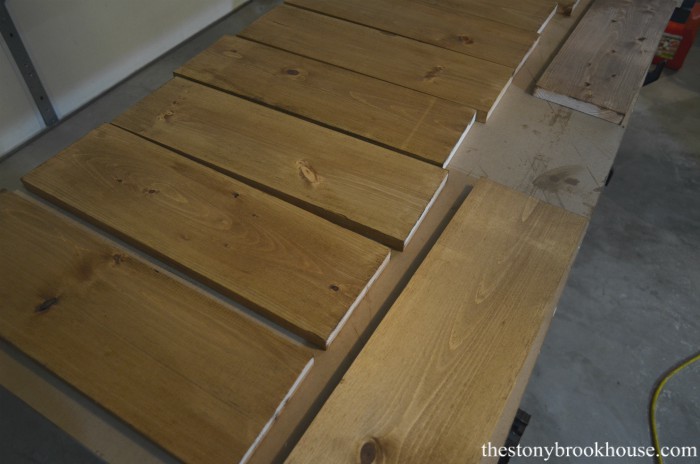
Once all of the boards were cut, I stained them. One quick coat of Minwax Wood Conditioner, and then Minwax Provincial stain. It's a nice warm brown. 😊
The top and bottom trim pieces, were cut from a 1x2 board. Those were also cut 18 inches long.
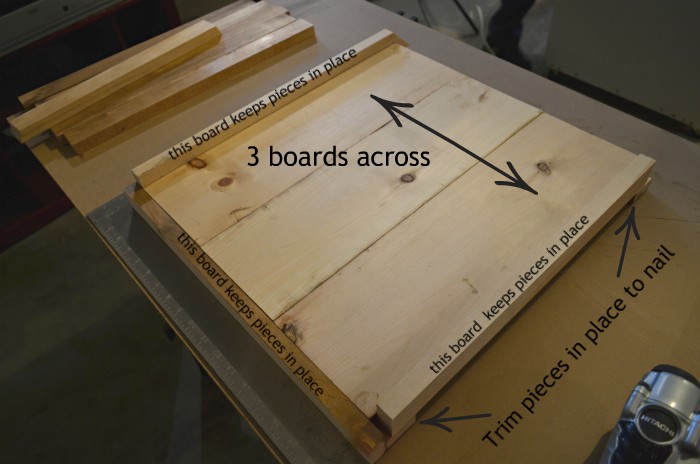
We made each panel identical. Three boards butted up to each other with the 1x2 at the top and bottom. The trick here is that 1x6 boards aren't true 1x6. If you've worked with lumber they are actually 3/4in x 5 1/2 in. So, when you put three '1x6's together, it will not equal 18 in. it's going to equal 16 1/2 in. That's 1 1/2 in. extra we have to deal with. Stay with me here....
So, each board is actually 3/4 in. wide, if you put 2 of them together it will equal 1 1/2 in. The 18in. 1x2 is going to stick out 3/4 of an inch on each side of the 3 -1x6 panels. (Of course, I didn't take a photo of that, but I think you'll get the idea here.)
When you put each panel together they will make a complete box. Trust me it worked perfectly!!
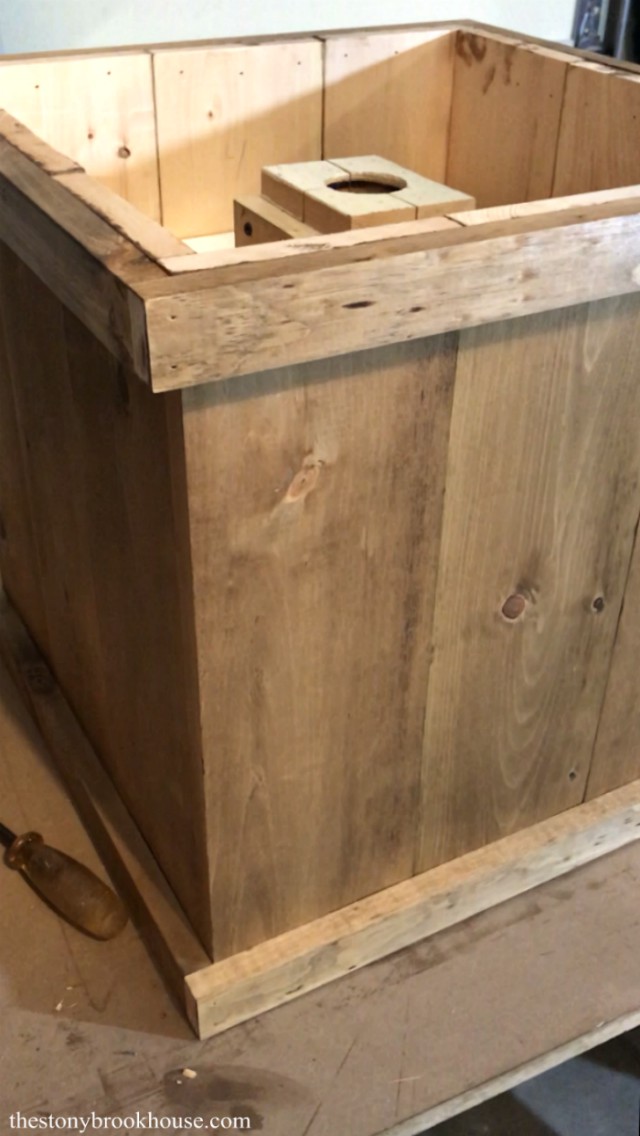
Before we nailed it all together, we figured out where we wanted our Christmas tree to fit into the planter. We needed to elevate the tree about 12 inches so that the branches hung nicely over the top of the box. We used some scrap wood to use as supports for the braces we made. Also, here you can see the panel a bit better, regarding the 3/4in overhang of the top and bottom trim piece.
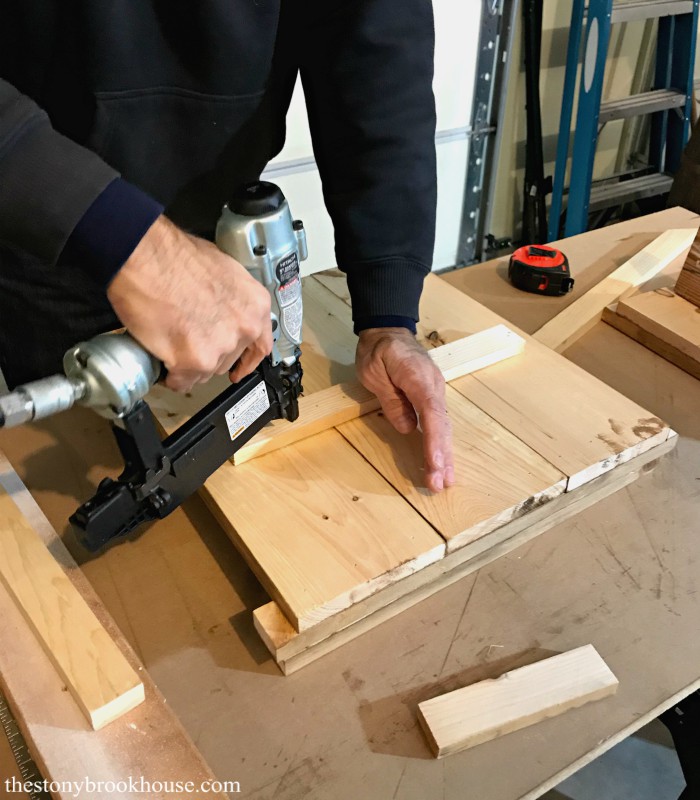
Hubby made sure each panel was square, then I nailed them together with our trusty Hitachi nail gun. (Which I LOVE!! Would make a great present!) We nailed them with 1 1/4 in. nail brads from the inside so that the nail holes wouldn't show.
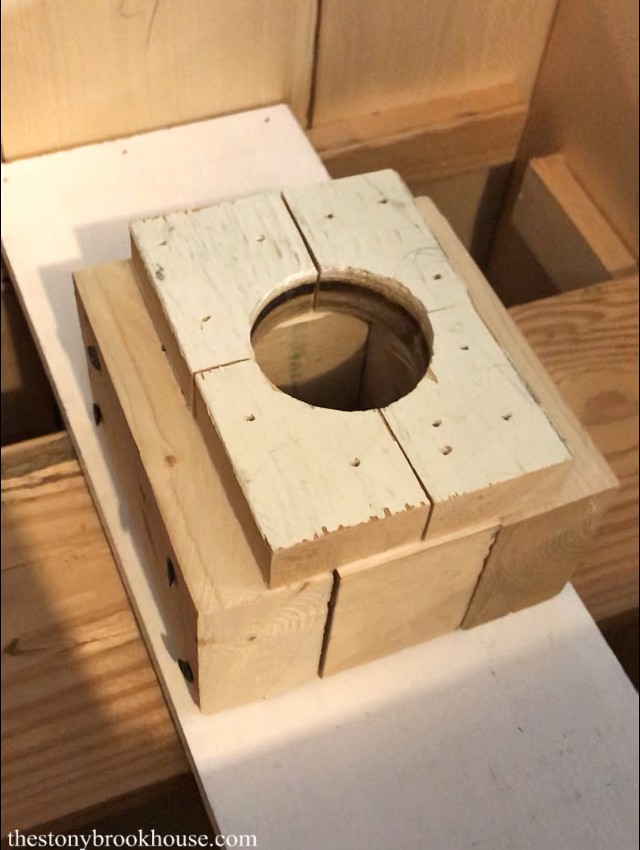
Then we added scrap wood across the width of the box, one crossed over the other and nailed into the supports we had installed earlier. This will hold the base we built for the tree to stand in.
This next part is custom to each tree... you need to either use the original base and secure it or make a new base to support the tree. We jimmy-rigged a base out of 2x4s and other scrap.
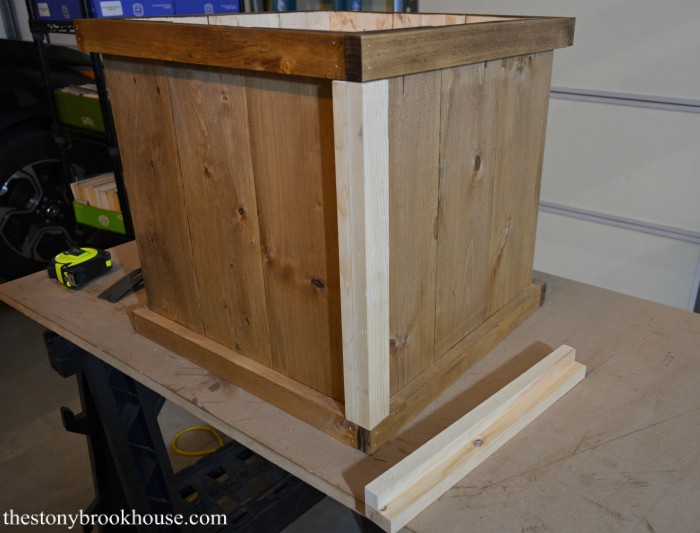
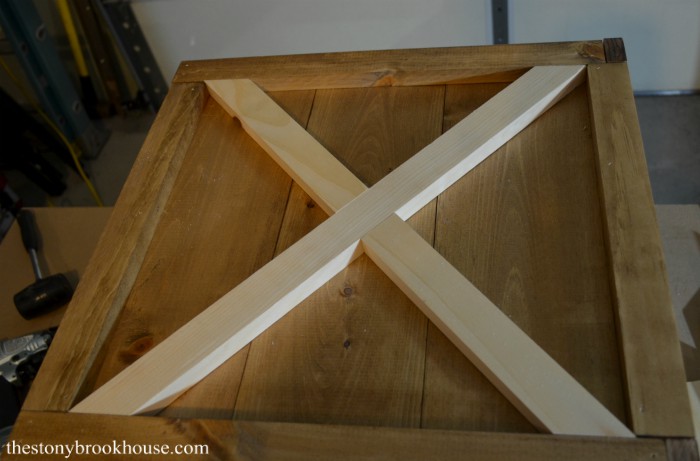
Now that it's all put together we just need to add the side trim pieces and the 'X' to each panel. This part came out soooo good!!! ❤️❤️❤️
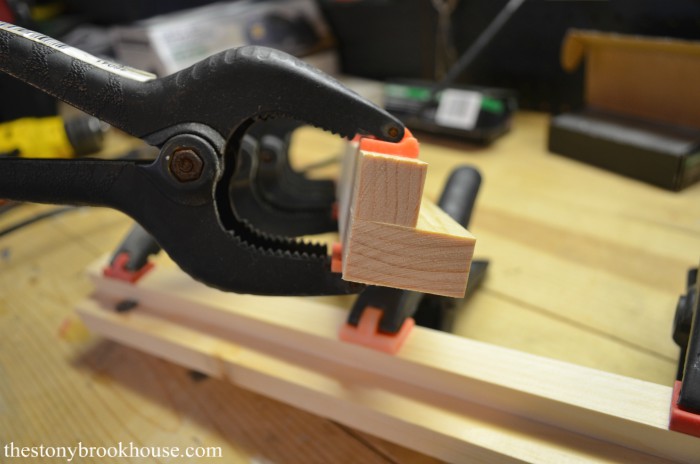
In order for it to look even at each corner, one side was a full 1x2 and the other side was 1/2 of a 1x2. (Hubby cut the 1x2 in half with the table saw.) Then we glued, clamped and nailed them together.
Before we installed them, I conditioned and stained them. Next, we nailed them into place and began working on the 'X's. Adding the 'X' just makes it look complete.
The trick with the 'X' is to cut a template, then cut all 8 of them exactly like it. You may have to work with the miter cut a tad. It isn't a 'true' 45º, because the box isn't a true square, it's more of a rectangle.
Then working one panel at a time, lay one of the pieces in the box, and lay the other one on top. Line it up and mark the bottom piece to cut.
Next, all you have to do is cut that little piece out and then lay them all back in.
Easy peasy! I stained my pieces before we nailed them in place.
Voilé! It's complete!!
Hubby and I are soooo pleased with how this project turned out!
Here's a little video to help you along with building your own stand. If you have any questions, please email me at thestonybrookhouse@gmail.com
You also might like to check out:
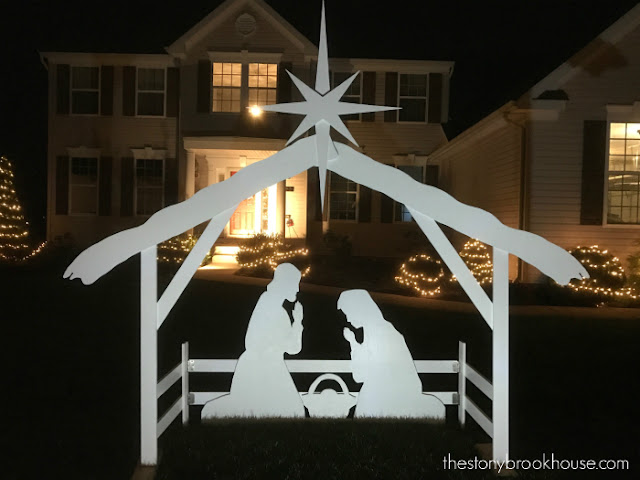
Building A Christmas Nativity
An Easy 10 Minute Christmas Wreath
New Furry Stockings
Blessings!












Sooo cute. I think with painters tape I might paint it red with gold or yellow for cross pieces and trim to give nutcracker look Thank you for your great ideas Really appreciate the Christian themes and wholesomeness of your site Blessings, Cindy Felice
ReplyDeleteHi Lee! Thank you! That's a cute idea! I'm so glad that we can be a blessing to you! Thank you for reading!
DeleteI would love to print this for my husband to use the plans but there isn't a print button. Is there anyway that you could add a "print" button so that I can print?
ReplyDeleteThank you