Updated 8.11.22
*This post contains some affiliate links. Please see my full Disclosure Statement.
Today, I'm going to share with you my LAST project for our master bedroom makeover. Yay!! 🙌
This is soooo exciting to FINALLY have this room finished. You can see the full before and after here, Master Bedroom Complete Before & After.
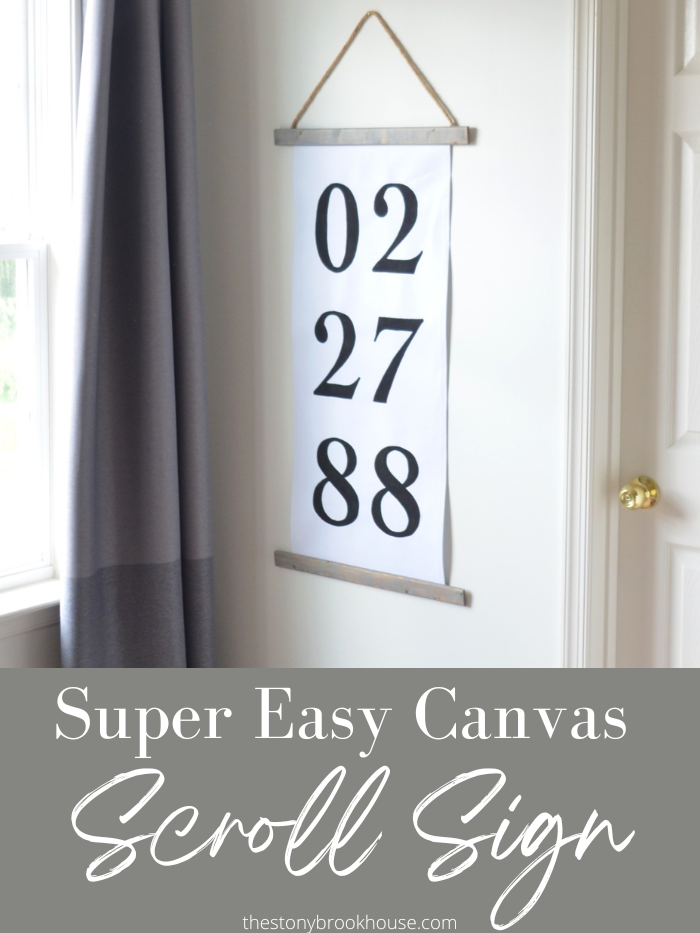
Okay, let me show you how totally easy this was to make. I made it with our anniversary date, but you could make it any size and with anything written on it.
Here are some the supplies you will need:
Fabric - I used duck cloth, which is super heavy canvas material. (I picked it up at JoAnn's using a 50% off coupon. It ended up being only about $4!)
Wood - I used some scrap that I had in the garage, but you can use anything.... dowels, flat trim, 1x2's
Rope - I picked up mine at the Dollar Tree, but you can use any sort of twine, rope, or cord.
Glue - I used Gorilla Wood Glue, but I'm sure any sort of glue would work. Probably even a hot glue gun.
Paint - Here again you can use any color or any type. I used what I had on hand, black craft paint.
Paintbrush - A small one will work best. I have ones like these, watercolor paint brushes
Printout of words or numbers, a pencil and pen
First, determine the size you want your scroll sign to be. I wanted mine to fit on this wall, so that determined my size.
I laid everything out to get a rough idea.
Then I measured, ironed and cut the width.
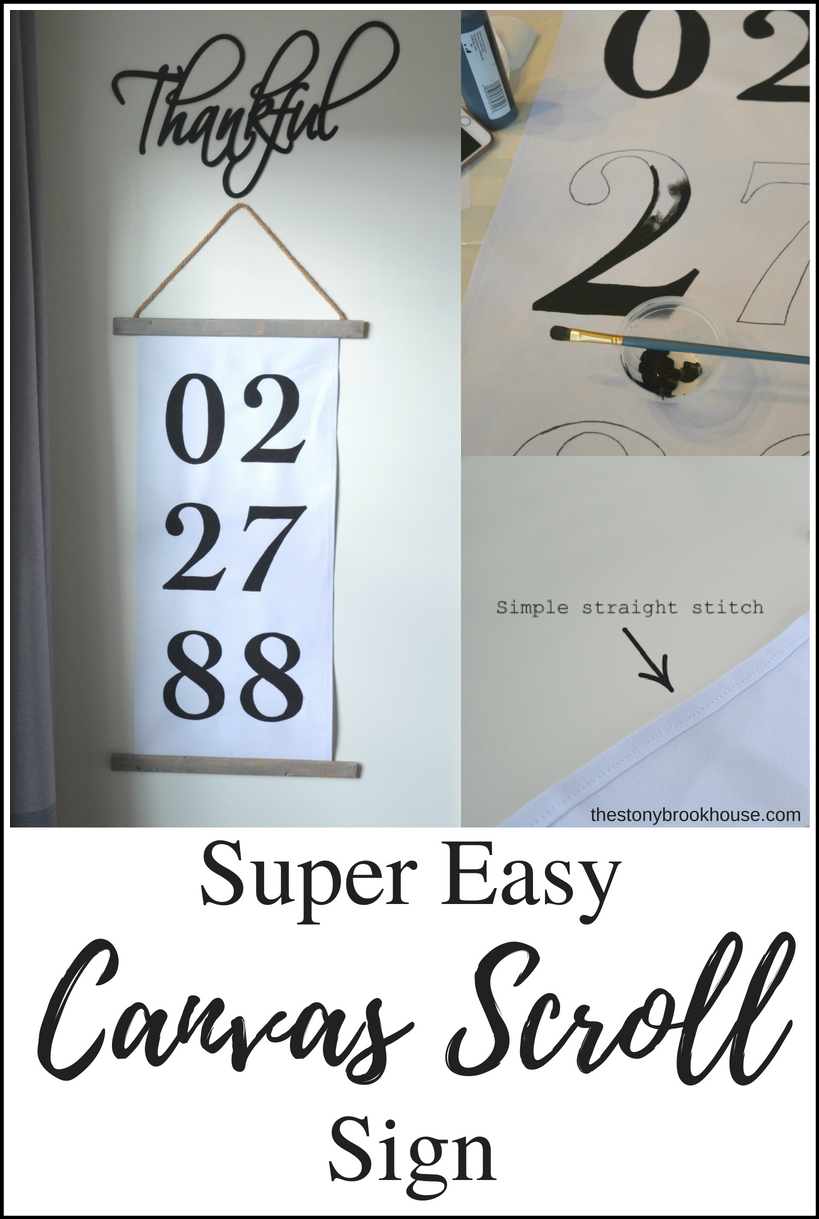
I could have used iron-on hem tape for the sides, but I preferred sewing them with a simple straight stitch. ( I forgot to take a photo of that process 😜 so I had to take it down and snap a pic)
Now, it's time for placement and tracing. I printed out each number on a 8.5x11 sheet of paper vertically. Then taped the two numbers together.
Then on the back of the numbers, I traced the outline with pencil. This will transfer onto your fabric, so you can paint the numbers.
You'll want to measure each side and top and bottom to make sure your numbers are straight and level. Then I taped them to the fabric so they wont move.
I used a pen to trace the numbers on the top side. If you look carefully, you can see the traced number. It's very clear in person, it also helps that the fabric is white.
Now the fun part! I really love the painting process.... it's so therapeutic for me. 😍 To make it even easier to see, I went over the pencil tracing with a black sharpie.
I didn't use any special medium added to the craft paint. It dried with a tiny bit of a wave, but really I felt it was just fine.
While that was drying, I worked on my top and bottom wood pieces. I found some scrap and cut it to size. Next, I stained the pieces with Minwax Classic Gray Stain and finished it off with a white wax, to give them that weathered look.
The last easiest step of all, was gluing it all together. I had picked up some Gorilla Glue and thought I'd give it a try.
Super easy!! I just added glue to the wood piece and laid the fabric on it and pressed it down. Tough, right? 😉 Next, I measured the rope to the length I needed and then kind of frayed the end to lay flat and glued that also.
Hang it up and admire! 🤩💗💗💗
Loving this!! I found a cute sign on clearance at Hobby Lobby and placed that above. We are sooooo thankful! Thankful for our Lord, each other, our marriage, our children... on and on... ❤️
I feel like it ties in nicely with hubby's more masculine side of the room. My side is a bit more feminine with all of the wispy hoops. Look in hubby's mirror over his dresser you can see a glimpse, but if you want to see more, check it out here, Simple & Easy Hoop Wall Art.
So, there you have it, the last piece finished!!
Here's one to pin for later.
Blessings,
Lori
Here's a few links to see the progress on our master bedroom!
Master Bedroom Complete Before & After
Bedroom Dresser Transformation w/o Sanding
How To Update Old Bookcases Farmhouse Style
How To Transform Your Bed Frame With Paint
How To Build A Shiplap Accent Wall
3 Simple Tips On Styling Bookcases


No comments
Post a Comment
Comments are awesome! Let me know what you think!