Hi Friends! This project was a necessary one. Soooo, our under cabinet microwave went KAPUT! Seriously??!! This was the second one we've been through in the last 10 years... So we decided to do something different.
I was not about to spend another $300-$400 on another under cabinet microwave. That's just ridiculous! I don't understand why we've been through two already. We use ours daily, just like everybody else, right?
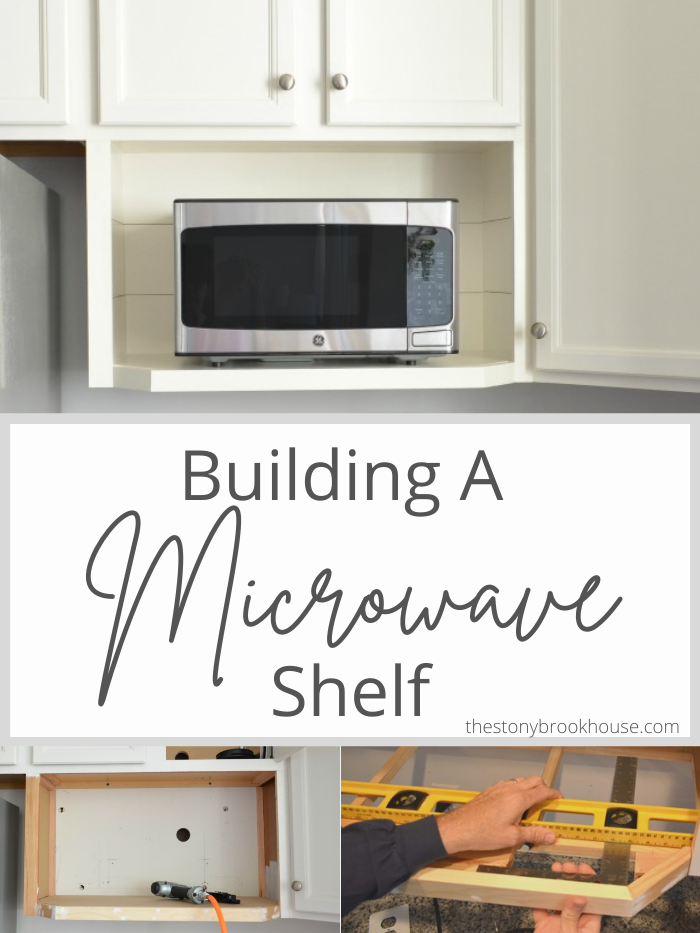
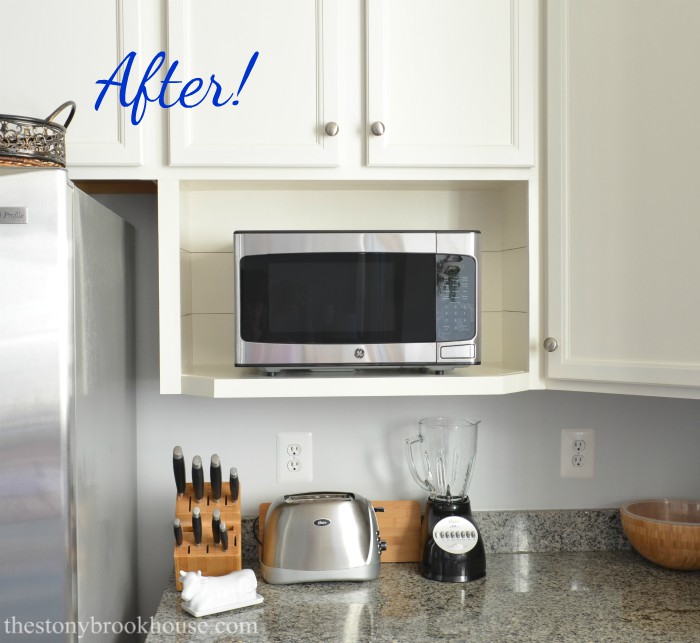
So, we decided to build a shelf instead, to hold a regular cheaper microwave. This isn't a tutorial on how to build one, because everyone's cabinets are different. This is more explaining what we did to create this Microwave Shelf. And if we can do it, so can you!
After the old one died and I dragged our mini microwave from our bedroom closet upstairs, and just left it on the counter. (What doesn't everyone have a microwave in their closet? 😉 It's just to heat up coffee and popcorn and such... sooo convenient!)
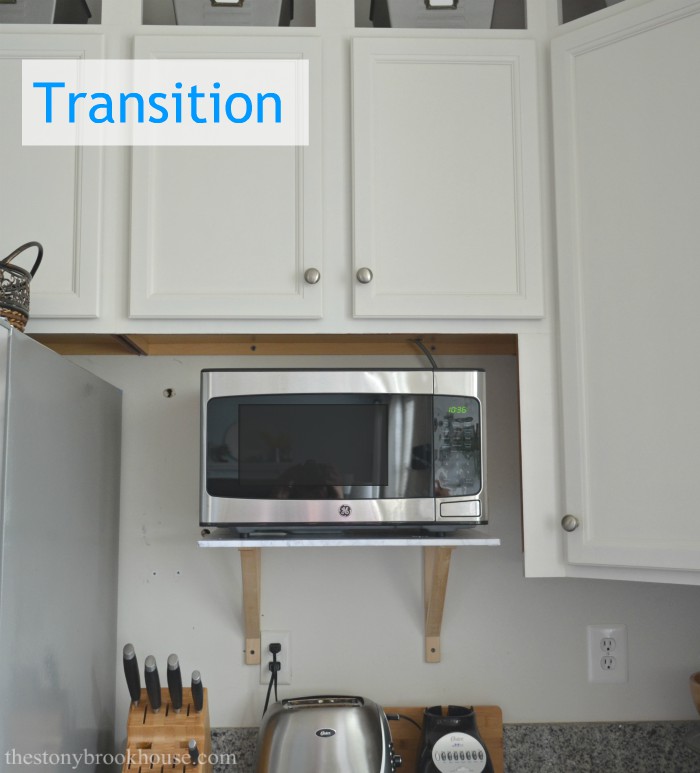
After tons of searching, I finally purchased a new one. I was so tired of having a microwave on the counter, that I put up a temporary shelf with brackets and a piece of plywood covered with contact paper. So glad I did, because we were super busy for a couple of weeks. There just wasn't time to build it properly.
Then we actually had a weekend with nothing to do!! So, we got right to work planning this Microwave Shelf. We wanted it to look like it was meant to be there, not an after thought. Hubby crunched all the numbers and came up with a "plan". 😊
Basically, we needed to figure out how to support the shelf from underneath the cabinet. Microwaves aren't all that heavy, but we wanted to make sure it wouldn't budge! Then adding the front facing so that it looked "built in". The width and height of the shelf was pretty easy to figure. We were just going to make the shelf fit the space. The depth was the tricky part. Under cabinet microwaves usually are the depth of the cabinet. Regular microwaves vary a great deal in the depth department. We chose one that we felt was a happy medium. It was definitely going to stick out past the cabinets, but I think Hubby did a great job making it blend in.
So, here we have made a frame base and started adding supports to the underside of the upper cabinet.
Here Hubby strengthened the frame to hold the weight of the microwave. Doing a great job, Hon!! 👍
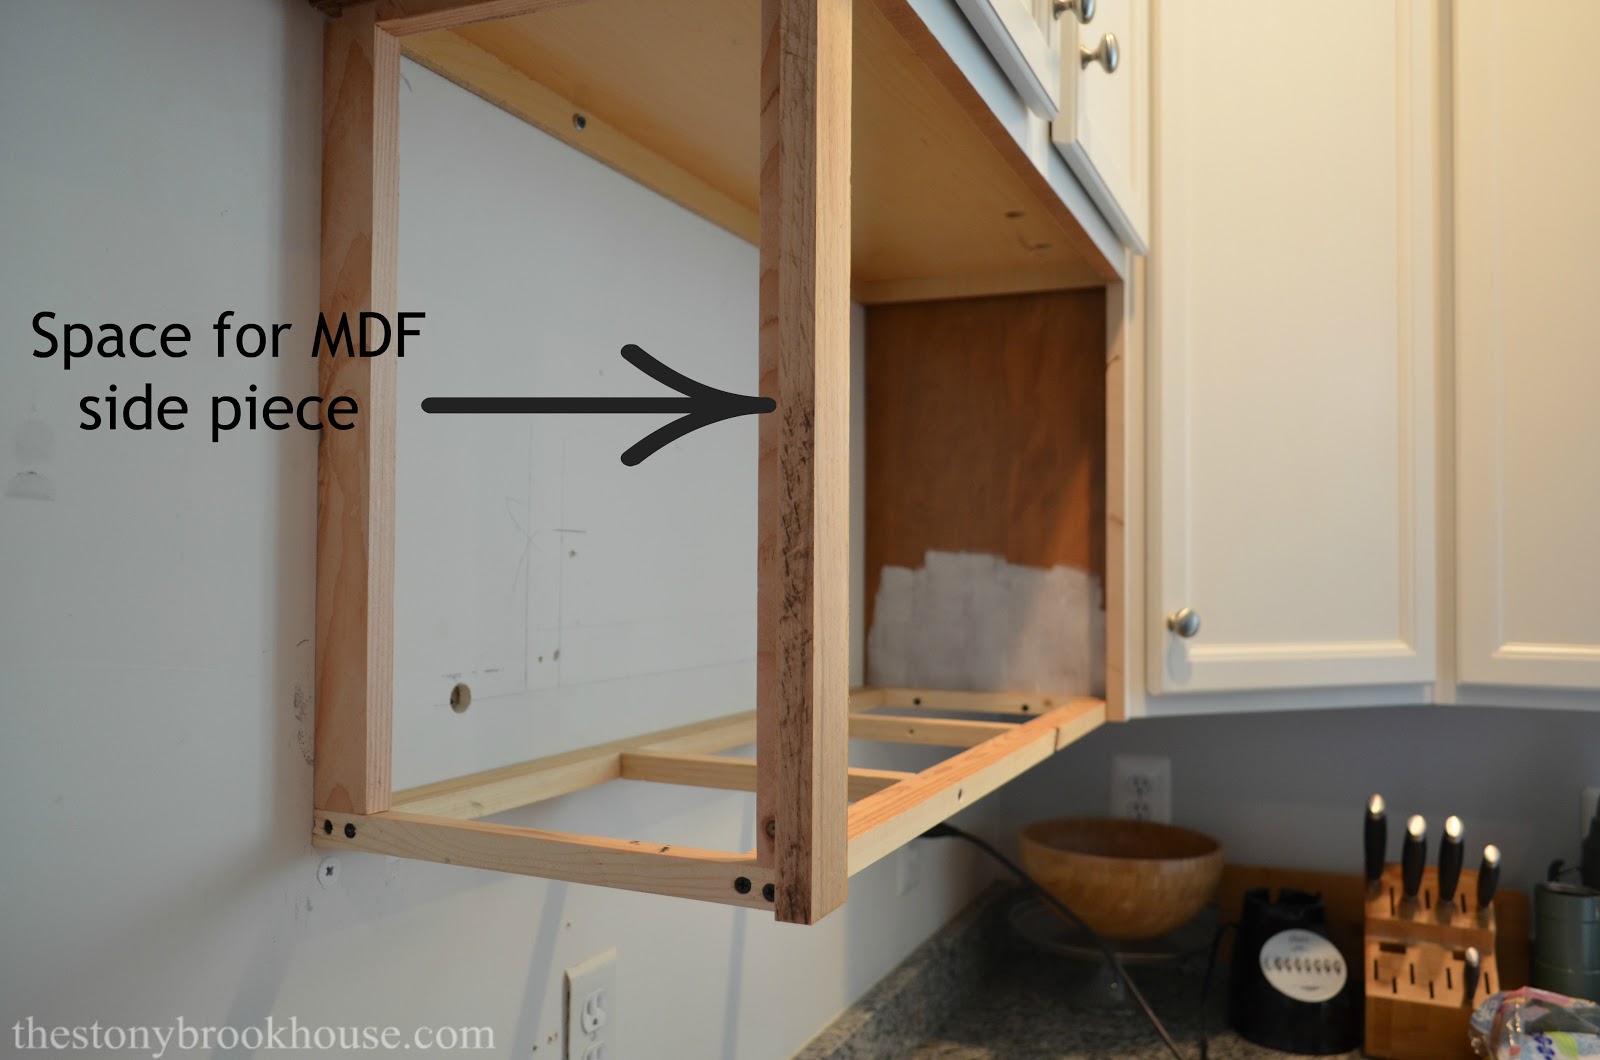
We added the support on the left from the front to the back, attaching it underneath the upper cabinet. Then we screwed in the hanging supports to the upper support on the left side to hold the shelf in place. Next, we secured the frame to those supports. Lastly, adding the front facing to each side. We used scrap wood for most of the supports and used nice 1x2s for the front facing.
There is a gap behind the front facing board to allow for the MDF on the side, so it will be flush with the front facing board. We will also use MDF for the base of the shelf.
Hubby extended the base frame to allow for the extra depth of the new microwave angling the edges to meet at the cabinets. The angles were tricky, but he did it!!
Here he is measuring for the MDF base board. He wants it to fit right into the space and be flush with the front facing.
After a bit of tweaking, he is was able to fit the side and base board in nice and snug. Now we need to cover all of those holes...
Our solution was to 'shiplap' the interior of the shelf. It's pretty easy. We just had to add supports for the shiplap to be nailed to and got it done!
You can see that Hubs already drilled the hole for the cord. We will feed it up through the wall and out the hole you can see in the upper cabinet. There is an outlet in the left side.
Well, now look at that! Not bad, right?? I'm not to worried about the center lines, they will be covered by the microwave. It really turned out better than I thought. Yay!! Time to sand, caulk and prime!
Two coats of my favorite primer in the world!! Zinnser Bullseye 1-2-3 Primer. You can see that I already started to paint... That's when I remembered I hadn't taken any photos!😮 Two coats of paint and we can call this project finished!!
OMG! It looks terrific! Doesn't it look like it's been there all along?? Sooooo happy! Hubby and I are a great team!
Now, you know it can be done and it's really not all that hard to do. Here's a photo you can 'pin' for later! 👍
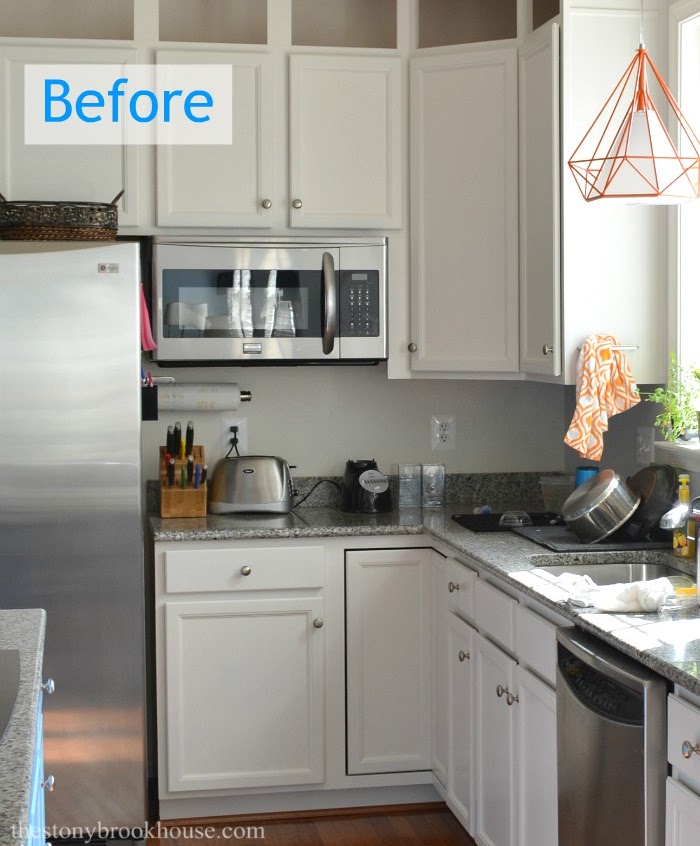
I painted all our cabinets a few years ago, and they have held up beautifully!! Here's what they looked like before. Check it out below if you like. 😊
Blessings,
Lori
Painted Kitchen Cabinets~1 Year Update








Way to go!! You integrated so nicely to your pretty kitchen and it looks way better than the bulky under the cabinet microwave you had before. I LOVE the shiplap treatment on the back, so pretty!
ReplyDeleteWhat wood/thickness did you use for the supports? Thanks :)
ReplyDeleteHi Liz! We mostly used 1x2's for the supports. They were kreg jigged together which gives them extra strength.
DeleteWhat microwave did you choose? From the pictures, it looks like it doesn't stick out too far past the upper cabinets, which is what we'd like to have in our upcoming kitchen remodel! Thanks!
ReplyDeleteHi Julie! It was perfect! I'm pretty sure this was a cheap GE one from Walmart. I didn't want to spend a ton on a microwave. It worked out really well. I looked and looked for the right microwave that would fit in that space. Granted that was 3 years ago... I'm not sure that they still make it. Look at the depth measurements to find the right size.
DeleteThanks for this great tutorial Lori! Pinned and saved for future reference 😉
ReplyDeleteThanks, Cindy!
DeleteHow does the plug connect to the outlet?
ReplyDeleteWe made a hole in the back that goes up to the outlet in the cabinet above.
DeleteThank you for your post. I am going to show it to my builder!
ReplyDeleteAwesome! You are so welcome!
Deletehow did you anchor it so that the microwave doesn't pull off the shelf when you pull the door open or push which would push or move the microwave back etc.
ReplyDeleteMost microwaves have rubber feet that keep them in place. We never had a problem with the microwave moving.
DeleteThis comment has been removed by a blog administrator.
ReplyDelete