*This post contains some affiliate links. Please see my full Disclosure Statement.
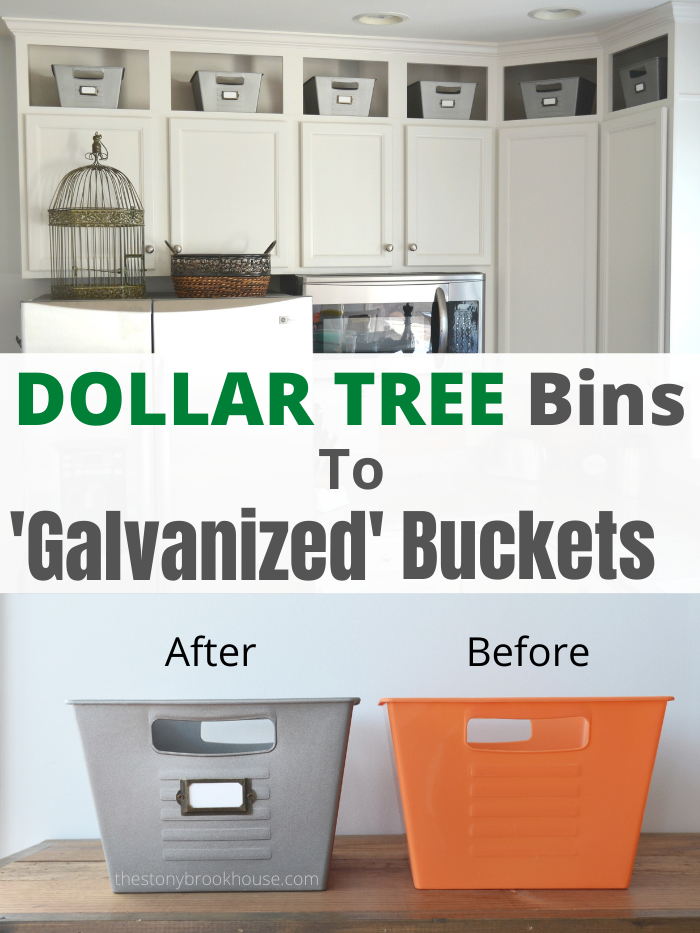
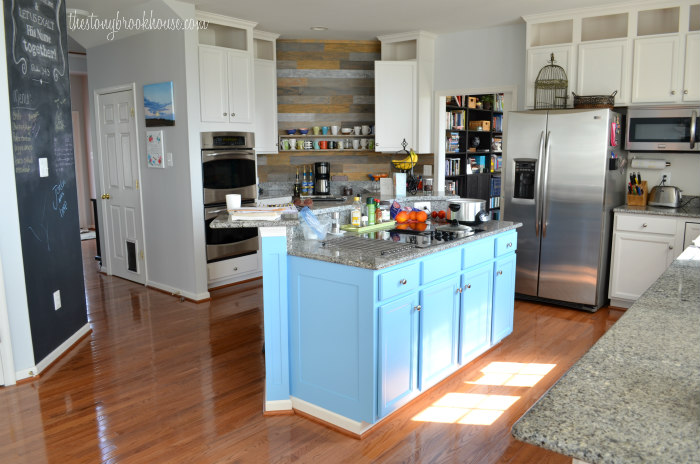
Recently, I saw some plastic bins at the Dollar Tree and thought they might just work for my kitchen. I need something to fill that empty space above my cabinets. (This is an old before photo.)
I love how I built the cabinets to the ceiling. They just need a little something up there.
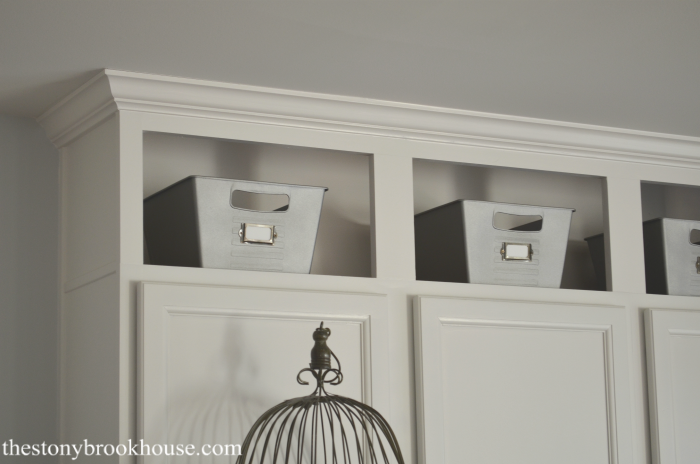
Hmmmm... If I paint those plastic bins, they might look like these...
Cute, right?? Yes, I could've just purchased them, but... I'm not sure if that's what I want up there forever. I've really been dragging my feet putting something up there. Nothing seems right. This just seemed like an easy solution to see if this is the look I would like.
The bins at Walmart are $7.47 each. Not bad, but I need 11 of them.... that comes to over $82.00. A little more that I want to spend on something I'm not a 100% sure on.
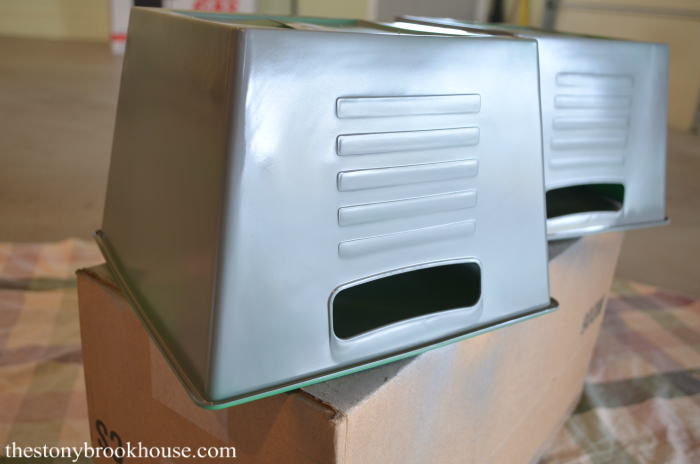
I picked up the plastic bins at the Dollar Tree. Then I purchased some spray paint, one in Rustoleum Ultra Cover 2X Granite and one in Rustoleum Antique Nickel .


Yep, this is my professional spray painting area during the winter. 😉 Dollar Tree usually has these bins in stock, but in different colors during different times of the year. Of course, I just picked up the colors they had in stock a the time... It didn't matter, I was just going to spray paint them.
These bins are great! I've used them in storage under the sink, in cabinets for all kinds of storage. I even purchased some white ones and used them in my Pantry Makeover.
Back to the 'galvanized' bins.... I just spray painted the outside, I didn't even bother painting the insides. Who's gonna know?
Then I added labels to the fronts. I feel this really makes them look like more than a plastic bin.
These are the labels I picked up on Amazon, 30 for $12.99. Bronze Tone Library Antique Label

Total cost per bin, about $2 each. What?!! Now, that's what I'm talking about!
The cost difference is unbelievable! $82 to $22.
From a distance, you really can't tell that much... I mean who's really going to go inspect them and tell me... "Uh... Lori, those aren't real... they look kinda plastic to me..." And if they did... 😂😂😂 Like I would care??!!
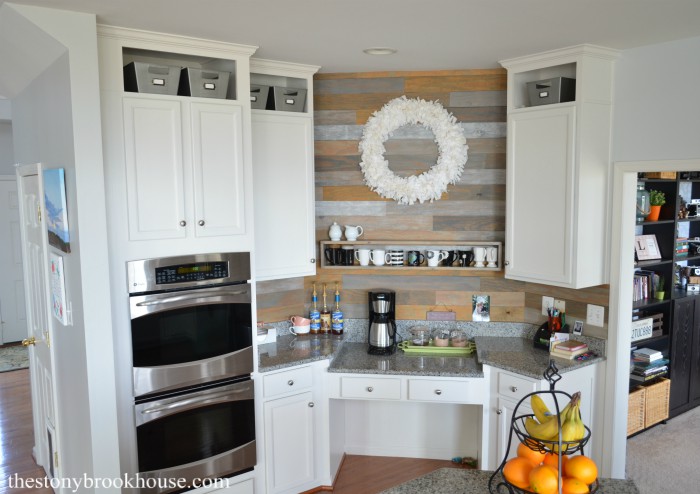
I just love this coffee bar area! 💗 Those bins are great to hide stuff in. Hubby likes to stash candy in them!😂
It looks so much better!
Blessings!!
Lori








Did you have to sand them down before you spray painted? And how love did it take to have them dry. I find that mine are chipping after using another spray paint ��
ReplyDeleteHi Kyrie! I did not sand them. Mine don't get moved at all, so I wasn't too worried about them chipping. If I was going to use them a lot, I might have gave them a slight sanding. Priming them would also help. It works as a bonding agent. They dry pretty fast depending on the temperature. I probably wouldn't have gone with this option if I were going to be using them on a regular basis, but mine are just for looks. :) Thanks for stopping by!
DeleteWhich color did you use first and did you put a coat of one color and then go over the first color with the second? Is there a certain technique? Thank you for your time. 👍
ReplyDeleteHi Nani! I used the granite spray paint first, then added the one that was metallic. That way if I missed an area with the metallic, it wouldn't be as noticeable.
DeleteThis comment has been removed by a blog administrator.
ReplyDelete