KonMari Tidying Up Method.
What a mess....
Then we decided to paint. You can see the process in this link,
Books To Painting
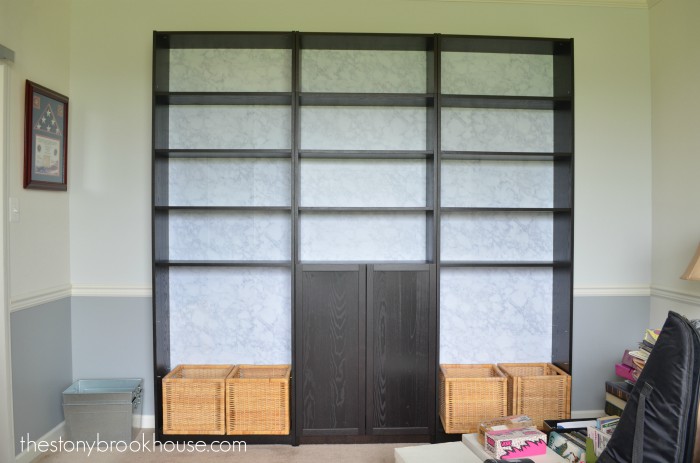
After painting, then we lightened up the backs of the bookshelves, with a few snags in the process.
Back of Bookshelves ~ Not What I Planned
So, here we are with 3 huge bookcases to fill. I started with books, then added from there.
A shopping trip to IKEA helped with a few items. You can check out My Successful Shopping Trip if you like. 😍
This room has been designated as Hubby's. It was hard for me to remember that. At times, I started taking over and making it what I would want. I appreciated Hub's reminding me it was his. 😊 He's gotta have at least one area he can call his, right!?
Hubby has been collecting vintage cameras and he has always wanted to display some of these gems. They are pretty neat!
My son did some quick googling and found that some of these were from 1930-1950s. I think they look pretty nice on the shelves!
Some of these cameras are so cool!
Here's how the bookcases turned out so far. I have some empty shelves to still work with. One idea is brewing right now, but we'll see.
Here's the right side...
And the left side...
It actually looks decorated and not just thrown together! And Hubby loves it! 😊 There are a few more collectables he wants to put up and I'm thinking of adding some plexiglass fronts to protect the cameras. All in time.
Here's a few close ups of the decor. Remember this adorable clock and plant I picked up at IKEA? That clock fits right in with the vintage vibe.
I like the 'Star Wars Death Star' globe my daughter drew. Doesn't it go well with the Star Wars books? 😊
I found this glass bowl and decor balls in the basement. It works!
In the baskets are things I want to keep in this room, but not on display. Hubby's Sunday School material and old journal books.
Then on the other side, there are study/reference materials and markers and colored pencils for when my niece comes over.
I'm so please how everything came together. Now just to finish it up so I can move on to other projects! Here's a before and after. What a difference!!
So, a few more shelves to finish and this project will be complete!
Update!! I ended up making some very cool Vintage License Plate Crates, click here to check them out!
Blessings!


No comments
Post a Comment
Comments are awesome! Let me know what you think!