Updated 5.28.21
Have you ever started a project, that you thought wouldn’t be too hard, but turned out to be overwhelmingly tedious? That’s kinda where I’m at right now… yeah…
I thought, “Yes! I’m finally going to start this!” then it was like “Oh, Crap…. this is going to take me F.O.R.E.V.E.R!!!!” I felt the exact same way when I started painting my kitchen cabinets, but you should see those beauties now! No more orange oak, and it was definitely worth all the time and effort!
So, this is how it started out looking. Here’s pretty much a full shot of the staircase, all 102 spindles and 16 stair risers.
I started here at the top.
Okay, so after looking at these orange oak pictures…. I am soooo glad I started this project. Even if it does take me until summer to finish.
I had to start out by taping every single spindle… Taping is not my thing. I will avoid it like the plague… It just takes sooo much time to tape, and all I want to do is paint and get this project rolling!!
I had to suck it up, because there is no getting around taping on this project. All 102 spindles will be taped.
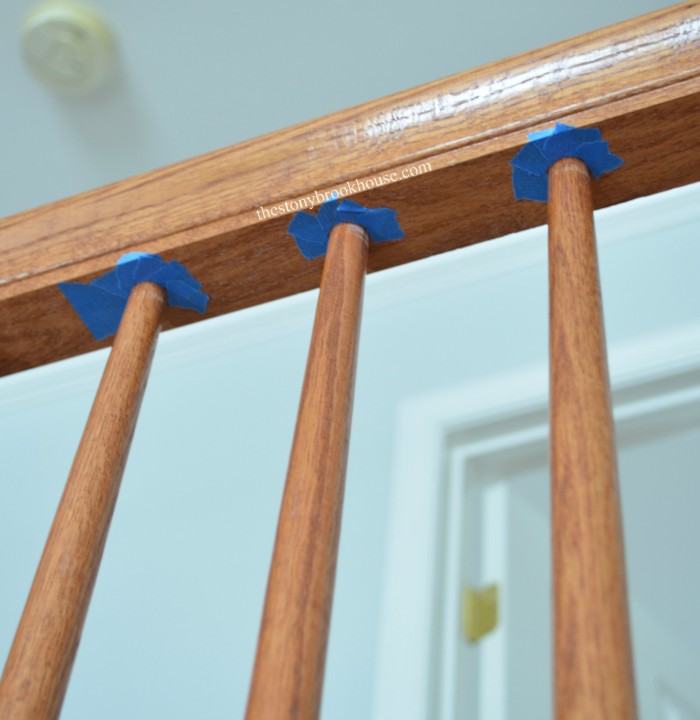
I started taping the tops of the spindles. Ummm... no! There was no way, I was going to rip up tiny pieces of tape to do those tiny little circles. Those were the only three I did and I promptly ripped them off. I just used a tiny brush. That worked for me!
This is the best primer I’ve found, Zinsser High Hide Cover Stain Primer and Sealer, White. If you don’t want to sand this is your Go-To primer!
I've used it on several projects and it does not fail!
I want to show you how well this primer is going to hold up. Here is a little video demonstration. This stuff is the bomb!!
I did not sand anything before I started.
Here’s my thinking… who touches spindles? Children? Well, mine are grown. The risers… I was going to sand them some… but changed my mind. Now, if you want to smooth out the wood surface, yes, you should sand. It's up to you. Some projects, I sand and others I don't. I did sand my kitchen cabinets. They receive a lot of wear and tear, and I'm pleased to say, the paint and primer has held up beautifully! Not one knick or scratch!
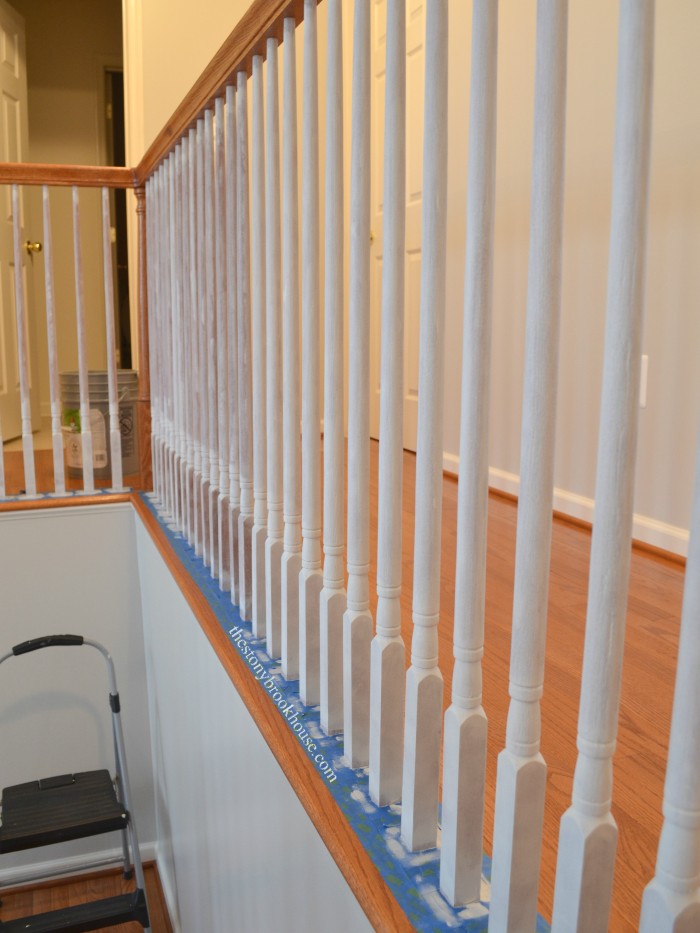
Back to these spindles... as I started painting, I was trying to figure out a technique. My technique usually involves whatever gets the job done fastest.
I started with a 4 inch foam roller. I really wanted to use the 2 inch foam roller, but I didn't have any on hand.
I quickly realized it was too big. So, next trip into town, I picked up some 2 inch foam rollers.
This little guy is a hard worker! See how much painting I've done!
I’m going to need a ladder to finish this side. This is over the hallway downstairs.
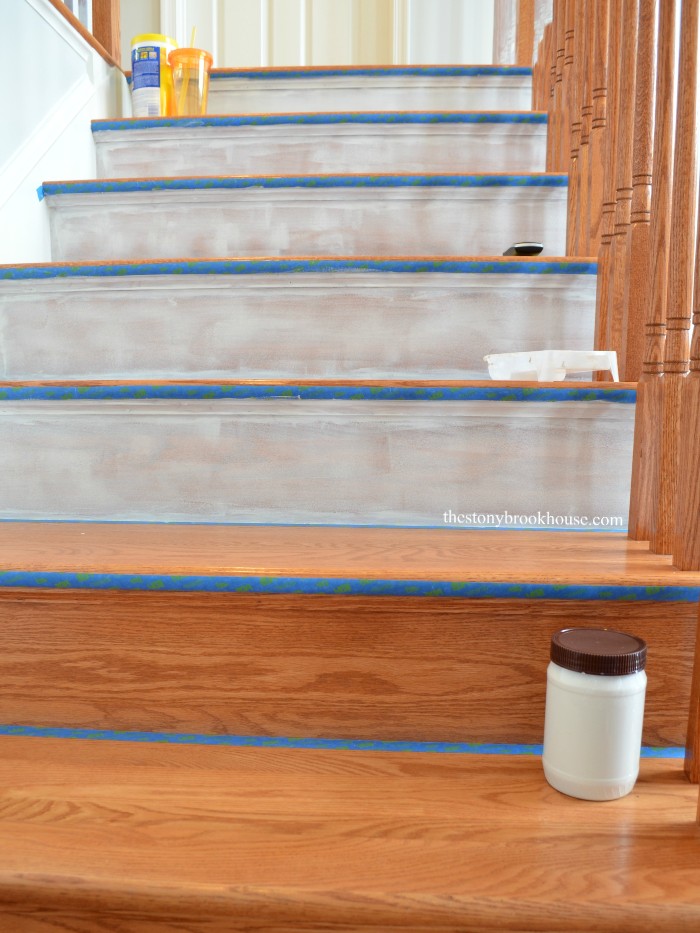
Well, as you know by the video I started the risers. Wow! What a difference!
I am definitely, LOVE, LOVE, LOVING this!! It’s going to look so nice when I’m finally finished. I’m on a roll now, and I don’t want to stop. Out of 102 spindles, I have 43 primed. Out of 16 risers, I have 5 primed. I told you this might take me until summer... But I will keep plugging away.
I painted 2 coats of primer and then painted 2 coats of the paint I used on my kitchen cabinets. Benjamin Advance Paint.
UPDATE! The spindles and risers are finished!! Click on over to How To Transform Your Stairs to see the finished project!
Blessings!!
Lori


