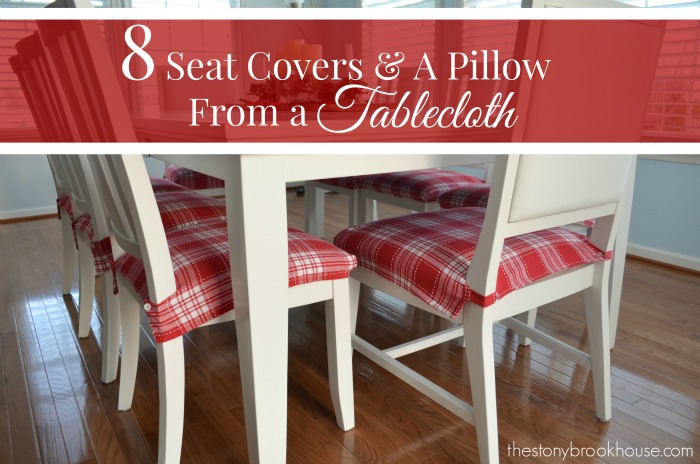
Last year I completely transformed my dining table and chairs, you should see what they looked like before! I love them now sooo much, but you can see that orange really isn't a very Christmasy color.... I had to do something about it.
I found this old tablecloth in the basement and decided to cut it up and the rest is history! :)
I have 8 dining chairs, 2 have a bit larger seat area than the rest. I was hoping to get all eight chairs and a few pillows, but that was wishful thinking.
Here's a quick step by step.
I basically laid the tablecloth on the chair and marked where it completely covered the chair seat. I had already done that and was starting to cut it out in the first picture. I made the 2 chairs that were bigger, slightly different. So, I had two sizes I was working with.
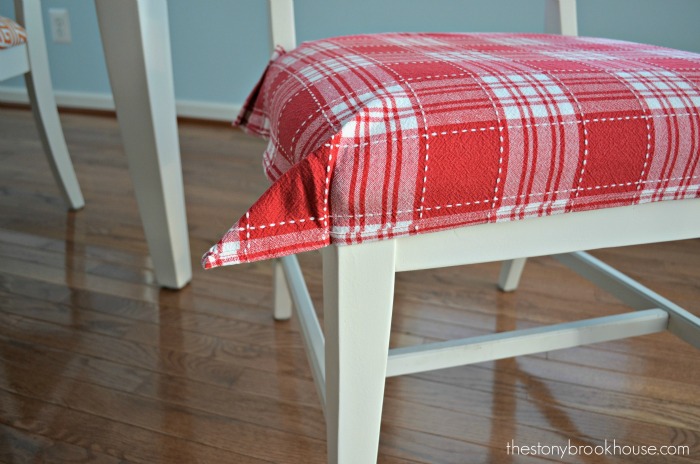
After they were cut out, I hemmed each side of the square, so that there were no raw edges. Then, I laid them back on the chair and pulled it snug on, so that all 4 sides were covering the existing seat. Then I pinched the two front corners and pinned them.
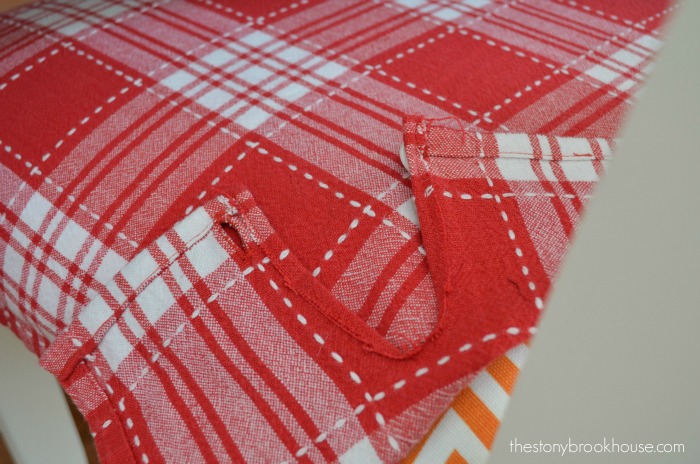
Then at the back of the chair, there are the "legs" to the back rest. I just cut a slit down the center.
Then I folded it over and sewed the edge, and I sewed where I pinched it in front.
The 2 larger seat covers, I sewed the slit slightly different, because I added a tab, to button the seat cover on. You can see how I folded over that edge, all the way to the end of the cut in the slit.
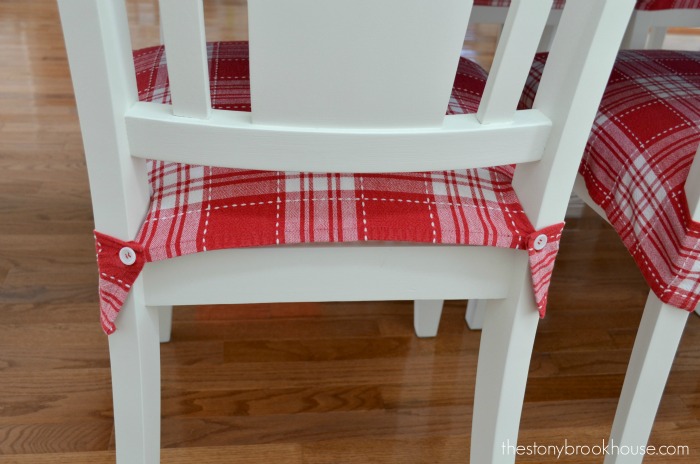
For the 2 larger seats, I made tabs to go around the "legs" for the back rest. I made the tabs out of leftover fabric. The tab is just a length of fabric, like this, folded in half and sewn up one side. Then it needs to be insided out.
It's important the direction you place your buttonhole. You want the stress of the fabric pulling, to be at one end or the other. So, for this project, I sewed them horizontally. You can see how the tab is pulling on the button hole.
For the other 6 chairs, I switched the placement of the button and buttonhole. It just made sense to me.They were pretty quick to make.
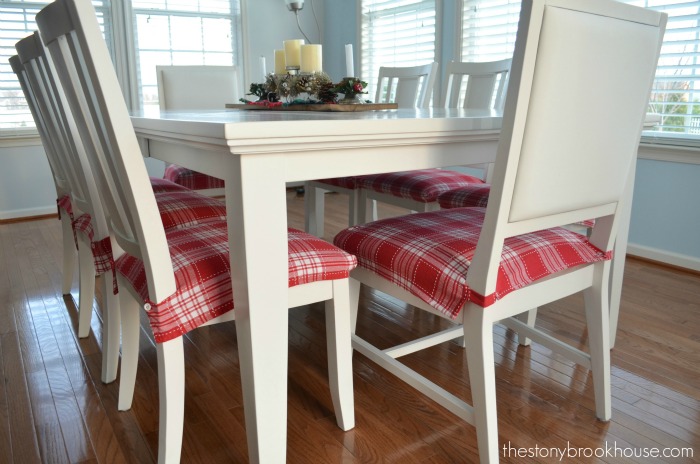
Here's what the back looks like. They look so cute!!
All lined up in a row...
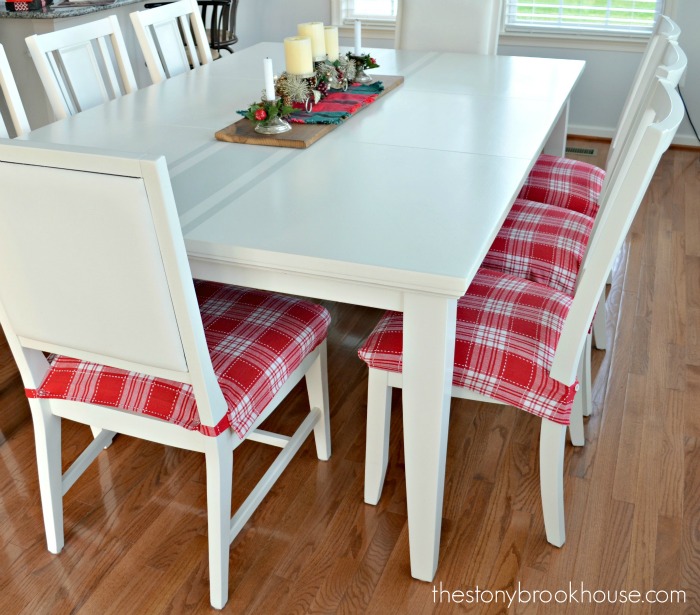
And the whole table complete!!
Don't they look awesome?!
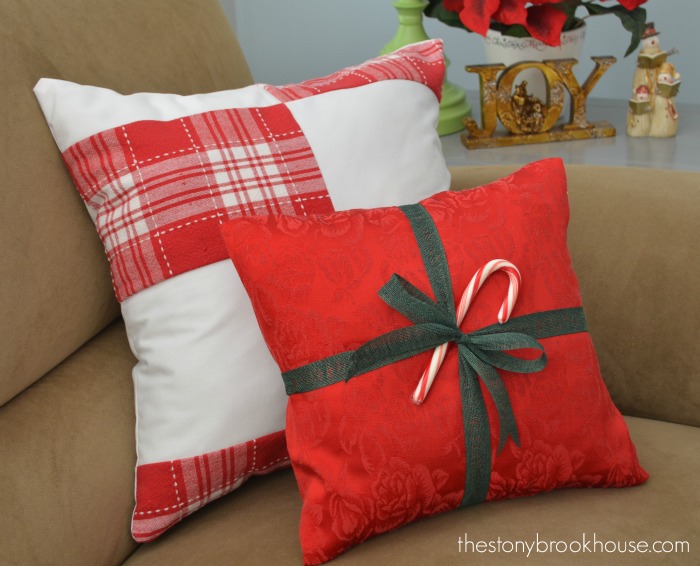
Oh! And let's not for get the pillow... I ended up kind of quilting it, because I didn't have enough fabric (I was hoping to have more...). But I love the way it came out! Next year maybe I'll add snowflakes or something in the white areas. And the little red one, is an envelope pillow. Too easy to make!
So, that's it folks... Easy and fast to do!
Blessings!!







Very nice job! I love them. Plus, so easy to wash and re-use next year. Genius!
ReplyDeleteThanks! You are sooo right! I'll be saving them for next year, most definitely!! :)
Delete