Updated 12.4.20
I can't believe we are starting the Christmas season! Well, you will
want time to make this adorable little Advent
Calendar Tree before December. You know how busy the Christmas
season gets! It's so quick to make an Advent calendar, you can do it even if December's already begun.
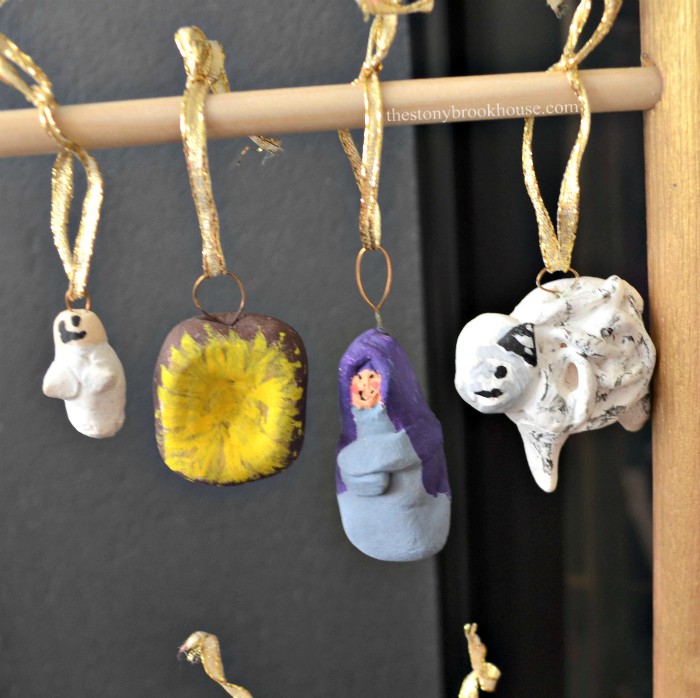
It’s been awhile since we’ve done an Advent Calendar. When the kiddos were young we had this advent calendar tree.
It’s been awhile since we’ve done an Advent Calendar. When the kiddos were young we had this advent calendar tree.
They made and painted all of the ornaments. They had so much fun making this! The focus for our family was and is the birth of Jesus, so most of the ornaments reminded us in some way of Him and His life.
The kiddos are all grown and on their own, now, but I thought it would be fun to make a new advent calendar tree that was… a bit more sophisticated.
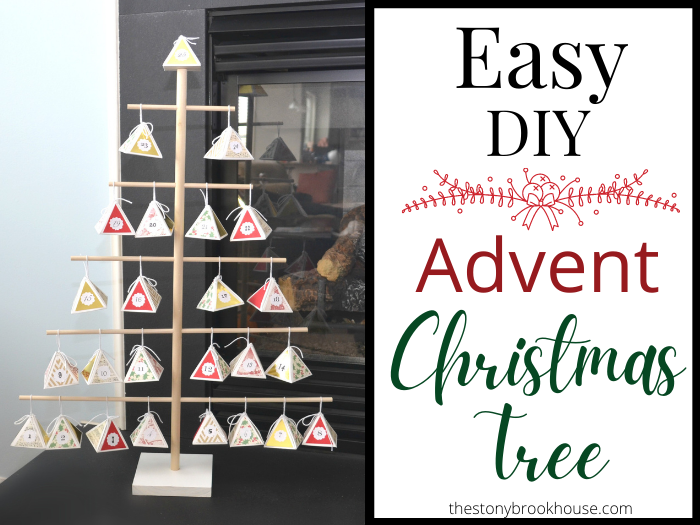
This is how I/we (Hubby) made our new Advent Calendar Tree.
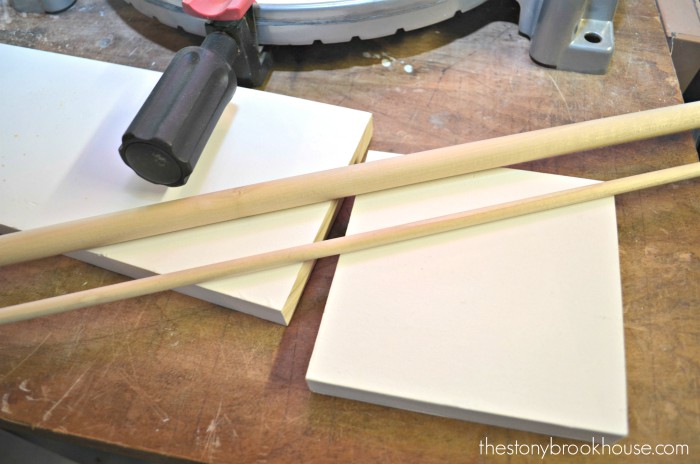
First, you will need a base. I used a 1x4 I had in our stash and cut it to a square. The “tree” dowel was 5/8” diameter and 2 “branch” dowels were 5/16“ in diameter. I picked up all of the dowels at Lowes for around $3.
Then used a tiny drill bit to drill all the way thru to show the middle on the bottom side.
Hubby suggested putting a screw into the bottom of the base through the “tree” dowel to secure it. It was a great suggestion, because the tree was a bit wobbly. I flipped the square over and drilled a hole. Then used a counter sink bit, so that the screw would sit flush with the bottom, once the screw was screwed in. That made a big difference, now it's very strong and secure.
The “tree” is 28” long with holes drilled through 5” apart. The holes are 5/16” the width of the “branch” dowels.
I was soooo glad Hubby was helping me! Although, it was one of those situations… Hubby says, “Oh, I thought this was your project….” Well…. I said, “I need your help! I’m afraid I’m going to screw it up! Oh, you know I’ll give you credit!” 😊
Drilling the holes for the branches is a bit challenging. You need to make sure they are straight all the way around. We used a punch to help the drill grip. If we had a drill press, it would be a cinch. Although, hubby has a pretty steady hand for drilling.
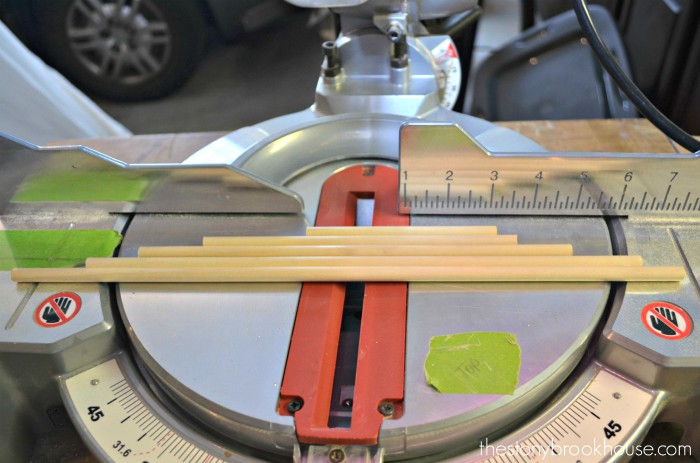
Next, we cut the “branches. Well, Hubby cut the 5 “branches”. I thought I had it all figured out. I didn’t want the branches too wide. So we started out with a 14” branch on the bottom and moved our way up. Well….. That didn’t work out too well.😑
Haha! Definitely not big enough, a slight fail there! I need to fit 24 boxes on the tree. I don’t know what I was thinking….
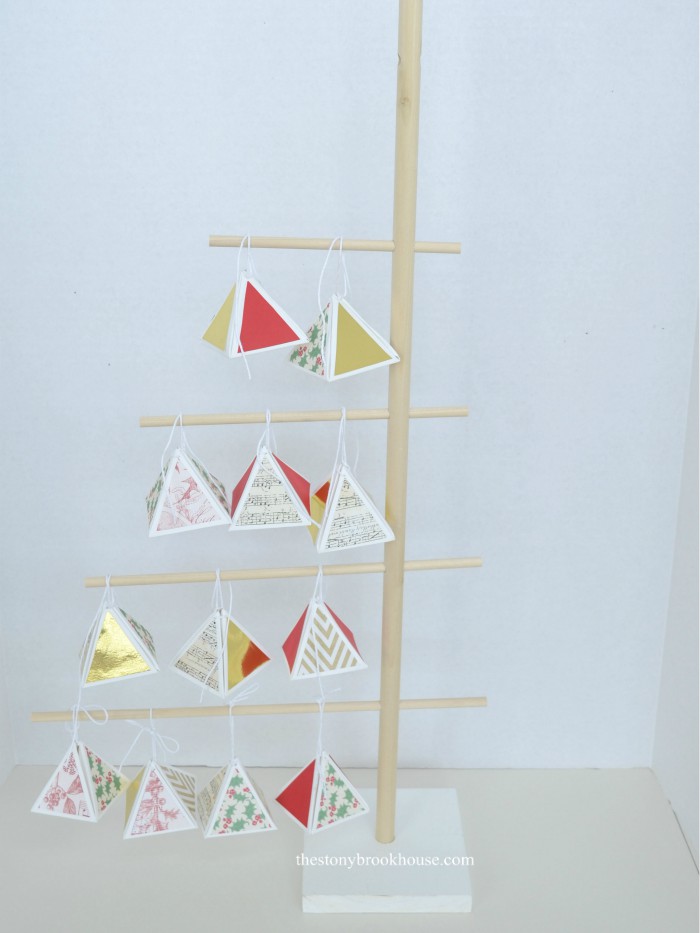
So, I just doubled what was sticking out with the boxes on it. The lengths are 22”, 18”, 14”, 10” and 7”. The only thing left to do is to slide the “branches” through the tree.
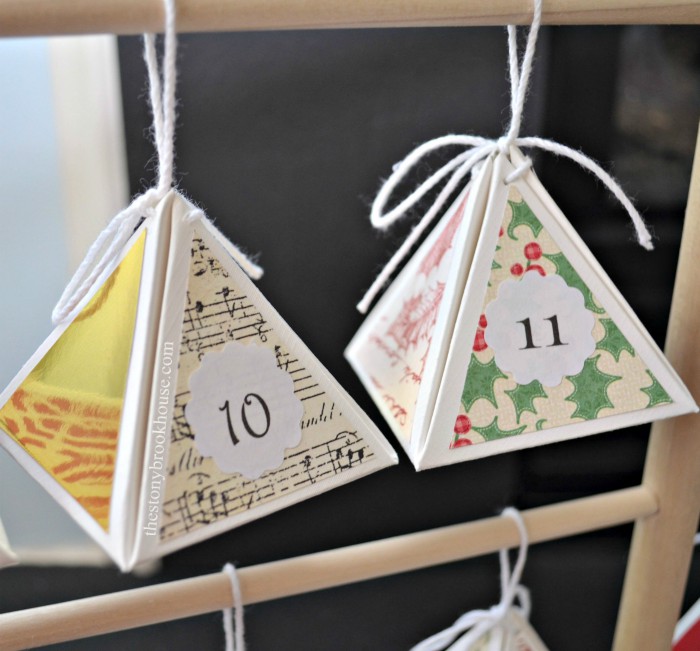
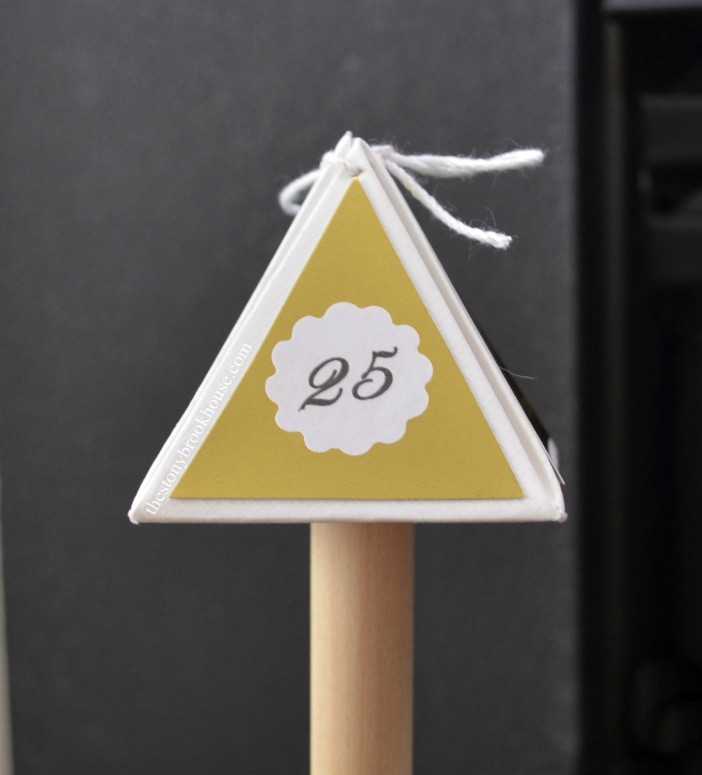
Next, I made these adorable little pyramid boxes. I found the pattern on Pinterest. Here is the link to the pdf and instructions to the Pyramid Boxes. I enlarged the size to 150% and printed and cut it out.
These little pyramid boxes are so cute even plain! You could cut them out of all sorts of different paper. I decided to keep them white and picked up some adorable scrapbook paper at Hobby Lobby @ 50% off. Yay! I only spent a few dollars.
They needed to be numbered, I wasn’t sure how I was going to do that. I looked at stickers and vinyls, I didn’t see anything I liked. So, I just went to my computer, selected several different fonts and printed them up. I remembered I had some scallop scissors. I traced a circle on the back side of every number then cut them with the scallop scissors. The last step, was to glued them on. Ahhhh! I just love this!
You could fill the boxes with scripture verses, treats, little trinkets that focus on Jesus, or whatever you want.








Love your advent calendar and love the little boxes. I like to put chocolates and cheesy christmas jokes in mine.
ReplyDeleteThanks
Thank you, Claire! Oh, I love the jokes! Great idea!
Delete