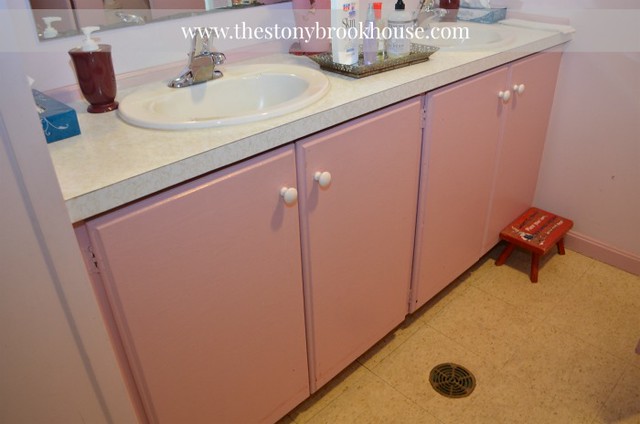
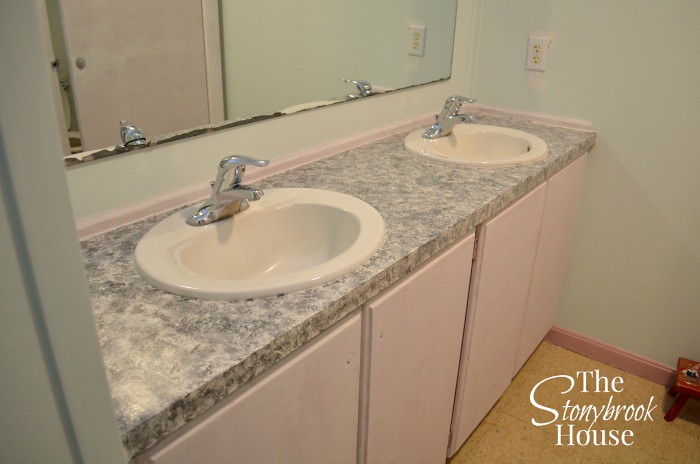
I'm back with more to share about how the ladies church bathroom is being remodeled. Now remember this is what we were working with...
The cabinet doors were basically plywood. (I should have taken more pictures, I totally blew it on this project!UGH!!!) Anyway..... Plywood. The insides of the cabinets weren't even painted. Someone did a nice job routing the edges which made them look better, but we had even better plans!
First we primed them, as you can see here....
Then the fun started!! I purchased some small chair rail and trimmed out each cabinet door. Mitered corners and everything!! Hubby helped me glue and nail gun the trim on. I filled all the holes sanded and primed. Ready for paint! (This is where some nice pictures would have come in handy!)
We struggled on the color. Some grays are greenish, bluish, brownish....we finally settled on one. I bought a sample and it kinda looked blue. So, we tried again with another gray and hit the jackpot!
With two coats of paint, they already were looking soooo much better! Some new handles were donated, (Thank you, Lamers!! :) and my sweet Hubby drilled new holes for them. (Thanks Babe!!) We also added new hinges, I picked up at Lowes. I could only find chrome ones, but with some brushed nickel spray paint, they match perfect!
As you can tell, we are a family here at our church and everybody pitches in and helps! It is truly a blessing!
So, here they are!
Aren't they gorgeous???!!! You wouldn't know they were plywood, would you?
And check out the little stool to match.
I've since finished the Ladies Church Bathroom Remodel. I've listed the projects we did below.
Ladies Church Bathroom Remodel (Before)
Easy DIY Faux Granite Countertops
How To Frame A Mirror Without Miter Cuts
Flooring Updated
Easy DIY Corbels
Easy DIY Metallic Print
Mini Shiplap Planter Box
Easy DIY Tissue Box Cover
Blessings!


Very nice Lori ....
ReplyDeleteLooks SOOOO UPDATED now. Great job
ReplyDeleteThanks, Donna! It really does look so much better!! :)
Delete