Last week, I worked on the flooring. This is what it looked like before.
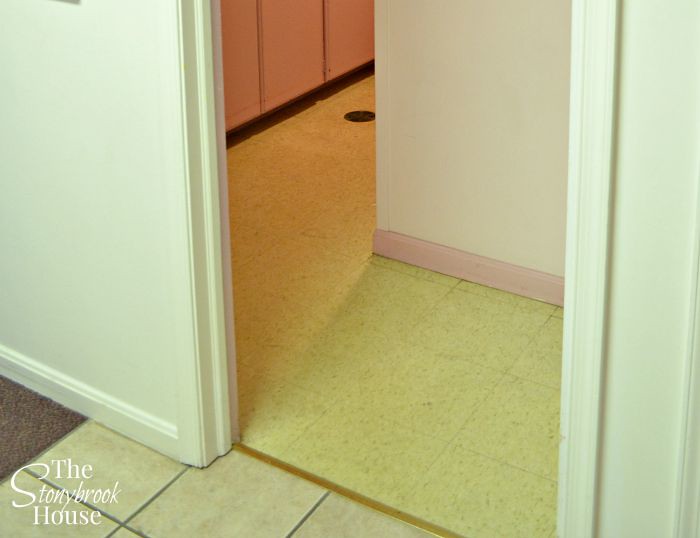
Kind of an old yellowing VCT tile. I'm pretty sure it's original to the building.
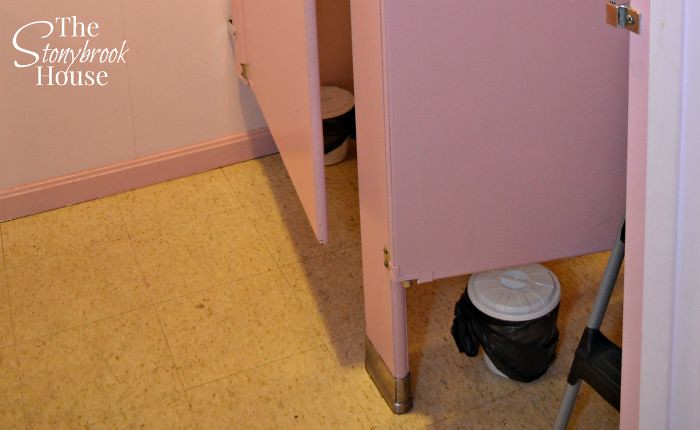
The women's bathroom looks pretty bad. The men's is 10x worse... I can't even show you pictures....
We decided from the beginning that we were going to put in new floors for both the men's and women's bathrooms. The old VCT tile is glued to the concrete flooring. I wasn't about to attempt tearing that out. We decided to go right on top of it.
We chose a sticky back 12x12 tile from Lowes.
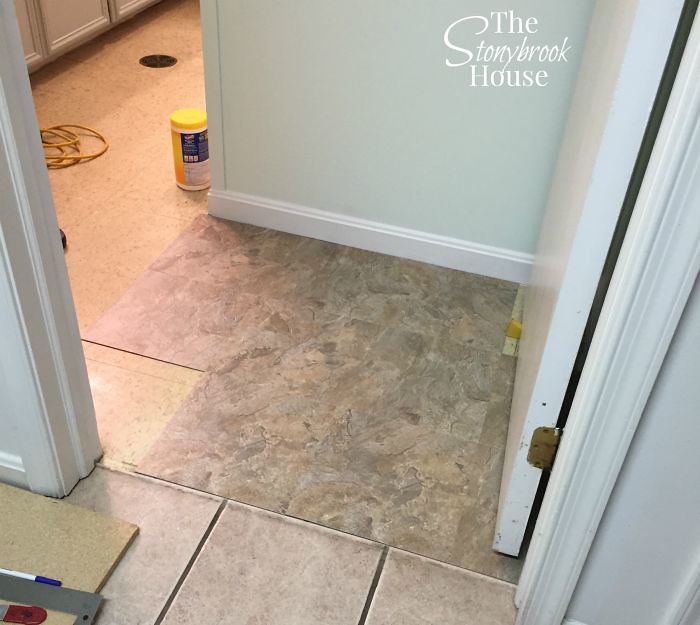
Super easy to install. We vacuumed and cleaned the floor as we went along.
My good friend, Penny, came and helped. She's laid flooring down before, so she was a great asset!! Especially getting those first few tiles down. After that we were both on a roll!
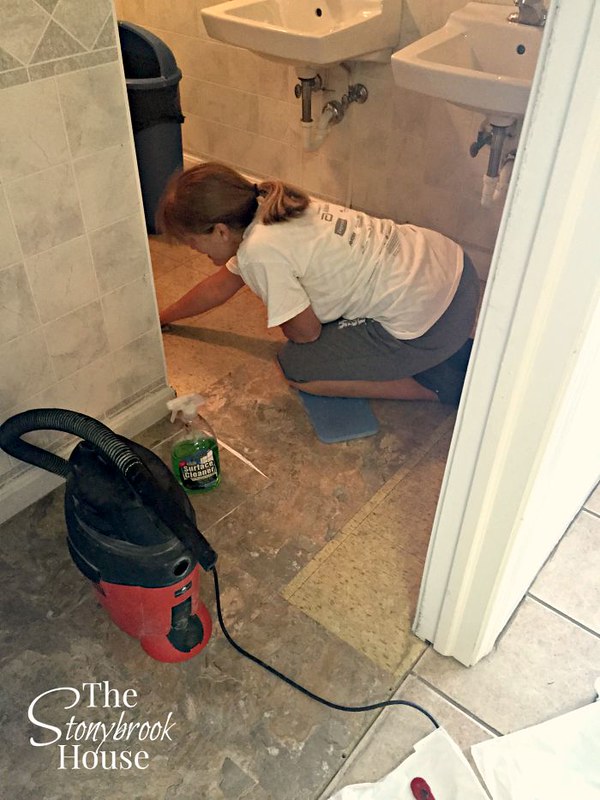
We made sure that we overlapped all the seams. And... FYI...those puppies are down good!
I made a bit of a mistake, and it was all we could do to get that tile up!
Next I came around the corner in the ladies bathroom.
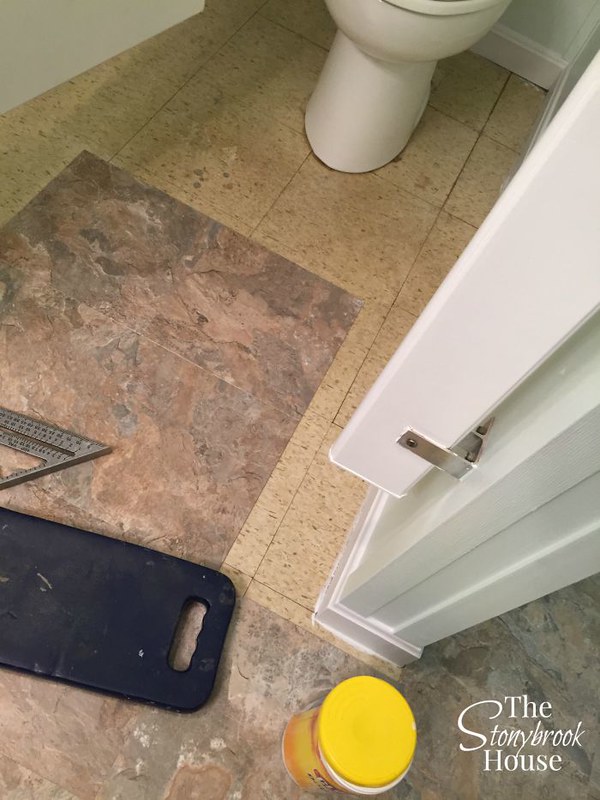
Then I stopped at about the halfway point.
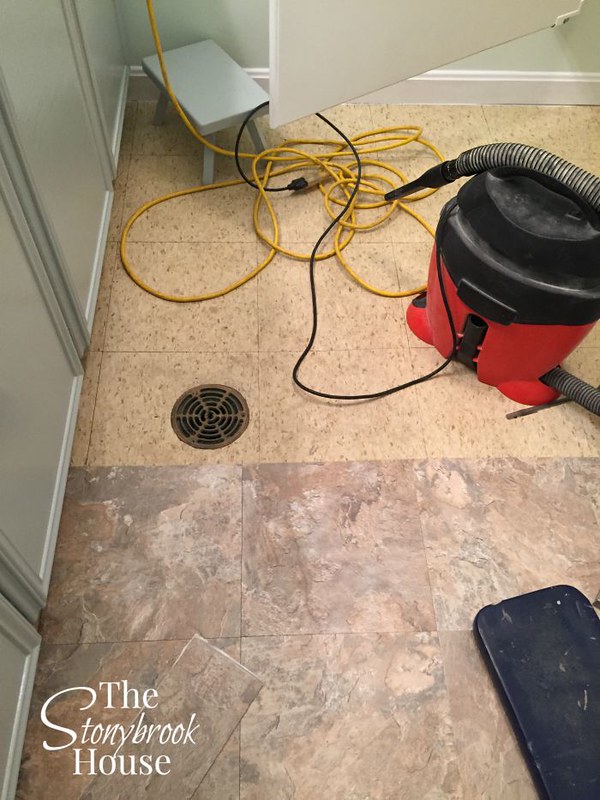
Now I needed Hubby.... Toilet time :P They are so heavy and cumbersome, I'm so thankful he's always willing to help.
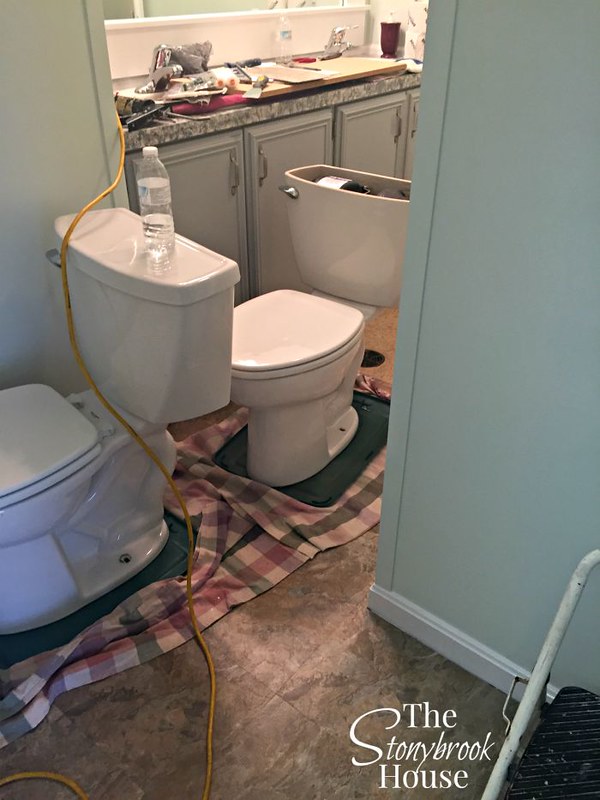
We took them off. Tiled around the sewer... PHew!!
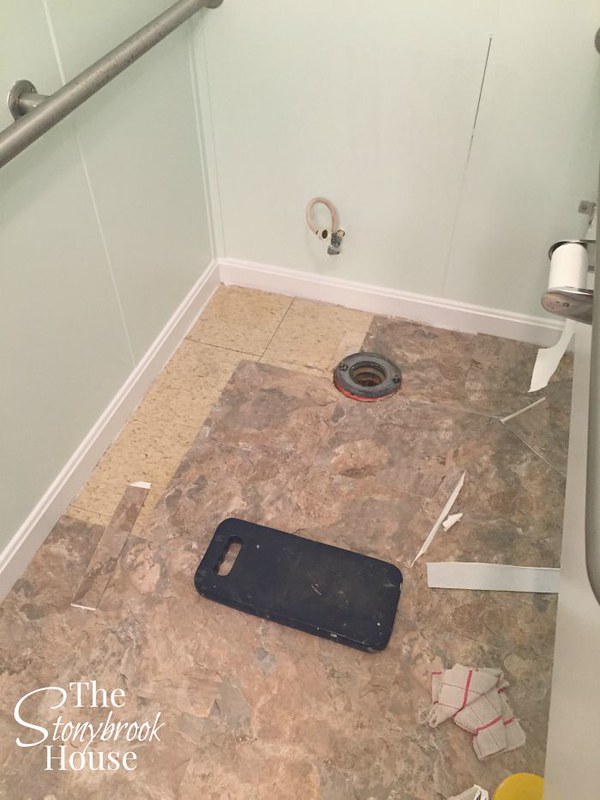
Toilets back on!
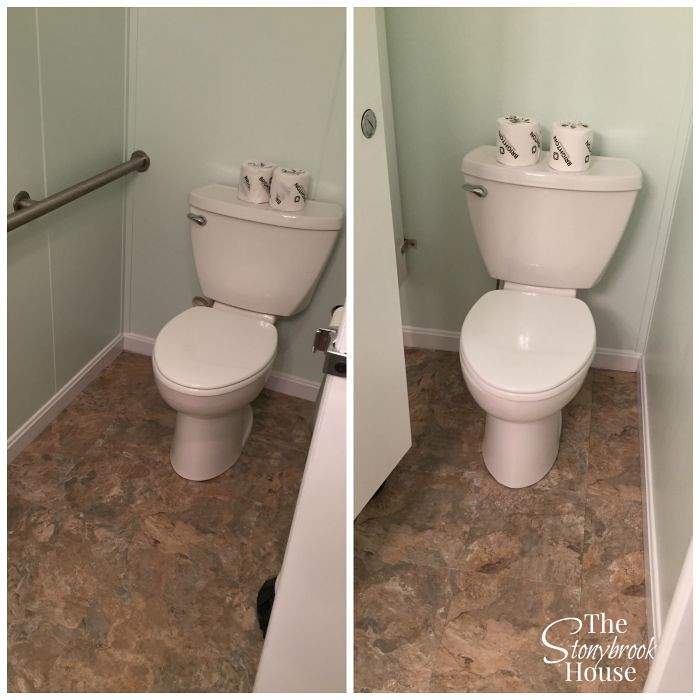
After all of the cuts were made and all the tiles were down, I caulked the whole way around the bathroom edge with a silicone caulking. It just makes me feel better....
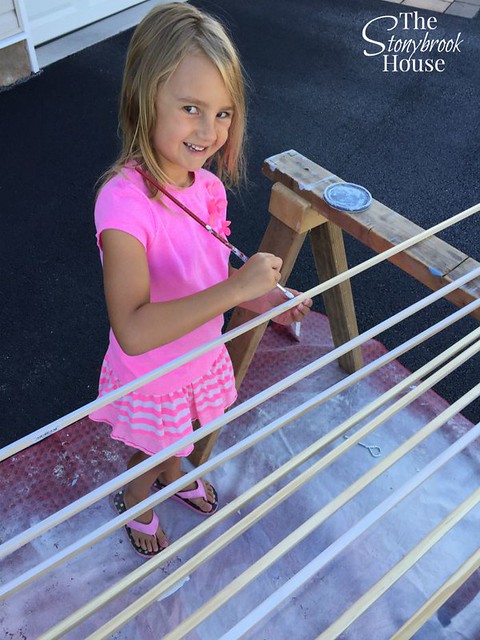
Lastly... time to install the trim. This sweet little niece of mine wanted to help paint the 1/4 round trim. :)
One coat of primer, a light sanding, and 2 coats of high gloss white and we were ready to go!
Hubby helped with this too! I knew we could blast this out in a couple of hours. He cut, and I nailed it in with the nail gun.
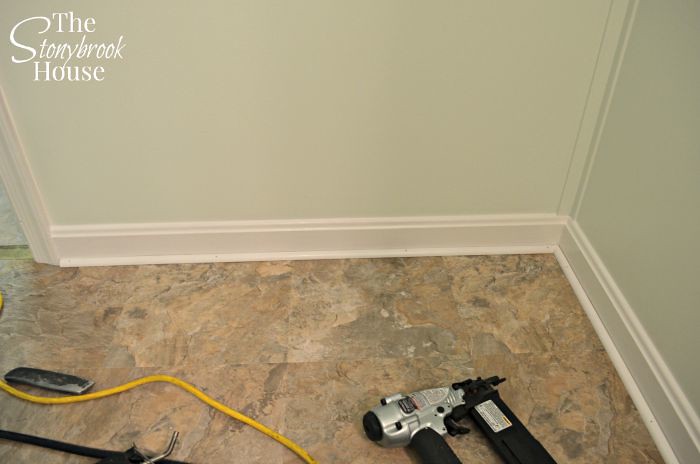
Then I filled the holes with white wood filler and caulked the seam. We are quite the team!
What a difference filler and caulking makes! Check this out! Before...
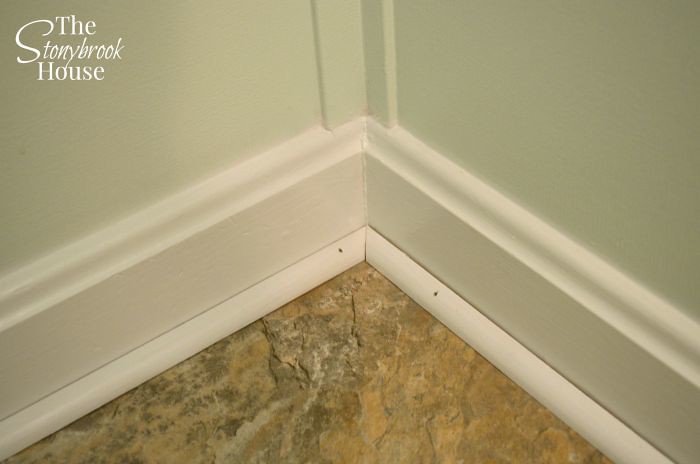
After...
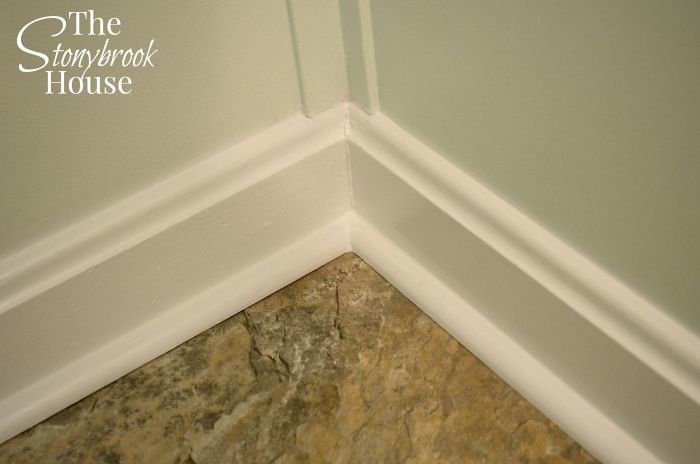 Amazing, right? I haven't even put another coat of paint on!
I just love the way trim finishes off the floor.
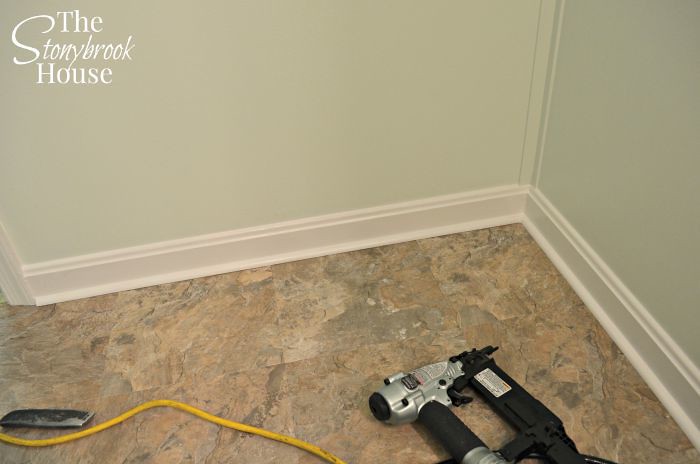
The floor looks sooooo much better, don't you think?
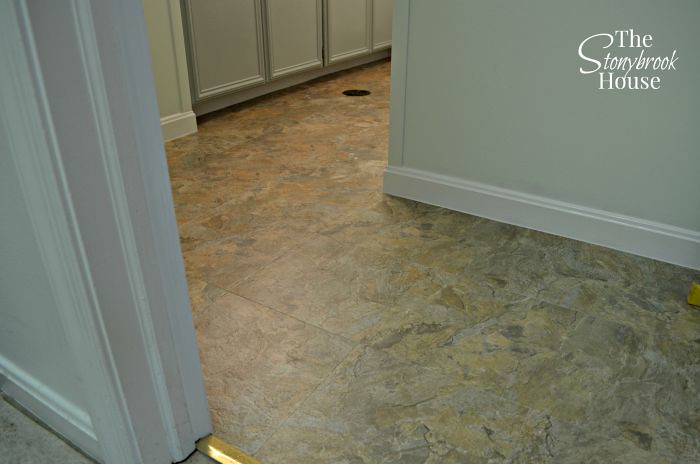
I forgot to take another picture like this after the trim was on.... Ooops... Oh well, you get the idea, right? It doesn't even feel like the same bathroom.
What's left to do? I'm going to build some shelves, touch up painting here and there, it needs some decor, and a few more odds and ends.
I'm so happy with the way it's all worked out! Thank you, Lord! And a shout out to all the ladies and gents that have helped! Hubby, Penny, Kim, Brenda, Christy, Sharon, Jeff, Elaine, Jacquie, Tracy, and Emily (hope I didn't leave anyone out!). Not everyone had the time to help do the physical work, but financial donations, supply donations, making decisions and giving opinions on colors and details helped tremendously!! That's how we do it at our church, we are a family and we try to all work together! God is good! (All the time!)
I've since finished the Ladies Church Bathroom Remodel. I've listed the projects we did below.
Ladies Church Bathroom Remodel (Before)
Cabinets Updated
How To Frame A Mirror Without Miter Cuts
Easy DIY Faux Granite Countertops
Easy DIY Corbels
Easy DIY Metallic Print
Mini Shiplap Planter Box
Easy DIY Tissue Box Cover
Blessings,



I looked at the whole transformation and it looks GREAT! Good job for a minimal of money.
ReplyDeleteThanks! It's getting there! I'm so pleased with how it's all turned out!
DeleteWOW Lori, what an amazing job you and your helpers did ! I am so impressed, i love the paint on the counters, the frame on the mirror, really love the cabinet doors and the floor tile, the color choice, but most of all...................the CALKING !!! I know, right ? Can you believe it ? Yes, I'm sure you can otherwise why in the world would you go to all that trouble ? It's just amazing what calking can do for a project. I've never seen a side by side before and after of adding it and i for one will never be without it again, lol. I know how proud your Pastor and Congregation must be of all of you. And all the money you saved the Church has to be in the thousands. Really an outstanding job, congrats to all who helped. <3
ReplyDeleteHi Diena! You are so encouraging! Thank you! I'm thankful for how great it's turned out! Lot's of praying and just going for it! Thanks so much for stopping by!
DeleteThanks for sharing. I am in the same situation!! What did you do for decor on the walls?? I love the flooring and mirror. Our mirror is very similar.
ReplyDeleteHi Barbara! My daughter painted an art scripture piece. And we did some scripture vinyl pieces. Oh, I also added a eucalyptus wreath. :) I'll see if I ever took any pics... I must have missed them.
DeleteGreat job. Hint; next time the toliet comes out, stuff a big towel into the hole, stops the gases from coming out. I did love the flowers on the before mirror, just a sucker for flowers I guess.
ReplyDeleteThis comment has been removed by a blog administrator.
ReplyDeleteThis comment has been removed by a blog administrator.
ReplyDelete