Updated 5.12.22
*This post contains some affiliate links. Please see my full Disclosure Statement.
Let me take you back to where I left you, a couple of weeks ago. Yes, it took me that long to complete! We were in the priming stage.
Before I get going here, if you want to see how I got to this stage and see all the glorious varnish stripping, then click on over to, Dining Table Makeover Part 1.
I used my paint sprayer and put on two light coats. I wasn't too happy with the results. There were spray lines for each pass I made. Ugh!
So, I decided to take a try at rolling it. I added Floetrol. Which is a paint conditioner that levels and smooths out paint to give a flawless finish.
But this is what it looked like after the first coat.... I was having serious doubts! Ummm... where's the flawless finish?
I left the picture a bit darker so you could see what I'm talking about! Really? Floetrol is supposed to work magic! No roller or brush marks.... I'm a bit frustrated...
I thought I put enough in. Let's try coat number 2 and see what happens. It got a bit better and I saw that I needed to be generous with the paint and roll in one direction. That really helped!
This is what the 3rd coat looked like. Now, that's more like it!!
Look at that smoothness. Using a foam roller does leave a bit of an orange peely look, but I think it turned out really smooth and even.
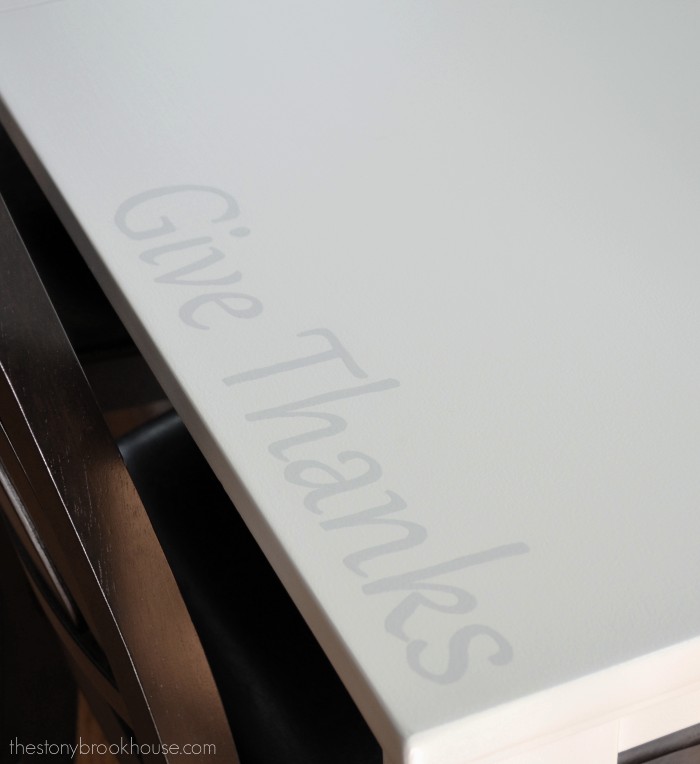
I wanted to give our table something unique. I thought a reminder to 'Give Thanks' in the corner would look nice. It's where we give thanks for our food each meal.
Hubby picked the font and I did all the painting. I did a simple pencil transfer and hand painted it in.
After that was done, it felt like it needed more. So, we decided to do the stripes down the center.
Hubby helped me tape them off and I was off painting. Oh my! Perfect Stripes! It's exactly what the table needed. I finished it off with 3 coats of Minwax Polycrylic. What a beauty!!
Let's take a look at a before and after....
Wow! Yes, I need to do the chairs still but what a huge difference! In fact, I've already started them! Plus looking at fabric to update the seat cushions. In the end, yes, it was a lot of work. But come on look at the results! It was sooo worth it! Well, I'm off to paint! 😊
Blessings,
Lori


