Updated 5.20.22
*This post contains some affiliate links. Please see my full Disclosure Statement.
If you missed the first part of this makeover. It started with our dining table. That was a fun project!
New Project! Dining Table Makeover!
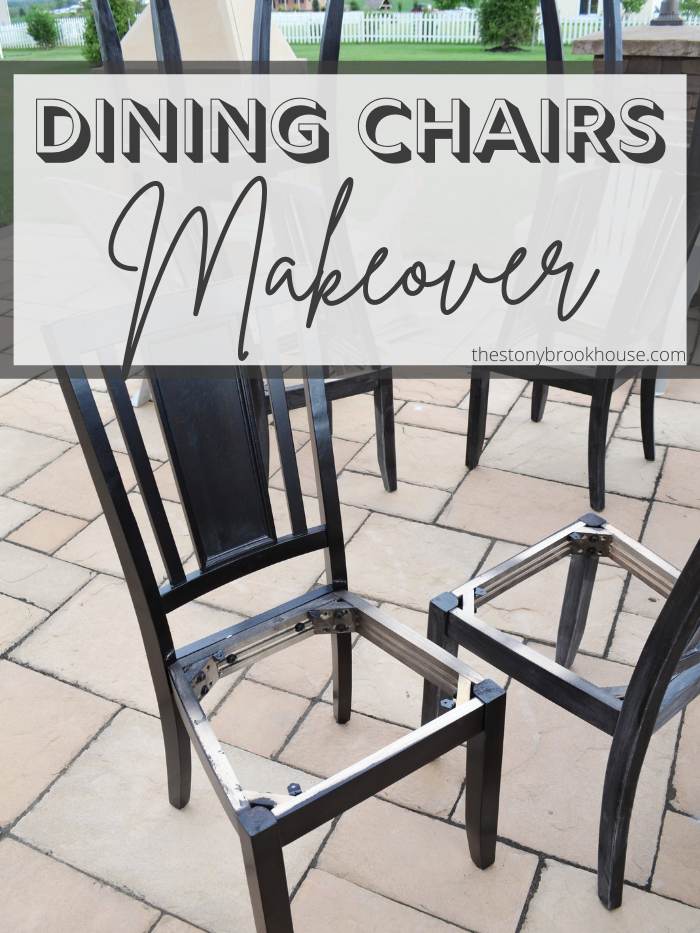
Once the table was finished it was time to get these dining chairs up to speed!
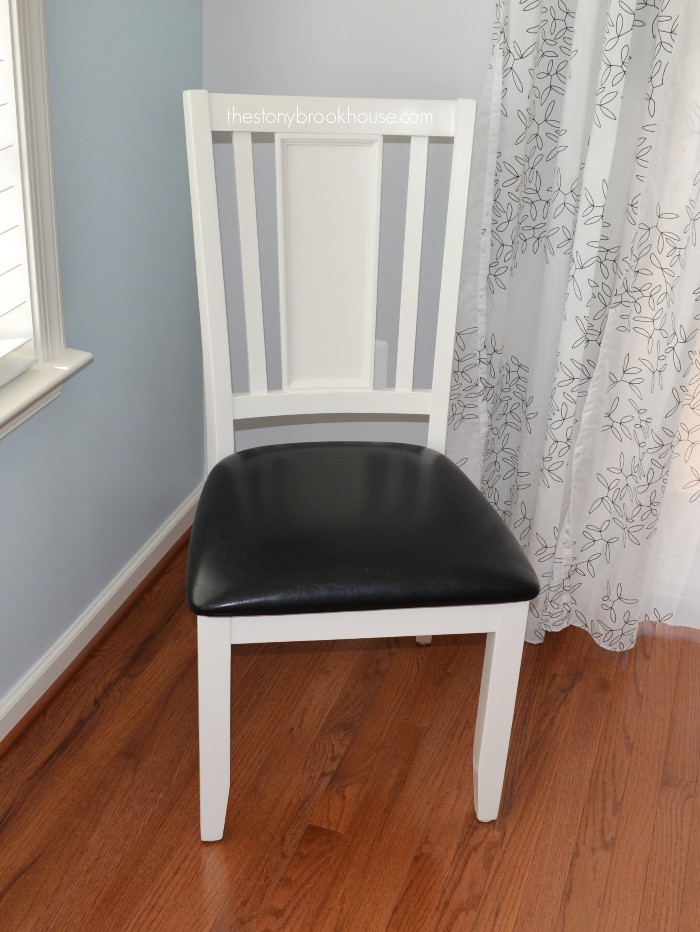
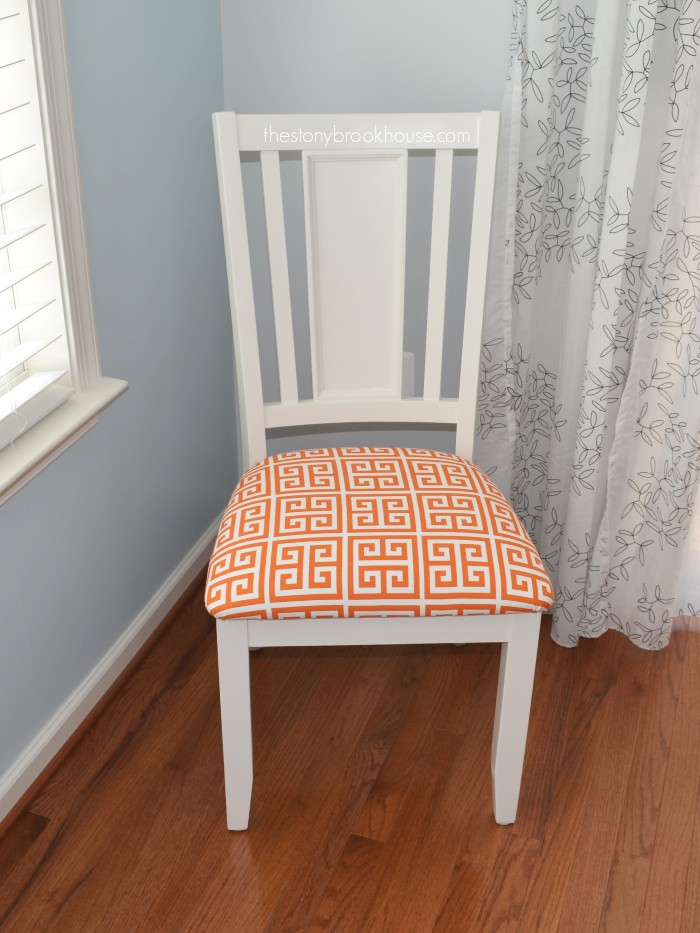
The chairs turned out WAY better than I thought they would. Hubs and I weren't sure what color to paint them. You should have seen how we went back and forth on the color and pattern on the seat covers. Who would think that these little ole dining chairs could cause such a ruckus?? But we nailed it!!
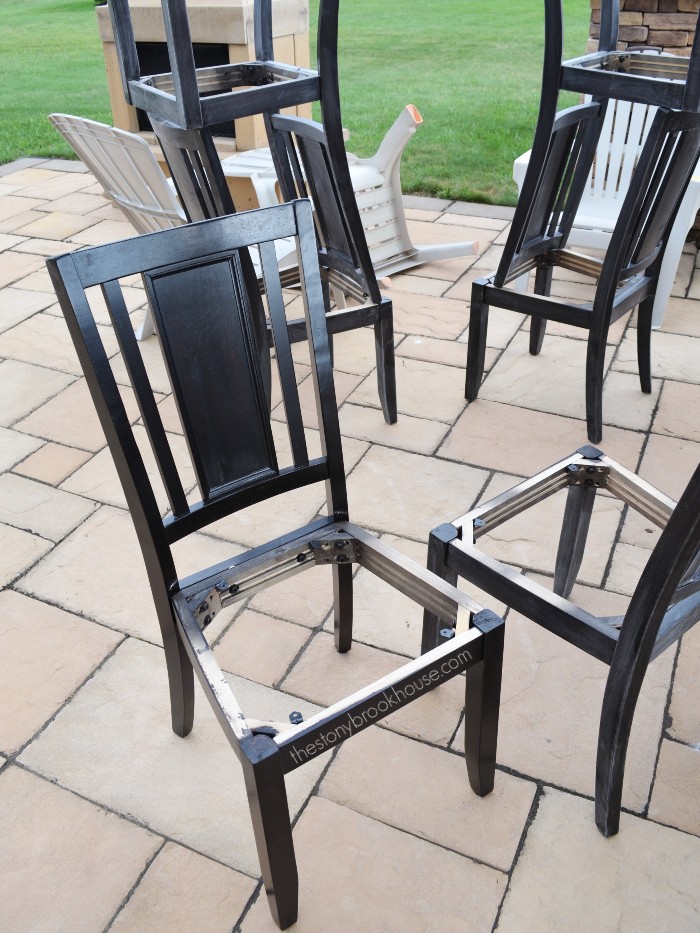
The first step... Sand, sand, sand!
Then paint on two coats of primer. I was rather sloppy with the first coat I brushed on. Bad move. I wish I had rolled it on with the foam roller like I did the second coat. I had to get out the power sander and sand down some of the brush marks... 😑 Oh well, live and learn.
At least I know that these chairs can take a beating! That oil based Zinsser B-I-N Primer is the Bomb!!! So, I primed, sanded, primed, sanded.
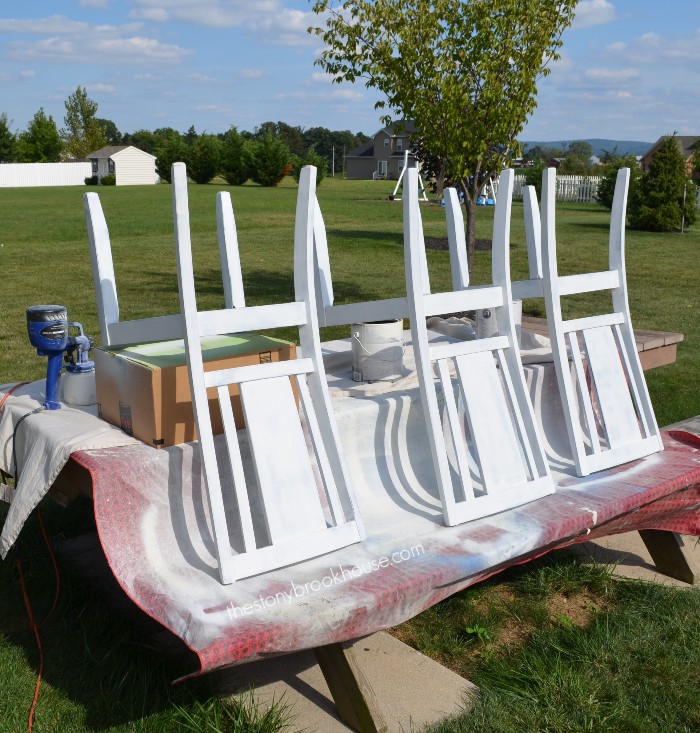
Ready to paint!
I decided to get out my Home Right Paint Sprayer. I knew that sprayer would get in all the nooks and crannies a roller couldn't reach.
We decided that the chairs would look best the same color as the table.
Then we thought a bright colorful seat would be fun!
Covering chair seats is super easy! It's a great way to update a chair or change the look of it.
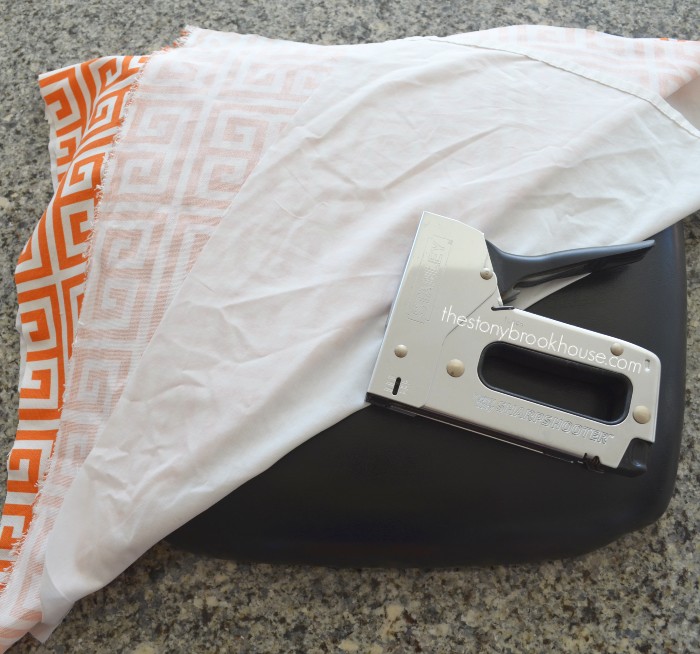
All you need is fabric and a staple gun. I used a manual staple gun, but since this project, I've purchased a wonderful electric staple gun. It definitely saves your hand from tiring out.
This fabric needed a liner because the black 'leather' made the fabric just a bit darker. I found an old sheet to use. That did the trick!
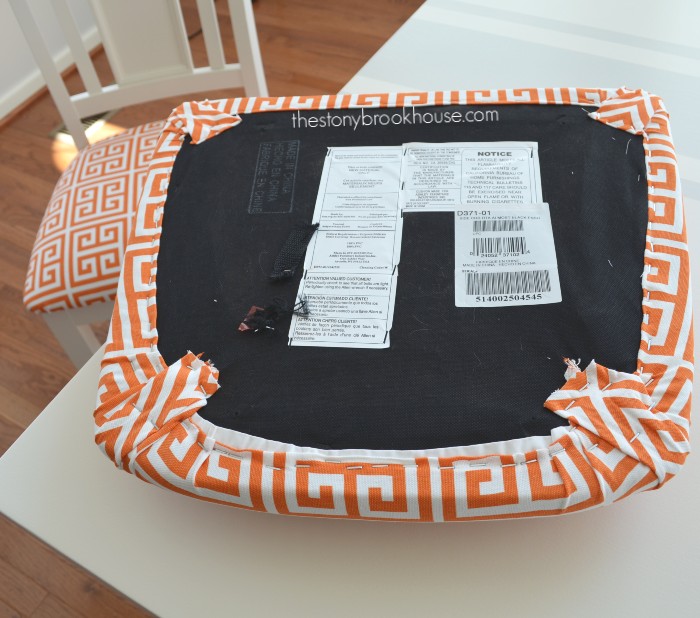
Then you just center it, pull, staple, pull, and staple all the way around. Your hand will get a work out using the staple gun, (not if you have an electric one😉).
Once I got the hang of it, I had those cushions done in no time. All six of them! I still have two more chairs to do, the end chairs, but they will be a breeze after all of this!
The next step... Scotchgard!
You don't want to skip this step! I want clean up to be as easy as possible. But I'm not too worried about it... It's our home, things get used and messed up. Plus it's too easy to change them if they get too bad.
Wow! I'm so glad I did this project!
Remember what the table looked like before??
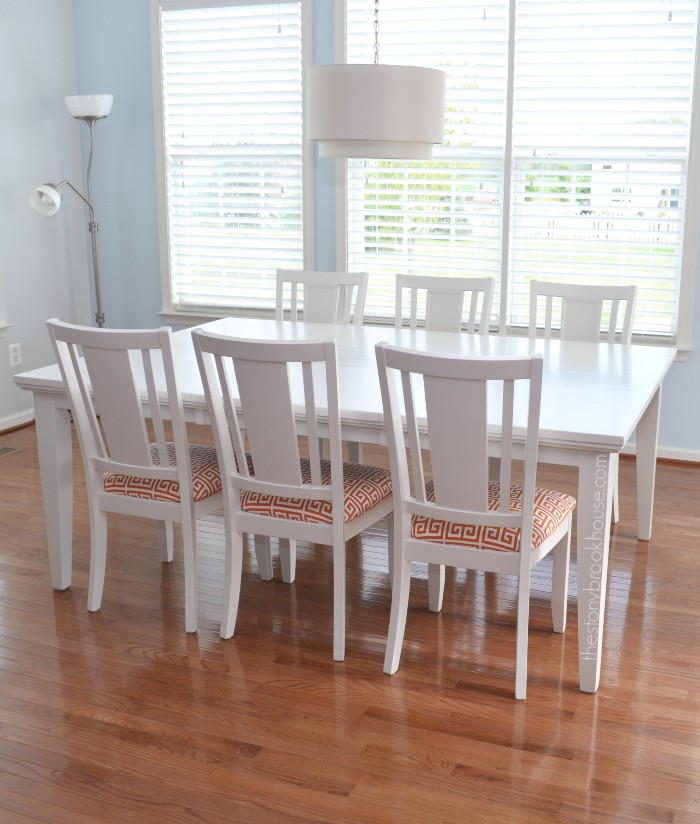
After!
What a difference! Hubby and I are thrilled with the way it turned out!
Blessings,
Lori


