Updated 5.12.22
*This post contains some affiliate links. Please see my full Disclosure Statement.
I'm still unsure of how I plan on finishing it. I'm hoping I can finish it by this weekend.
Here's a close up of the dining table.
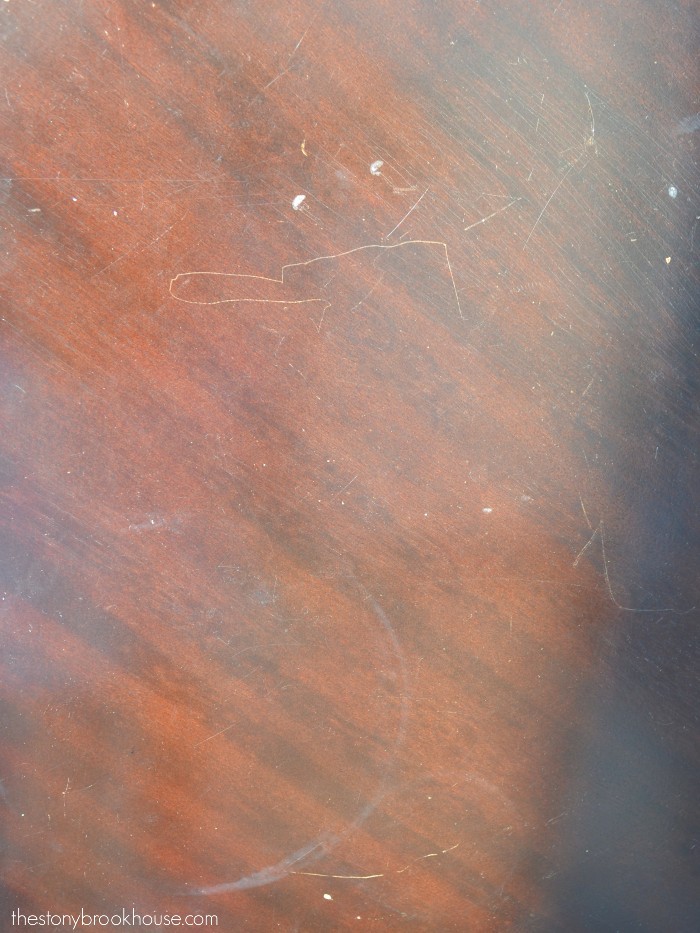
It doesn't look so bad... not until you get much closer....
Now, it's easy to see why I want to re do the table... Rings, scratches and nicks are all over it. Some parts of the table look fine. It's not even that old, maybe 4-5 years? Oh, well. I know that I can make it look fantastic!
We love this table! It fits perfectly in the space and we really love the size of it. 8 people fit very comfortably and we can even squeeze in 10.
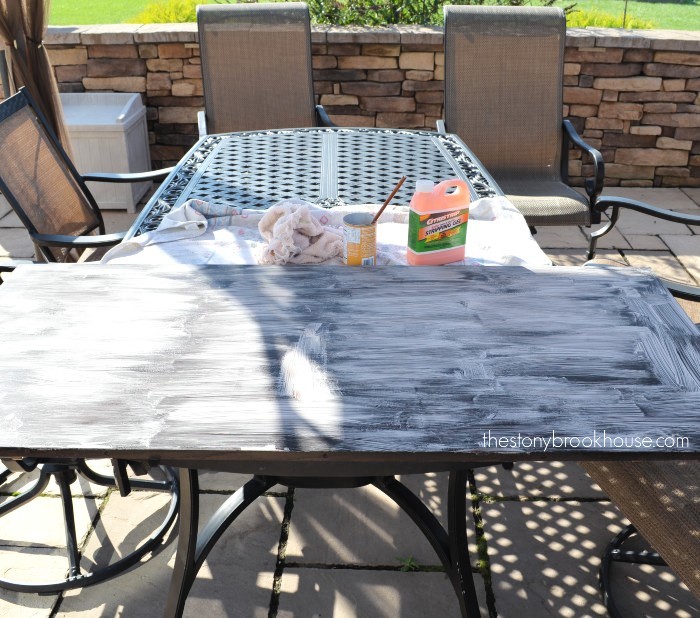
Let's get this table top stripped. I really had no idea what I was getting myself into... I wasn't sure if I wanted to re-stain it or paint it or what, so I started off by using CitraStrip Stripping Gel to get the stain and varnish off.
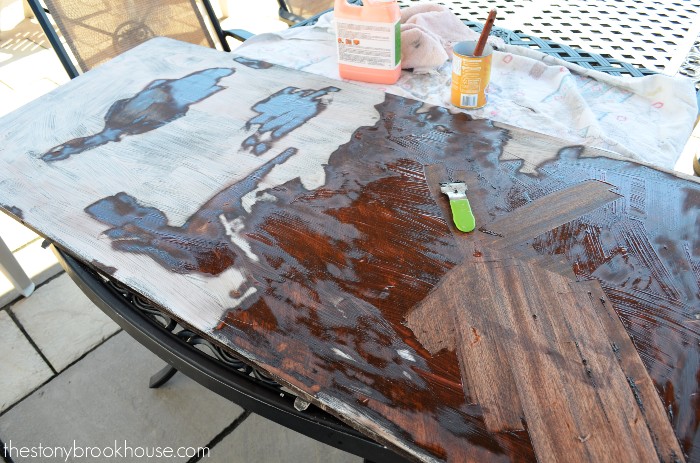
After it dried and I tried using a spatula scraper. That didn't seem to work, so I went for the razor blade. That seemed to do the trick.
The white is the dried part, then I brushed more on the right side and started scraping that. It was a long process but eventually, with some sanding, I was able to get it to this point.
Now, I can hear you all... Oh, that wood looks cool. I even thought that, hubby did too and even my daughter.
But...When you look closely, the quality of this "wood" table is cheap. That "cool wood" is a very thin wood veneer and if I sand too much, I'm down to the "particle" board. Nice right? NOT! Plus the stain is still in a lot of the grain.
So, the next option was to paint it. 👍
I used Zinsser Oil Based Stain Blocking Primer. That primer will make sure that none of the stain or wood grain will come through the paint.
After the first coat of primer was dry, I sanded it all down. Always, always, always sand after your first coat of primer. Priming raises the wood grain ever so slightly. Sanding insures that your next coat will go on super smooth. Now I'm ready to put on the 2nd coat of primer.
I used my paint sprayer and put on two light coats. I wasn't too happy with the results. There were spray lines for each pass I made. Ugh!
So, I decided to take a try at rolling it. I added Floetrol. Which is a paint conditioner that levels and smooths out paint to give a flawless finish.
But this is what it looked like after the first coat.... I was having serious doubts! Ummm... where's the flawless finish?
I left the picture a bit darker so you could see what I'm talking about! Really? Floetrol is supposed to work magic! No roller or brush marks.... I'm a bit frustrated...
I thought I put enough in. Let's try coat number 2 and see what happens. It got a bit better and I saw that I needed to be generous with the paint and roll in one direction. That really helped!
This is what the 3rd coat looked like. Now, that's more like it!!
Look at that smoothness. Using a foam roller does leave a bit of an orange peely look, but I think it turned out really smooth and even.
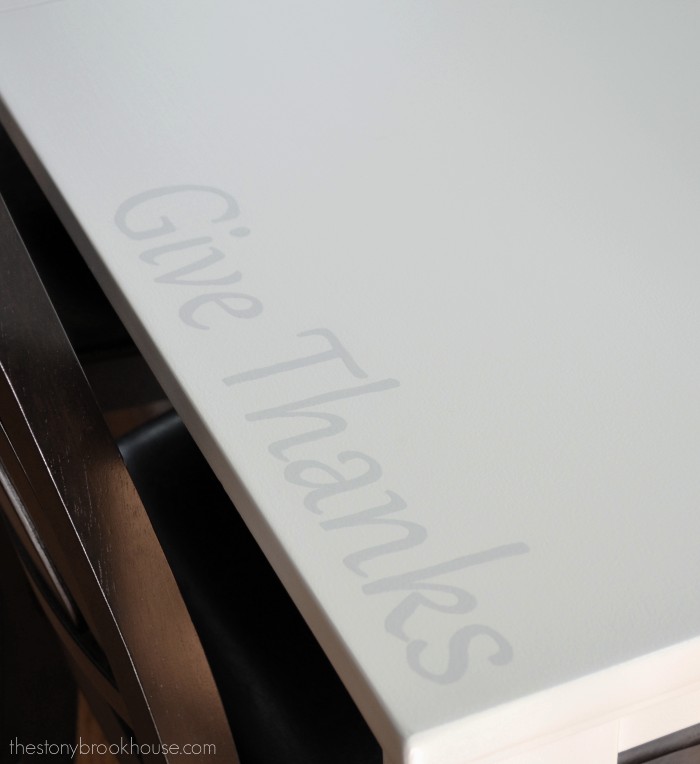
I wanted to give our table something unique. I thought a reminder to 'Give Thanks' in the corner would look nice. It's where we give thanks for our food each meal.
Hubby picked the font and I did all the painting. I did a simple pencil transfer and hand painted it in.
After that was done, it felt like it needed more. So, we decided to do the stripes down the center.
Hubby helped me tape them off and I was off painting. Oh my! Perfect Stripes! It's exactly what the table needed. I finished it off with 3 coats of Minwax Polycrylic. What a beauty!!
Let's take a look at a before and after....
Update!! I finished the dining chairs! You can see how it all turned out, click on over to Dining Chairs Makeover!
Blessings,
Lori


