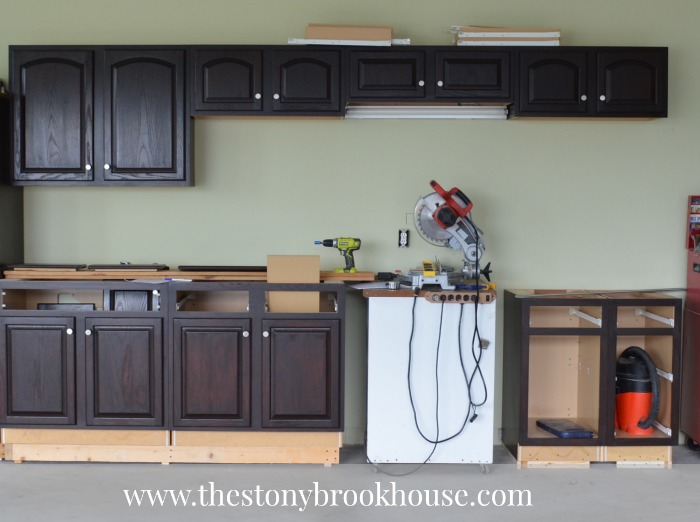
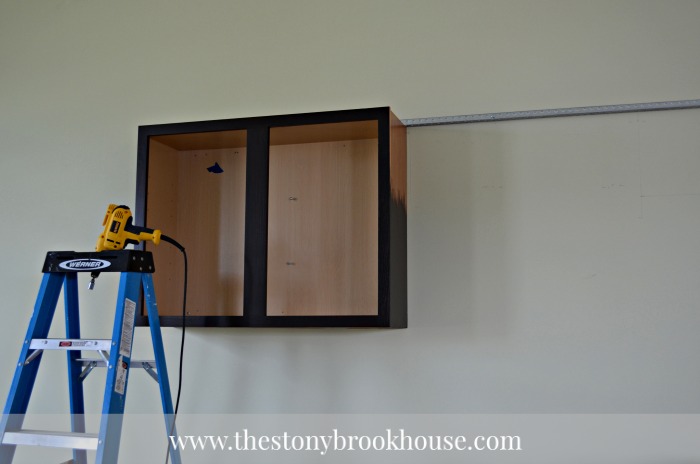
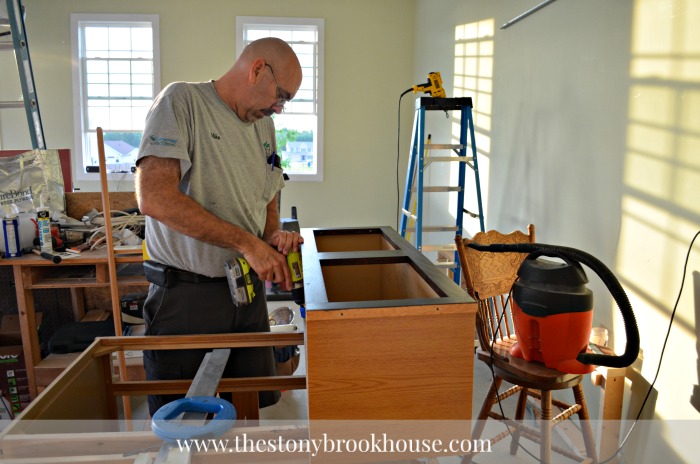
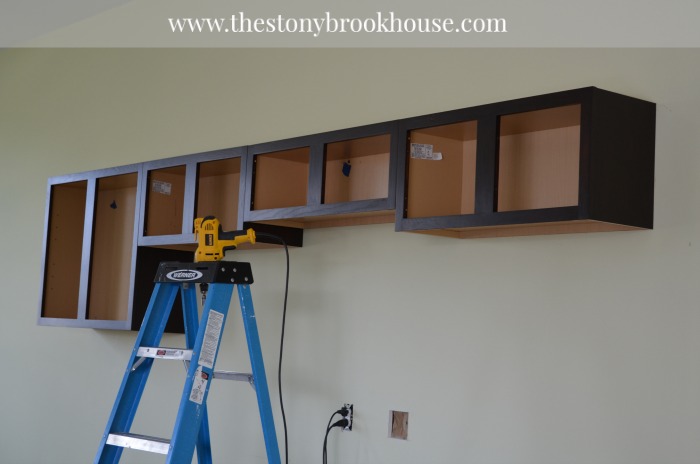
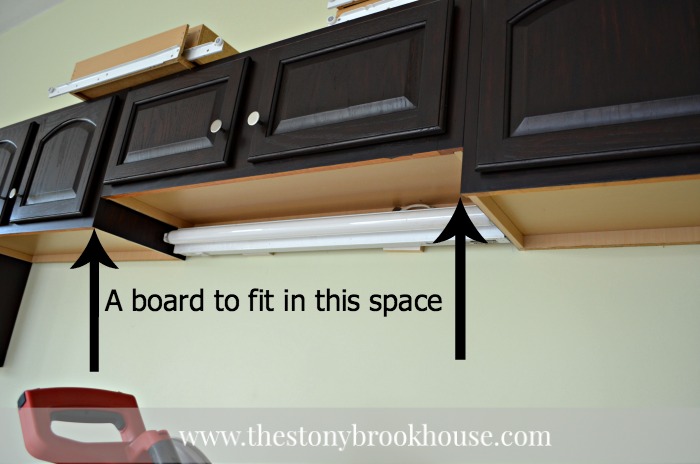
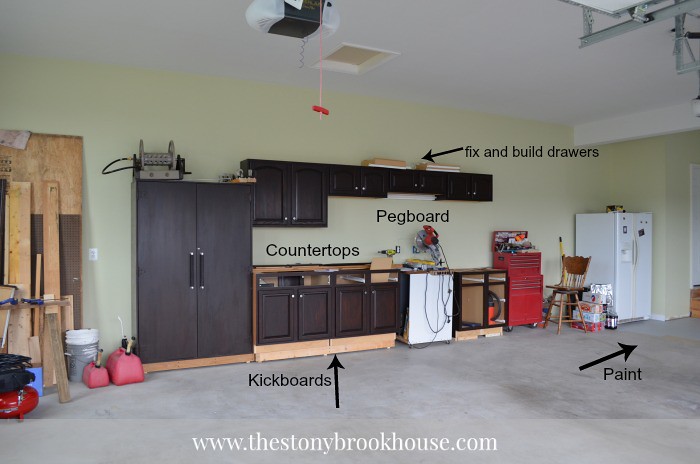
Don't they look awesome?? First, we attached the upper cabinets. When you are installing cabinets always remember to do the uppers first. If you do the bases first, it will be awkward trying to install the uppers leaning over the bases. Make sense? Hubby put up a bracket along the length of the uppers.
It made it so much easier holding up the cabinet against the bracket while attaching it to the studs. Plus all of the cabinets will automatically be level.
Hubby also predrilled all the holes and lined them up with the studs, which made attaching them quick and easy!
Before you knew it we had all the uppers installed!
Next, Hubby installed a light fixture and wired it with a switch. The spacers won't show when it's all said and done, there will be a pegboard for the "backsplash". Also, he will be installing a board to go across the front to cover the light and it will make all of the cabinets look the same height. :)
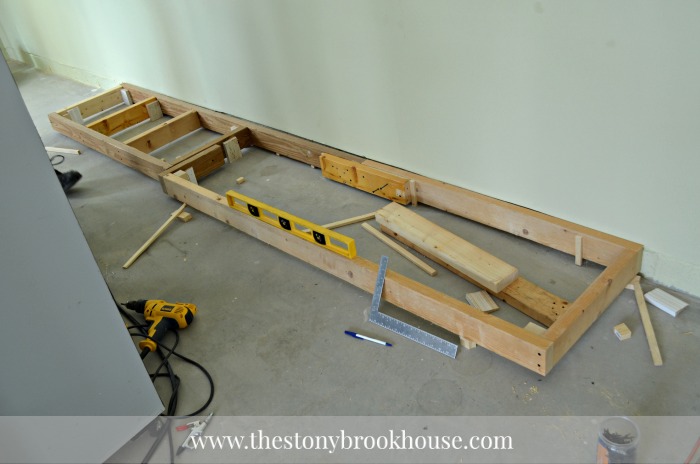
On to the base cabinets. There is a fall to our garage floor, so he had to take that into account, when building the bases for the cabinets. Also, Hubs wants them to be "sealed" to the floor with caulking. He has this thing about bugs and spiders...
Did you notice that the base cabinets on the left are taller than the ones on the right?
It's not that much, but more than you might think. Well, the reason... Hubby is about 6'4" and the cabinets on the left suit him better. The cabinets on the right, serve a dual purpose. One, the height is more suitable for me and see that saw, well, if he has a long board he can rest the board on the right cabinet and it will be level. It works.
And that white "cabinet"... I bet you'd never guess what that is.... It's an old portable dishwasher casing. Yup! It's on wheels, so it's actually pretty handy. Hubs plans on putting in some supports and also "installing" our large shop vac into it, so that will be portable as well. And without the saw on it, it will roll right into place and fit under the counter top that will be there. At least that's the plan.
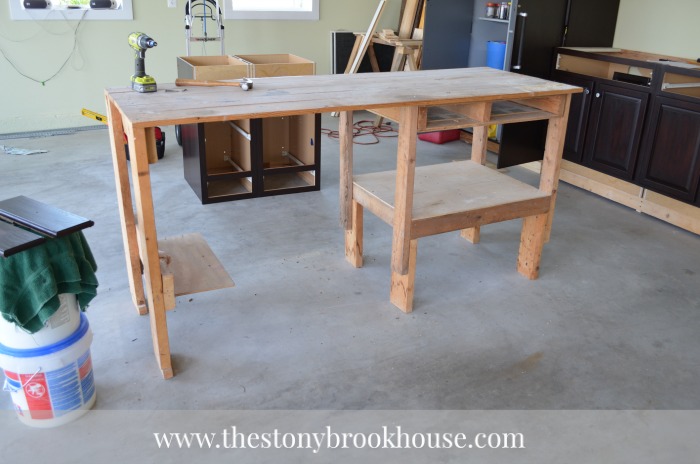
We said goodbye to the old workbench. It served us well for over 15 years, and it was just made of scrap wood.We plan on re-using the 1x6's that were the countertop on the new bases. We decided we just wanted wood for the counters. That way, we can bang them up, get paint on them, drop tools and so on, and not worry about damaging it. I had fun disassembling it. :)
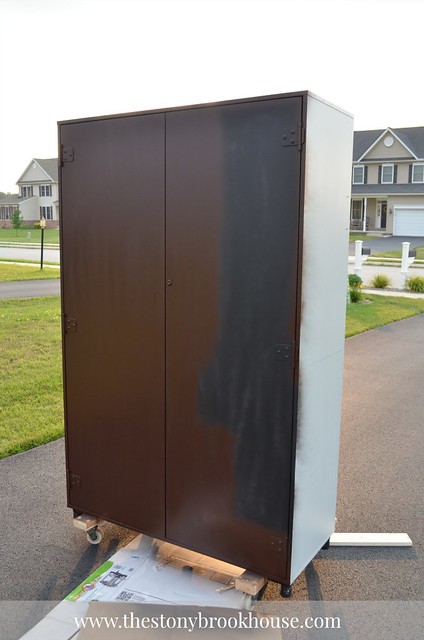
I also worked on a storage cabinet we had in the garage before. Hubs wanted it to "go with" the cabinets better.
It was originally light gray like the right side. I primed it and then spray painted it. Well, spray paint doesn't always work well on large flat surfaces.... We were just going for a dark coffee brown. Ehhh... it came out so so. Not really thrilled... So, I thought about adding stain to it, maybe that would make it blend in a bit more. I think it looks better than it did!
We were able to clean the garage up enough to get the vehicles back in. That made us both happy! Here's a list of some of the things we'll be working on:
1. Toe kick boards for the fronts of all the cabinets
2. Install the wood counters.
3. Cut, paint and install pegboard for tools
4. Fix and install drawers.
5. Build more sliding drawers for tools
6. Fix painted area where we tried to stain the concrete floors... See that FAIL HERE!
Not too bad. I'm sure there will be more to do here and there, but YAY! We are on our way to being finished! I'm ready to start in the kitchen!! :)
Blessings,


